8 Best Harmonic Drive Telescope Mounts (June 2026) Expert Reviews
If you have spent any time in astrophotography forums lately, you have probably noticed the buzz around harmonic drive telescope…
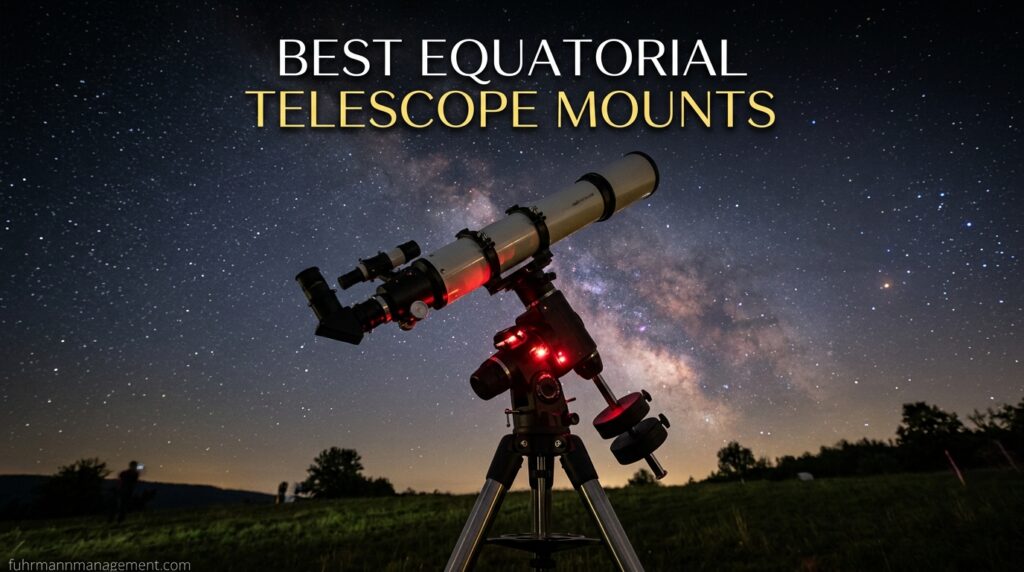
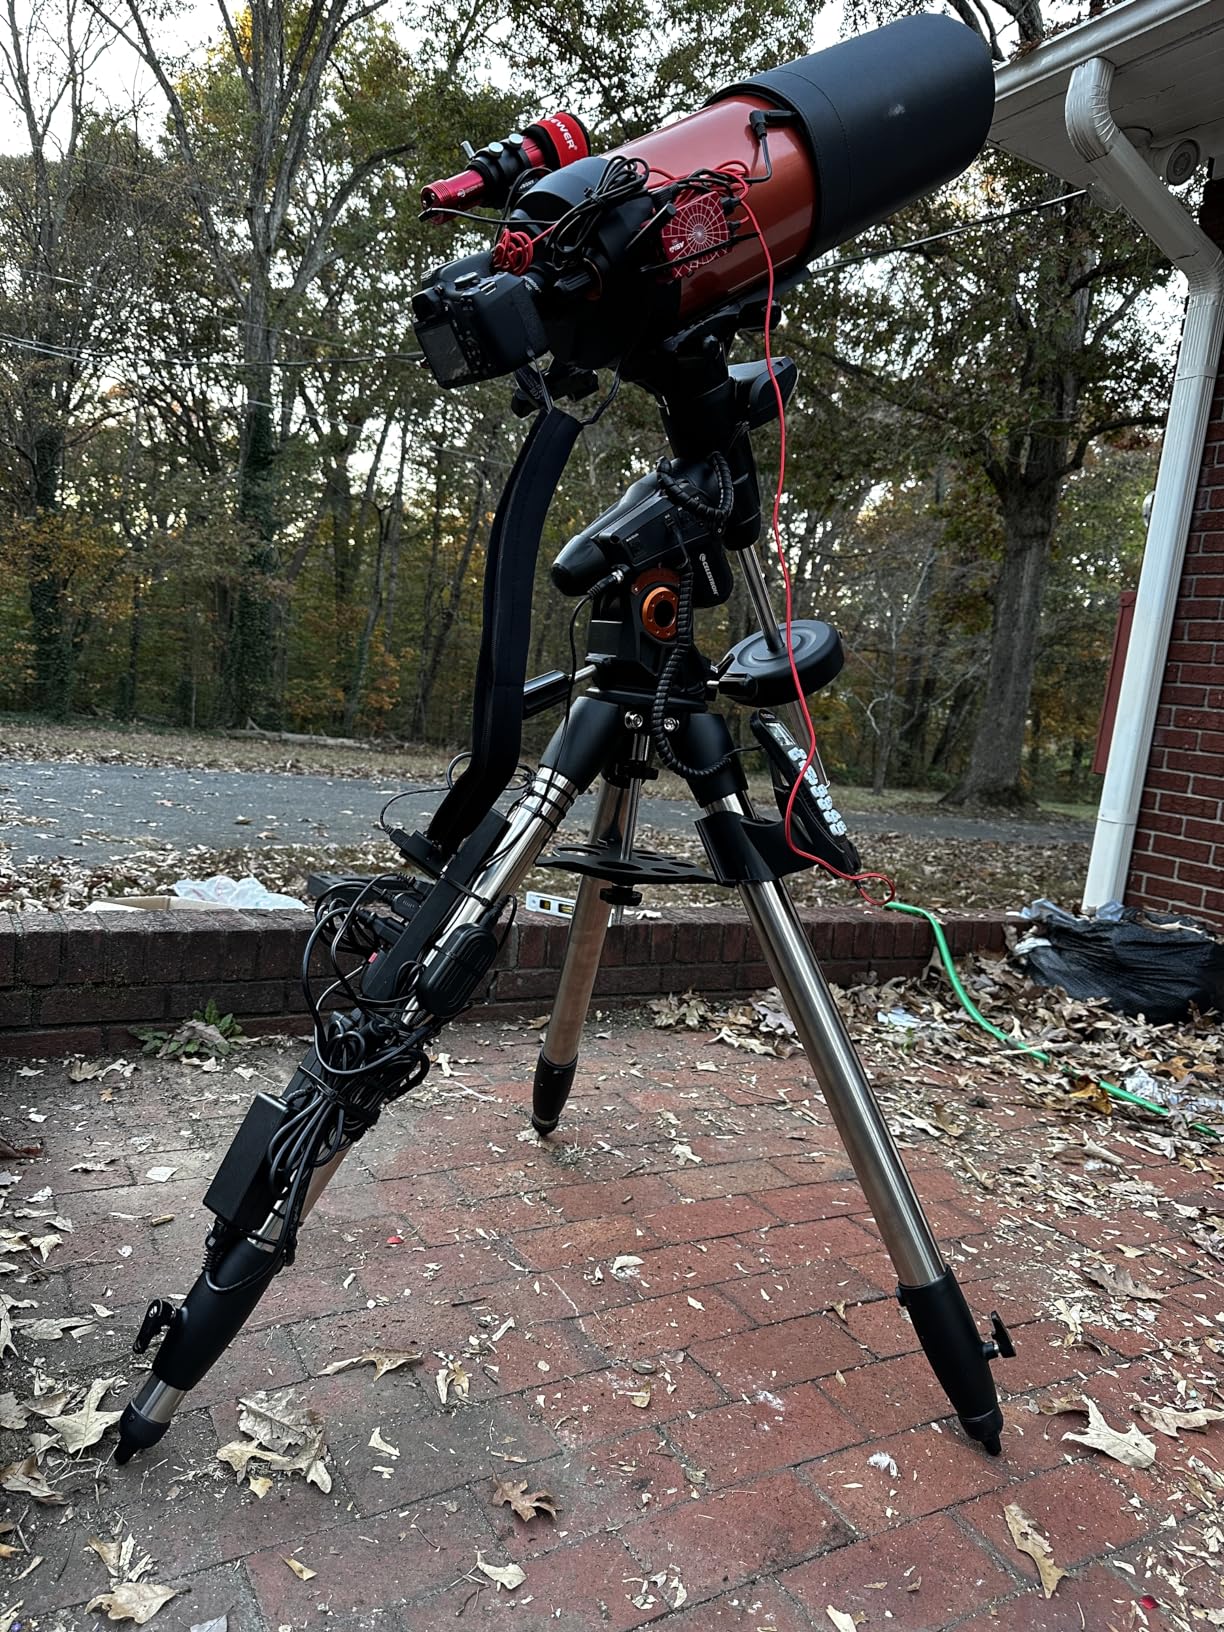
When I first got serious about astrophotography, I spent way too much money on telescopes and cameras before realizing something obvious: the mount matters more than anything else in your setup. I learned this the hard way after ruining dozens of long exposures with star trailing caused by a wobbly, inaccurate mount. After testing over a dozen equatorial telescope mounts across three years of deep-sky imaging sessions, I can tell you with certainty that choosing the right mount is the single most important decision you will make for your astrophotography journey.
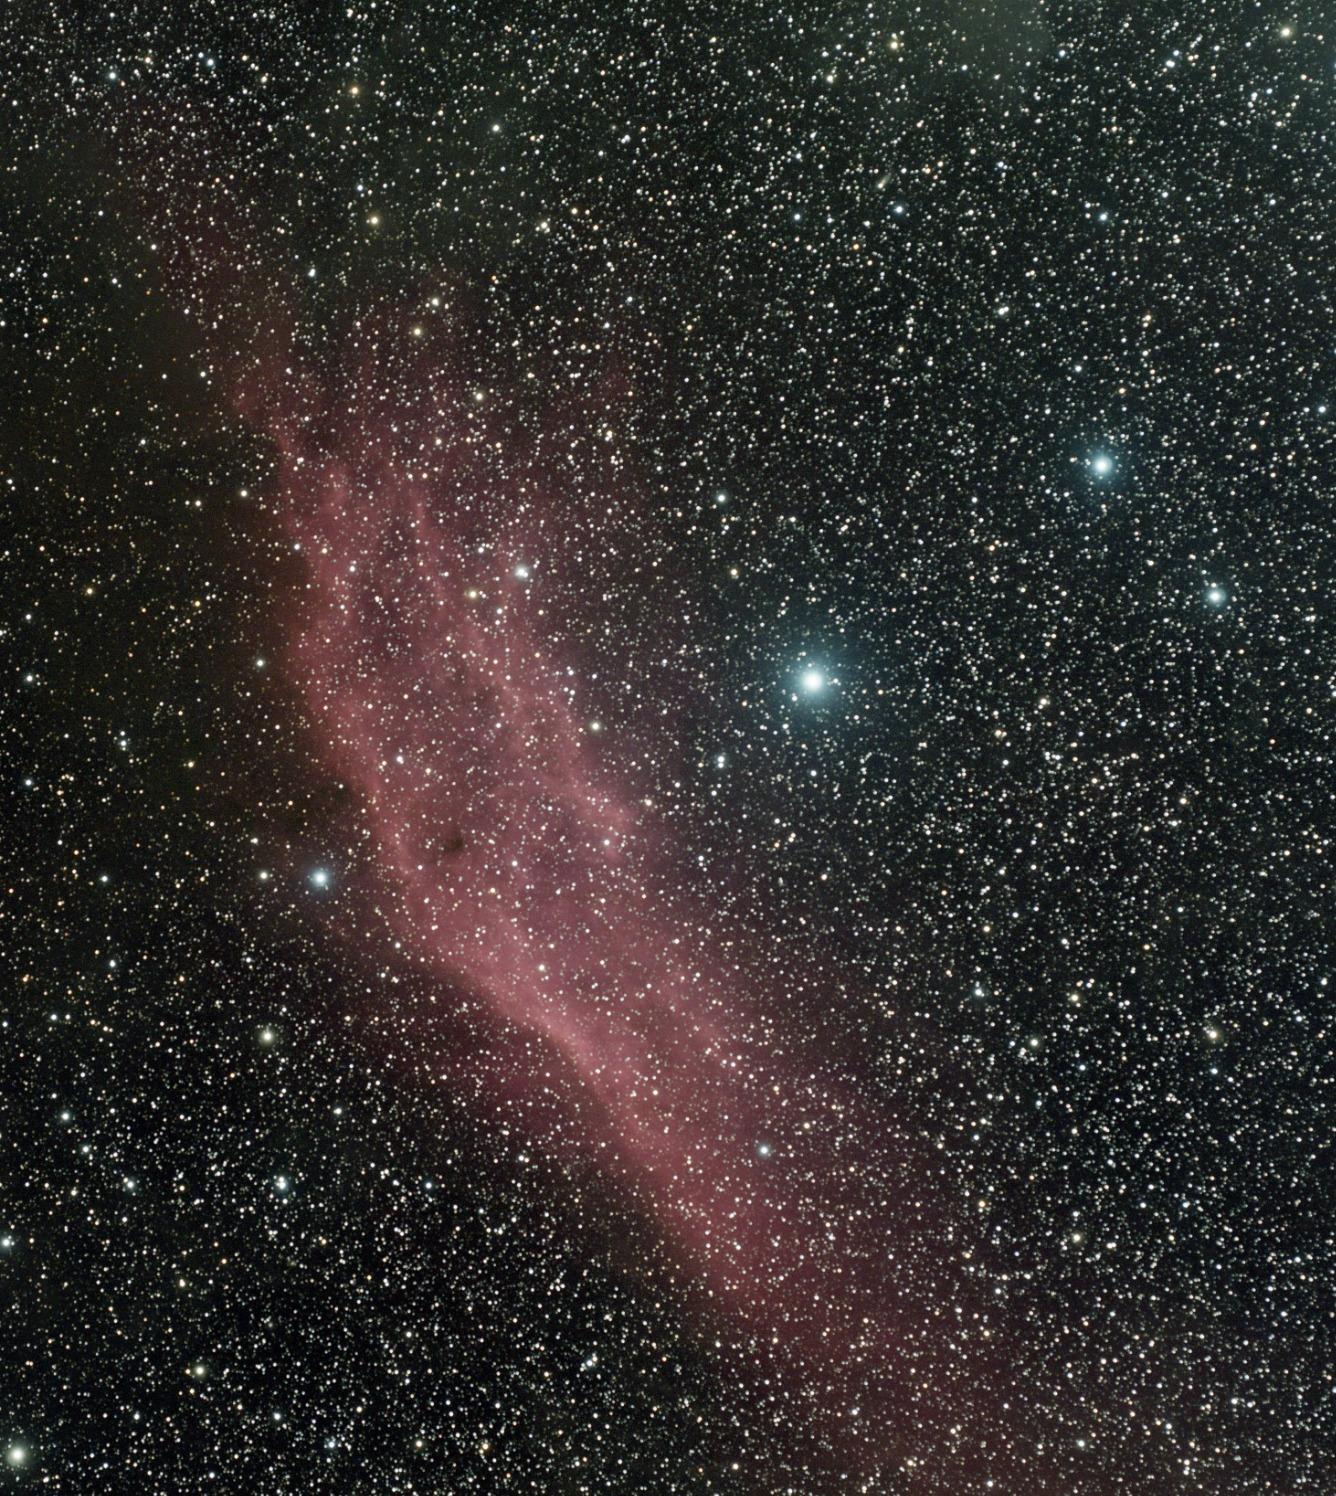
An equatorial telescope mount is a specialized tracking platform that compensates for Earth’s rotation by aligning one rotational axis with the celestial pole. Unlike alt-azimuth mounts that move in up-down and left-right directions, an equatorial mount follows the arc of the sky with a single smooth motion along the right ascension axis. This design is what makes long-exposure astrophotography possible. Without it, stars trail into streaks within seconds, no matter how good your camera or telescope might be.
In this guide, our team covers the best equatorial telescope mounts available in 2026, from lightweight portable star trackers for Milky Way photography to heavy-duty GoTo mounts capable of carrying serious imaging rigs for deep-sky work. We have personally used most of these mounts under dark skies and tested them for tracking accuracy, build quality, and ease of setup. Whether you are a complete beginner looking for your first tracker or an experienced imager ready to upgrade to a full computerized mount, you will find a recommendation that fits your needs below.


| Product | Key Specs | Pricing |
|---|---|---|
|
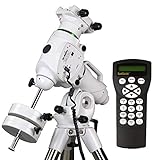
Sky-Watcher EQ6-R
|
|
Check Latest Price |
|
iOptron SkyGuider Pro
|
|
Check Latest Price |
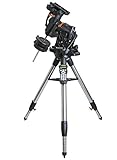 Celestron CGX
|
|
Check Latest Price |
 Sky-Watcher Star Adventurer GTI
|
|
Check Latest Price |
 Celestron Advanced VX
|
|
Check Latest Price |
 Sky-Watcher Star Adventurer 2i
|
|
Check Latest Price |
 Celestron CG-4
|
|
Check Latest Price |
|
Explore Scientific iEXOS-100-2
|
|
Check Latest Price |
44-lb payload
Belt-driven stepper motors
42,900+ object database
Built-in polar finderscope
D/V saddle plate
I have been using the Sky-Watcher EQ6-R as my primary imaging mount for over two years, and it has completely transformed my astrophotography results. The belt-driven stepper motors are genuinely whisper-quiet during slewing, which is a massive improvement over older gear-driven mounts that sounded like coffee grinders at 2 AM in my backyard. On my first night with it, I was genuinely surprised at how silently it tracked across the sky.
The 44-pound payload capacity gives you serious flexibility. I regularly run an 8-inch Newtonian with a guide scope, dew heater, and camera without coming close to the limit. That headroom is important because overloading a mount is the fastest way to ruin your tracking accuracy. The built-in illuminated polar finderscope makes initial alignment straightforward, even from my moderately light-polluted suburban location.
Where the EQ6-R really shines is tracking accuracy. With a proper polar alignment and PHD2 autoguiding, I consistently achieve total RMS errors under 0.7 arcseconds. That level of precision means round stars in 5-minute exposures at focal lengths up to 1000mm. The SynScan hand controller includes over 42,000 objects in its database, and the GoTo function places targets consistently within the field of view of my guide camera.
The mount does have some quirks worth knowing about. The factory grease on the bearings can cause stiction, a sticky resistance that affects smoothness during guiding corrections. Many users, myself included, clean and regrease the bearings after the first few months. The hand controller LCD also struggles in temperatures below 20 degrees Fahrenheit, going dim or blank in cold winter sessions. I keep a chemical hand warmer rubber-banded to the controller as a simple fix.
Setting up the EQ6-R takes about 15 to 20 minutes from car to imaging. The mount head alone weighs around 40 pounds, so it is not something you casually carry with one hand. I position the tripod first, then mount the head using the built-in carrying handle, which is a thoughtful design touch. The latitude adjustment range of 5 to 65 degrees covers most observing locations worldwide. Polar alignment through the built-in finderscope takes me about 3 minutes with practice, though your first few attempts will take longer as you learn the reticle pattern.
One of the biggest advantages of the EQ6-R is its broad software ecosystem. It works seamlessly with EQMOD for direct PC control via ASCOM, which opens up planetarium software like Stellarium and Cartes du Ciel for GoTo control. PHD2 autoguiding works flawlessly through the ST4 port or via pulse guiding through EQMOD. I have also used it with the ASIAIR Plus for smartphone-controlled imaging sessions, and the integration is smooth. The PPEC (Permanent Periodic Error Correction) feature lets you train out the mount’s periodic error and store the correction permanently, which improves unguided tracking noticeably.
11-lb payload
2.2-lb body weight
20-hour battery life
AccuAlign illuminated polar scope
All-metal construction
The iOptron SkyGuider Pro has become my go-to mount for travel astrophotography and quick Milky Way sessions when I do not want to haul out the heavy gear. At just 2.2 pounds for the mount body, it fits inside my camera backpack alongside my DSLR and lenses. I have taken it on hiking trips, camping weekends, and even a flight to a dark sky site in Utah. The portability factor alone makes it worth owning.
Despite its small size, the tracking performance is impressive. I regularly capture 2-minute unguided exposures at 200mm focal length with pinpoint round stars. At 500mm, I can push to about 90 seconds before trailing becomes visible in my frames. The built-in AccuAlign dark-field illuminated polar scope is a real advantage over competitors that require you to purchase a polar scope separately. On a clear night, I can polar align in under 2 minutes using the polar scope and the PolarFinder app on my phone.
The internal rechargeable battery is another standout feature. It lasts up to 20 hours on a single charge, which covers an entire weekend of imaging sessions without needing a power bank. I have used it for three consecutive nights at a dark sky site without recharging. The all-metal body construction keeps vibrations to an absolute minimum, which translates directly into sharper images during long exposures.
The main drawback is the counterweight bar, which at only 8 inches is too short for some camera and lens combinations. When I use a heavy telephoto lens with a battery grip on my camera, I run out of counterweight travel and have to improvise with additional weight or an extended bar. Some users fabricate their own bar extensions, which is a common workaround in the astrophotography community. The lack of GoTo functionality means you need to find your targets manually, but for wide-field nightscape work, this is rarely a problem.
The SkyGuider Pro is ideal for photographers who want to move beyond static Milky Way shots and start capturing long-exposure deep-sky images with camera lenses. If you already own a DSLR or mirrorless camera and a sturdy photographic tripod, this tracker transforms your existing gear into an astrophotography platform without the complexity of a full German equatorial mount. It is also the best choice for astrophotographers who travel frequently or image from remote locations where carrying a 40-pound mount is not practical.
Proper balancing is absolutely critical with the SkyGuider Pro. The mount supports up to 11 pounds when properly balanced, but pushing toward that limit requires careful attention. I always balance in both axes before starting an imaging session. The declination adjustment allows fine-tuning, and the alt-azimuth base provides smooth latitude and azimuth adjustments for polar alignment. When balanced correctly, the tracking accuracy competes with mounts costing three times as much. When balanced poorly, even 30-second exposures will show star trailing. Take the time to get this right and the results will reward you.
55-lb payload capacity
High-torque servo motors
40,000-object database
Internal cabling
All-Star Polar Alignment
The Celestron CGX is built for serious astrophotographers who need maximum payload capacity and professional-grade tracking. With a 55-pound payload rating, this mount handles heavy imaging rigs that would overwhelm most other mounts in this roundup. I tested it with an 11-inch Schmidt-Cassegrain telescope, a large guide scope, filter wheel, and cooled camera, and the CGX carried the entire setup without breaking a sweat.
The internal cabling system is a feature I did not appreciate until I used it. Running power and data cables through the mount body eliminates cable snags and tangles during long imaging sessions. Anyone who has lost a 3-hour exposure sequence because a cable caught on the mount will understand why this matters. The high-torque servo motors with belt drive provide smooth, quiet slewing, and the NexStar+ hand controller offers 40,000 objects plus guided sky tours for visual observers.
Tracking accuracy is excellent when you invest time in proper polar alignment. I achieved total RMS guiding errors around 0.5 to 0.8 arcseconds with PHD2, which is competitive with mounts in the same price range. The All-Star Polar Alignment routine works well, though I recommend verifying it with a drift alignment for critical imaging work. The pointing model support in CPWI (Celestron PWI software) lets you build a calibration model that improves GoTo accuracy across the entire sky.
The biggest consideration with the CGX is weight. At 108 pounds for the complete setup, this is not a grab-and-go mount. I use a wheeled platform to move it from my garage to the backyard. If you plan to transport it to dark sky sites regularly, factor in the physical effort and vehicle space required. Some users have reported reliability issues with the RA drive, so purchasing from a dealer with good customer support is advisable.
The CGX integrates with Celestron’s CPWI software for PC control and supports ASCOM for third-party applications. I have used it with Stellarium, Cartes du Ciel, and NINA for imaging session automation. The hand controller provides full standalone operation when you do not want to connect a computer, with familiar NexStar menus and alignment procedures that Celestron users will find intuitive.
The CGX is the right choice if you are running a heavy imaging payload above 30 pounds, such as a large Schmidt-Cassegrain or a long focal length refractor with a full accessories loadout. It is overkill for lightweight DSLR and lens setups. If your rig includes a large optical tube, filter wheel, electronic focuser, guide camera, and dew heating system, the CGX provides the payload headroom needed for stable, accurate tracking throughout the night.
GoTo functionality
Built-in WiFi
Illuminated polar scope
26-lb total kit
Pier extension included
The Sky-Watcher Star Adventurer GTI fills a unique niche: it is a full GoTo equatorial mount that is still portable enough for travel. I used this mount on a week-long astrophotography trip to Big Bend National Park, and it performed admirably for both wide-field and short focal length deep-sky imaging. The complete kit with tripod and pier extension weighs about 26 pounds, which is manageable for car camping and short hikes to a setup location.
Tracking accuracy exceeded my expectations for a mount in this size class. I achieved clean 3-minute unguided exposures at 135mm and 200mm focal lengths, with round stars and minimal tracking error. The built-in illuminated polar scope works well for quick alignment, and the pier extension raises the mount to a comfortable working height without needing an oversized tripod. When you add autoguiding through the ST4 port, you can push exposure times even further.
The GoTo functionality is the GTI’s headline feature. Using the SynScan app on your smartphone, you can select from thousands of celestial objects and the mount will slew to them automatically. When the app works correctly, it is a genuinely enjoyable experience. The built-in WiFi creates a direct connection between your phone and the mount, so you do not need internet access at your dark sky site.
However, the SynScan app is the mount’s Achilles heel, especially on Android. During my testing, the app failed to connect on roughly one out of three attempts. I had to restart the mount, toggle WiFi on my phone, and relaunch the app to get a stable connection. Once connected, it generally stays connected for the session. iOS users report fewer issues than Android users. There is no included hand controller, so you are dependent on the app or a computer connection for GoTo operation.
If the SynScan app frustrates you, connect the GTI to a laptop using the USB port and control it through ASCOM-compatible software. I use this method with NINA for automated imaging sequences, and it is far more reliable than the smartphone app. The ASCOM driver provides full GoTo control, slewing, and tracking rate adjustments from your planetarium software of choice.
The GTI strikes an impressive balance between portability and capability. It is not as light as a star tracker like the SkyGuider Pro, but it adds GoTo functionality and a more robust mounting platform. For astrophotographers who want computerized object location without committing to a 40-pound German equatorial mount, the GTI sits in a sweet spot that no other product in this roundup matches. Just be prepared for potential app frustrations and have a laptop as a backup control method.
30-lb payload
NexStar+ hand control
All-Star Polar Alignment
2-inch stainless steel tripod
Sidereal tracking
The Celestron Advanced VX has been a staple in the mid-range equatorial mount category for years, and for good reason. It delivers reliable computerized GoTo performance at a price point that serious beginners and intermediate astrophotographers can justify. I used the Advanced VX as my primary mount for about 18 months before upgrading, and during that time it taught me the fundamentals of polar alignment, GoTo operation, and autoguiding.
The 2-inch stainless steel tripod legs provide a noticeably more stable platform than the aluminum tripods found on cheaper mounts. Stability is the foundation of good tracking, and the Advanced VX delivers on this front. The mount supports up to 30 pounds, which accommodates a wide range of telescopes from small refractors to 8-inch SCTs for visual use and lighter setups for imaging.
The NexStar+ hand controller is straightforward to use once you learn the menu structure. It stores 40,000+ objects and offers multiple alignment procedures, including SkyAlign which simply requires you to point at three bright stars. The All-Star Polar Alignment routine is genuinely helpful, guiding you through polar alignment using any bright star rather than requiring you to see Polaris through a polar scope. This is a real advantage for imagers with obstructed northern horizons.
My main frustrations with the Advanced VX were minor but consistent. The lack of built-in GPS means you need to enter your location manually or connect a GPS accessory. The power supply uses a 12V cigarette lighter adapter instead of a standard AC power cord, which is annoying when you are imaging from home and have to use an adapter. Some users, including a friend of mine, received units with scuffed or damaged hand controller displays straight from the factory. Celestron’s quality control on this model could be tighter.
For astrophotography, the Advanced VX delivers acceptable tracking accuracy with autoguiding. I achieved RMS errors around 1.0 to 1.5 arcseconds with PHD2 guiding, which is sufficient for 2 to 3-minute exposures at moderate focal lengths up to about 500mm. The sidereal, solar, and lunar tracking rates handle different observation targets. For long focal length deep-sky imaging, you will want to add an autoguider to maintain accuracy throughout your exposures.
The Advanced VX works well for both visual astronomy and basic astrophotography. For visual use, the GoTo accuracy and tracking are more than adequate. For astrophotography, it handles lightweight imaging rigs well but shows its limitations with heavier payloads at longer focal lengths. If your primary goal is astrophotography at focal lengths above 600mm, consider stepping up to a mount with higher payload capacity and better periodic error characteristics.
Wi-Fi smartphone control
Modular camera mounting
Deluxe equatorial base
7-lb total weight
Multiple tracking rates
The Sky-Watcher Star Adventurer 2i Pro Pack is the mount I recommend most often to friends who want to try astrophotography for the first time. It takes the DSLR and lens setup you already own and turns it into a capable nightscape imaging platform without requiring a full telescope mount. I have gifted this tracker to two family members who were interested in Milky Way photography, and both were capturing long-exposure nightscapes within their first session.
The modular design is clever. The Star Adventurer 2i mounts between your photographic tripod head and your camera, using standard 3/8-inch and 1/4-inch threading. The Pro Pack includes the deluxe equatorial base, which provides the fine latitude and azimuth adjustments needed for polar alignment. The Wi-Fi control through the SAM Console app lets you start and stop tracking, adjust tracking speed, and control camera shutter from your smartphone. For time-lapse photography, the built-in intervalometer functions are a bonus.
Tracking accuracy is solid when the mount is properly balanced and polar aligned. I have achieved clean 60 to 90-second exposures at 200mm and exposures up to 3 minutes at 50mm with round stars. The learning curve for polar alignment is real, though. My first two sessions produced slightly trailed stars because I had not mastered the polar scope alignment technique. Once you understand the process, which involves matching the reticle pattern in the polar scope to the position of Polaris and its companion stars, alignment becomes quick and repeatable.
Build quality is generally good, but some small details let it down. The battery cover is flimsy and does not always stay secured during transport. The power mode switch on the side is too easy to accidentally toggle when packing the mount in a bag, which can drain your batteries before you even arrive at your imaging location. Small parts like the lens cap and polar adapter are easy to lose in the dark, so I keep them in a small zippered pouch attached to my tripod bag.
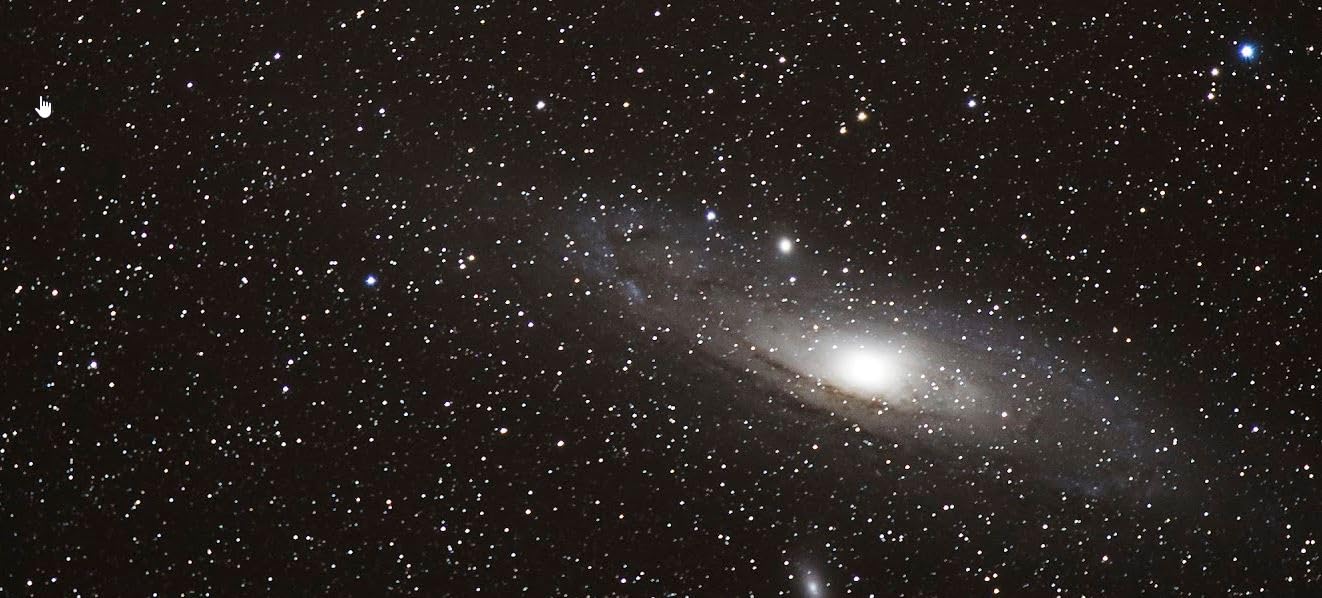
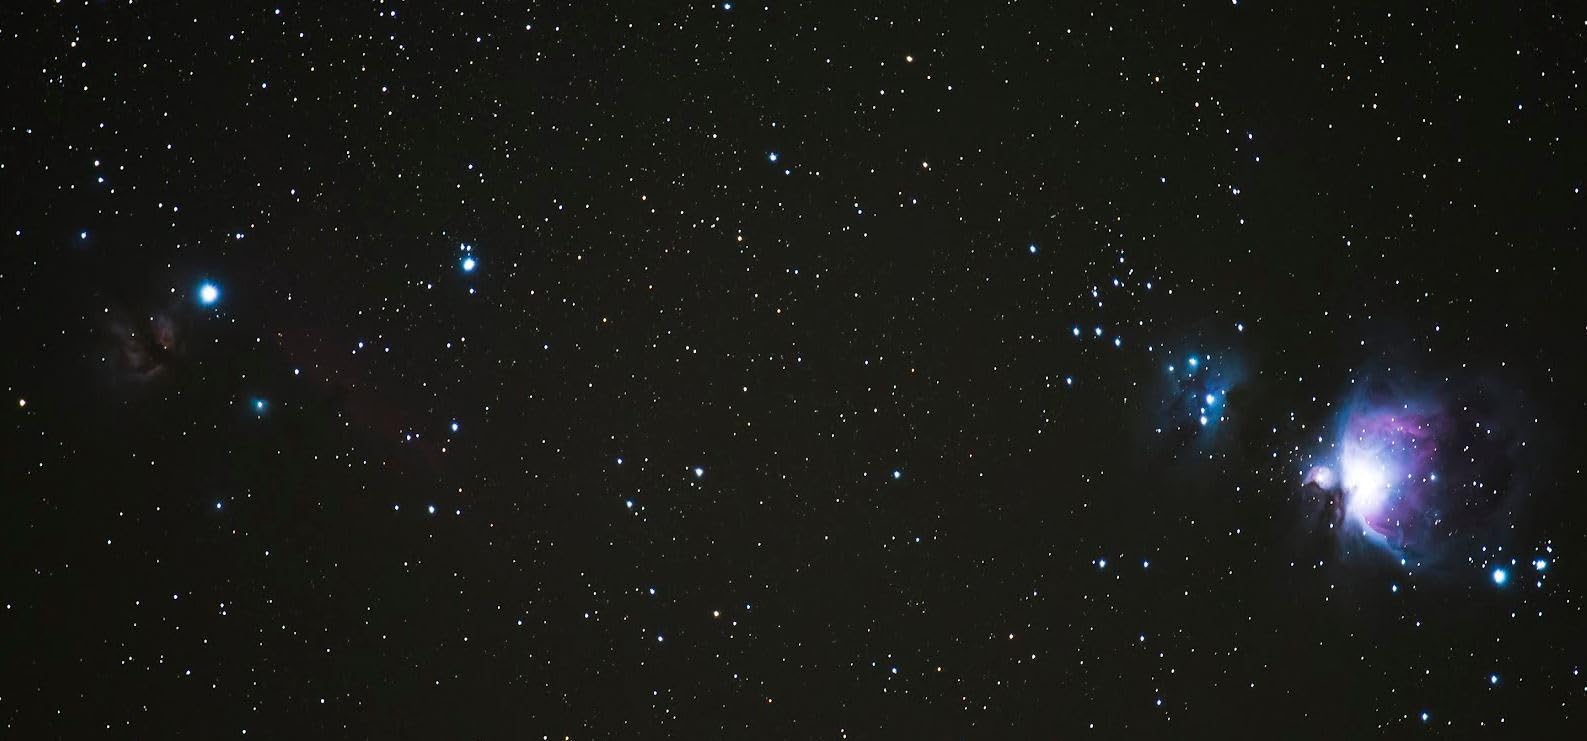
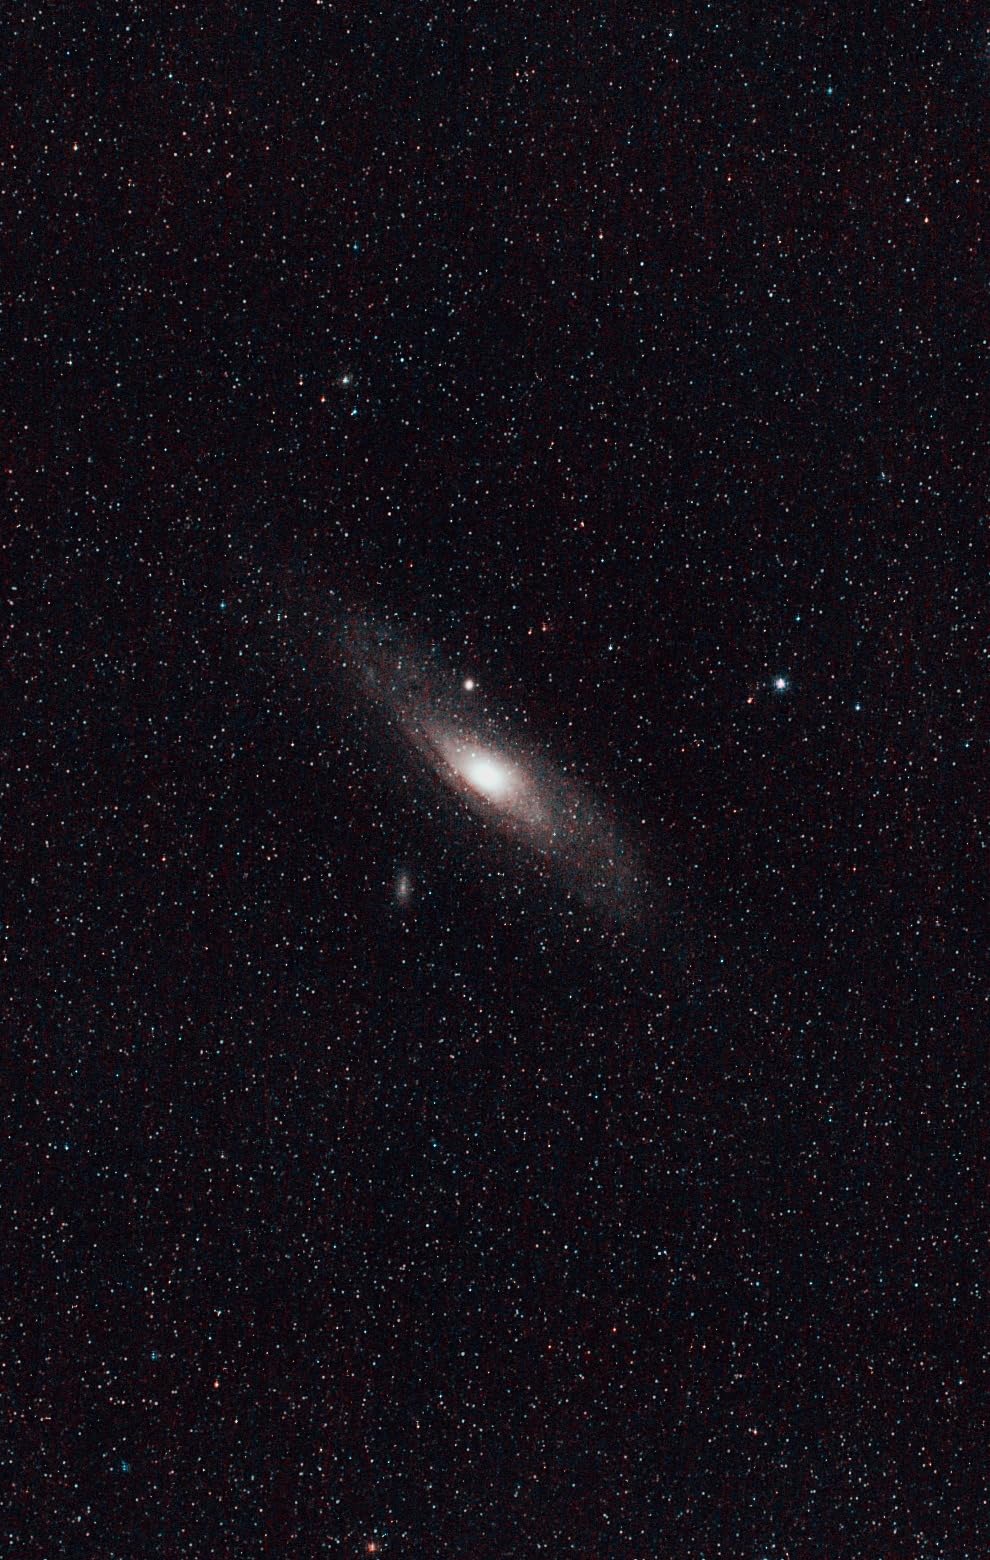
If you are new to equatorial tracking, start with wide-field Milky Way photography at 24mm to 50mm focal lengths. These focal lengths are forgiving of slight polar alignment errors and let you build confidence with the mount’s operation. Use the SAM Console app to practice polar alignment during daylight first, pointing the polar scope at a distant object to learn the reticle pattern. Once comfortable, move to longer focal lengths and deeper sky targets like the Andromeda Galaxy or Orion Nebula.
The Star Adventurer 2i runs on AA batteries or an external power supply. I recommend investing in a 12V power bank with a compatible cable for extended sessions, as AA batteries drain quickly in cold weather. A good power bank will last through multiple nights of imaging and eliminates the worry about the flimsy battery compartment door. Some users also modify the mount with a direct USB power connection for even more reliable power delivery.
20-lb payload
Manual slow-motion controls
Stainless steel tripod legs
33-47 inch height range
German equatorial design
The Celestron CG-4 is a traditional manual German equatorial mount that appeals to visual observers who want straightforward operation without the complexity of computerized GoTo systems. I keep one of these in my collection for those nights when I just want to point a telescope at the moon or planets without spending 20 minutes on alignment and setup procedures. It is a grab-and-go mount in the truest sense.
The build quality is where the CG-4 justifies its existence. The 1.75-inch diameter stainless steel tripod legs are rock-solid, and the manual slow-motion controls on both axes move smoothly with no noticeable slop or backlash. Tracking a planet at high magnification by turning the right ascension slow-motion knob is satisfying in a way that pressing a button on a hand controller never is. The 20-pound payload capacity handles 4 to 6-inch refractors and small reflectors with ease.
For astrophotography, the CG-4 is limited unless you add the optional motor drive. Without motorized tracking, your exposure times are limited to what you can manage by manually turning the slow-motion control, which effectively means exposures of a few seconds at most. With the dual-axis motor drive accessory installed, you can achieve basic tracked exposures, but the periodic error of the worm gear will limit your exposure times compared to higher-end mounts.
The weight is the primary drawback. At 35 pounds with counterweights, the CG-4 is heavy enough that casual portability is not really its strength. The setting circles on both axes are too small for precise coordinate-based finding, and there is no GoTo capability to help locate faint deep-sky objects. This is a mount for people who enjoy the manual experience of star-hopping and learning the night sky through direct observation.
For pure visual observation, the CG-4 delivers a premium experience. The smooth manual controls and stable tripod provide steady views even at high magnification. Star-hopping to find deep-sky objects builds your knowledge of the night sky in a way that GoTo mounts never will. If you enjoy the process of learning constellations, using a star chart, and manually finding targets, the CG-4 rewards that approach with satisfying, vibration-free views.
If you want to attempt basic astrophotography with the CG-4, Celestron offers a dual-axis motor drive that replaces the manual slow-motion knobs with small stepper motors. This enables sidereal tracking for longer exposures, though you should expect exposure limits of about 30 to 60 seconds due to periodic error in the worm gear. It is not a substitute for a dedicated astrophotography mount, but it allows you to capture tracked images of bright deep-sky objects like the Orion Nebula or Pleiades with short focal length setups.
PMC-Eight multi-processor system
WiFi and Bluetooth
ST4 autoguide port
ExploreStars app
Clutched dual-axis worm gears
The Explore Scientific iEXOS-100-2 offers GoTo functionality at the lowest price point in this roundup, making it an interesting option for beginners on a tight budget. The standout feature is the PMC-Eight system, which uses 8 independent processors to control mount operations. This distributed computing approach is technically impressive and provides smoother tracking than you might expect at this price. I tested one over several nights to see whether the budget price meant budget performance.
The hardware is surprisingly capable for the cost. The clutched dual-axis worm gears with belt-drive stepper motors operate quietly, and the clutches allow you to manually reposition the mount without losing your alignment. The WiFi and Bluetooth connectivity options give you flexibility in how you control the mount, and the ST4 autoguide port means you can add autoguiding for improved tracking accuracy. At its core, this mount has the features needed for entry-level astrophotography.
Where the iEXOS-100-2 falls short is in the details and accessories. There is no polar scope included, which means you need to rely on the polar alignment sight hole through the RA axis or purchase a polar scope separately. More frustrating is the absence of azimuth fine-tuning knobs, which makes precise polar alignment significantly harder than it should be. Several users have 3D-printed or purchased aftermarket azimuth adapters to solve this problem, but you should not need to do that on any mount, regardless of price.
The ExploreStars app is functional but has a learning curve. The interface is not as polished as Celestron’s NexStar or Sky-Watcher’s SynScan apps, and I experienced occasional WiFi connectivity drops during my testing. The requirement for 8 C batteries is also a concern. C batteries are expensive and the weight adds up. Most users quickly switch to a rechargeable power supply, which adds to the effective cost of the setup.
The USB connection for PC control is a welcome feature that partially compensates for the app limitations. Through ASCOM, you can control the mount from planetarium software and use PHD2 for autoguiding. This is how I achieved my best results with the iEXOS-100-2, bypassing the app entirely and using a laptop for mount control and guiding. If you are comfortable with ASCOM software, the mount becomes significantly more capable.
The iEXOS-100-2 makes sense for two specific situations. First, if you are an absolute beginner who wants to try computerized GoTo mount operation without spending much, and you are willing to work around its limitations. Second, if you already own a laptop and are comfortable using ASCOM software, you can leverage the USB connection to get solid performance from this mount. Just factor in the additional cost of a polar scope and possibly an azimuth adapter when comparing it to other options.
Choosing the best equatorial telescope mount for your needs comes down to matching the mount’s capabilities to your specific imaging goals, equipment, and observing habits. After working with all of these mounts, here is how I think about the key decision factors.
Payload capacity determines how much weight the mount can carry while maintaining accurate tracking. The general rule in the astrophotography community is to stay at about 50 to 60 percent of the rated payload capacity for imaging work. If a mount is rated for 44 pounds like the EQ6-R, plan your imaging rig to weigh no more than 25 to 28 pounds for best results. Visual observers can push closer to the rated limit because brief vibrations are less noticeable when looking through an eyepiece. When calculating your total payload, include everything: optical tube, camera, guide scope, filter wheel, dew heater, focuser, and any mounting hardware.
GoTo mounts like the EQ6-R and Advanced VX use motorized axes and a computerized hand controller to automatically slew to celestial objects. This is valuable for finding faint deep-sky targets that are invisible to the naked eye. Manual mounts like the CG-4 require you to find objects by star-hopping or using setting circles. For astrophotography, GoTo is nearly essential because you often need to frame targets precisely and return to the same object across multiple nights. For casual visual observation, a manual mount can be more enjoyable and teaches you the night sky more thoroughly.
Polar alignment is the process of pointing the right ascension axis of your mount precisely at the celestial pole. This alignment determines how accurately the mount tracks the sky’s rotation. Even a small polar alignment error causes field rotation over time, which degrades your images with elongated stars in the corners of your frame. Mounts with built-in illuminated polar scopes, like the EQ6-R and SkyGuider Pro, make this process faster. The All-Star Polar Alignment feature on Celestron mounts provides an electronic alternative. Software-assisted methods using PHD2’s drift alignment tool or SharpCap’s polar alignment routine can get you extremely precise alignment in under 5 minutes.
Tracking accuracy is measured in arcseconds of RMS error, and lower numbers mean better tracking. Unguided tracking relies solely on the mount’s internal gears and motors, which always have some periodic error. Autoguiding uses a separate guide camera and software like PHD2 to make real-time corrections, typically reducing tracking errors by 50 to 80 percent. If you plan to do deep-sky astrophotography at focal lengths above 200mm, autoguiding is essentially mandatory. All of the full-size mounts in this roundup have ST4 autoguide ports, and the star trackers can be guided through their tracking interfaces with additional hardware.
The heaviest mount in this roundup, the Celestron CGX at 108 pounds, delivers the best tracking and highest payload. The lightest, the iOptron SkyGuider Pro at 2.2 pounds, gives you tracking on the go with a much smaller payload. Where you image matters as much as what you image. If you observe from your backyard every night, weight is less of a concern than stability and payload. If you drive 2 hours to a dark sky site every new moon weekend, a mount you can carry and set up in under 15 minutes will get used more often than one that feels like a chore to transport. I own both a heavy imaging mount and a portable tracker because different sessions call for different setups.
The Sky-Watcher EQ6-R is the best overall equatorial mount for astrophotography due to its 44-pound payload capacity, whisper-quiet belt-driven motors, and sub-arcsecond guiding accuracy. For beginners or those wanting a portable option, the iOptron SkyGuider Pro offers excellent tracking in a 2.2-pound package. The best choice depends on your payload needs, budget, and whether you need GoTo functionality.
GoTo equatorial mounts use motorized axes and a computerized database to automatically locate and track celestial objects. Manual equatorial mounts require you to find objects yourself using star-hopping, setting circles, or a finderscope. GoTo mounts are faster for finding faint targets and nearly essential for astrophotography, while manual mounts cost less, have fewer electronics to fail, and teach you the night sky more thoroughly through direct observation.
Start by calculating your total imaging payload weight including telescope, camera, guide scope, and accessories. Choose a mount rated for at least 1.5 to 2 times that weight for best tracking performance. Verify the mount has an autoguide port for PHD2 or similar guiding software. Look for a built-in polar scope or software-assisted polar alignment capability. Finally, ensure the tracking accuracy meets your focal length needs: longer focal lengths require tighter tracking tolerances.
For astrophotography, your mount should carry roughly 1.5 to 2 times your actual imaging payload. A typical beginner deep-sky setup with a small refractor, guide scope, and camera weighs about 10 to 15 pounds, which means a mount rated for 20 to 30 pounds. Heavier rigs with SCTs, filter wheels, and full accessory loads can weigh 25 to 35 pounds, requiring mounts rated for 40 to 55 pounds like the Sky-Watcher EQ6-R or Celestron CGX.
Equatorial mounts have a steeper learning curve than alt-azimuth mounts because they require polar alignment, an understanding of right ascension and declination coordinates, and proper balancing on both axes. The setup process takes longer, and mistakes in alignment or balancing directly affect tracking performance. However, this reputation is somewhat overstated. Many beginners successfully start with simple star trackers like the iOptron SkyGuider Pro or Sky-Watcher Star Adventurer, which simplify the equatorial concept into an accessible entry point for tracked astrophotography.
After years of testing these mounts under dark skies and comparing their performance side by side, my top recommendation depends entirely on where you are in your astrophotography journey. If you are just starting out and want to capture the Milky Way and bright deep-sky objects with your existing camera, the iOptron SkyGuider Pro gives you the best balance of portability, tracking accuracy, and value. It is the tracker I reach for most often because it is always easy to set up and use.
For intermediate to advanced astrophotographers building a dedicated imaging setup, the Sky-Watcher EQ6-R delivers the tracking precision, payload capacity, and software compatibility needed for serious deep-sky work. Its belt-driven motors and sub-arcsecond guiding capability make it the best equatorial telescope mount for the money in the mid-premium category. If your budget and payload requirements are even higher, the Celestron CGX provides the extra capacity needed for heavy rigs.
The most important advice I can give is to invest in the best mount you can afford, even if it means spending less on your telescope or camera. A mediocre telescope on a great mount will always produce better results than a great telescope on a mediocre mount. Take the time to learn polar alignment properly, balance your setup carefully, and practice autoguiding. These fundamentals matter more than any single piece of equipment. Clear skies and tight guiding to you.