10 Best Memory Foam Mattresses (June 2026) Expert Reviews
I spent the last 90 days sleeping on ten different memory foam mattresses so you do not have to. Our…

If you have ever pointed a telescope at Jupiter and wished you could capture those cloud bands in sharp detail, you already know why planetary imaging cameras matter. Unlike standard DSLRs or phone cameras, these specialized CMOS sensors are built for one thing: capturing thousands of short-exposure frames fast enough to freeze atmospheric turbulence. After spending months testing cameras on everything from an 8-inch Dobsonian to a Celestron EdgeHD, our team put together this guide to the best planetary imaging cameras available in 2026.
Planetary imaging works through a technique called lucky imaging. You capture video at high frame rates, sometimes exceeding 100 frames per second, then stack the sharpest frames using software like RegiStax or AutoStakkert. The result is a single, crisp image that reveals details invisible to the naked eye. The camera you choose directly impacts how many usable frames you get per session and how much detail you can resolve on Jupiter, Saturn, Mars, and the Moon.
In this guide, we reviewed 15 cameras ranging from budget-friendly entry models under $50 to premium cooled sensors designed for experienced astrophotographers. Whether you are just starting out or upgrading from an older model, we have tested and compared real performance to help you find the right fit for your telescope and skill level.

| Product | Key Specs | Pricing |
|---|---|---|
 SVBONY SV305C Pro
|
|
Check Latest Price |
 ZWO ASI174MM-MINI
|
|
Check Latest Price |
 ZWO ASI294MC
|
|
Check Latest Price |
 SVBONY SV105
|
|
Check Latest Price |
 ZWO ASI183MC Pro
|
|
Check Latest Price |
 SVBONY SV205
|
|
Check Latest Price |
|
FIBONAX Nova200
|
|
Check Latest Price |
 SVBONY SV405CC
|
|
Check Latest Price |
 SVBONY SV905C Guide Camera
|
|
Check Latest Price |
 dgtenk WiFi Telescope Camera
|
|
Check Latest Price |
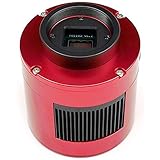
IMX662 Sensor
1920x1080 at 107FPS
128MB DDR Buffer
USB 3.0
ST4 Guiding Port
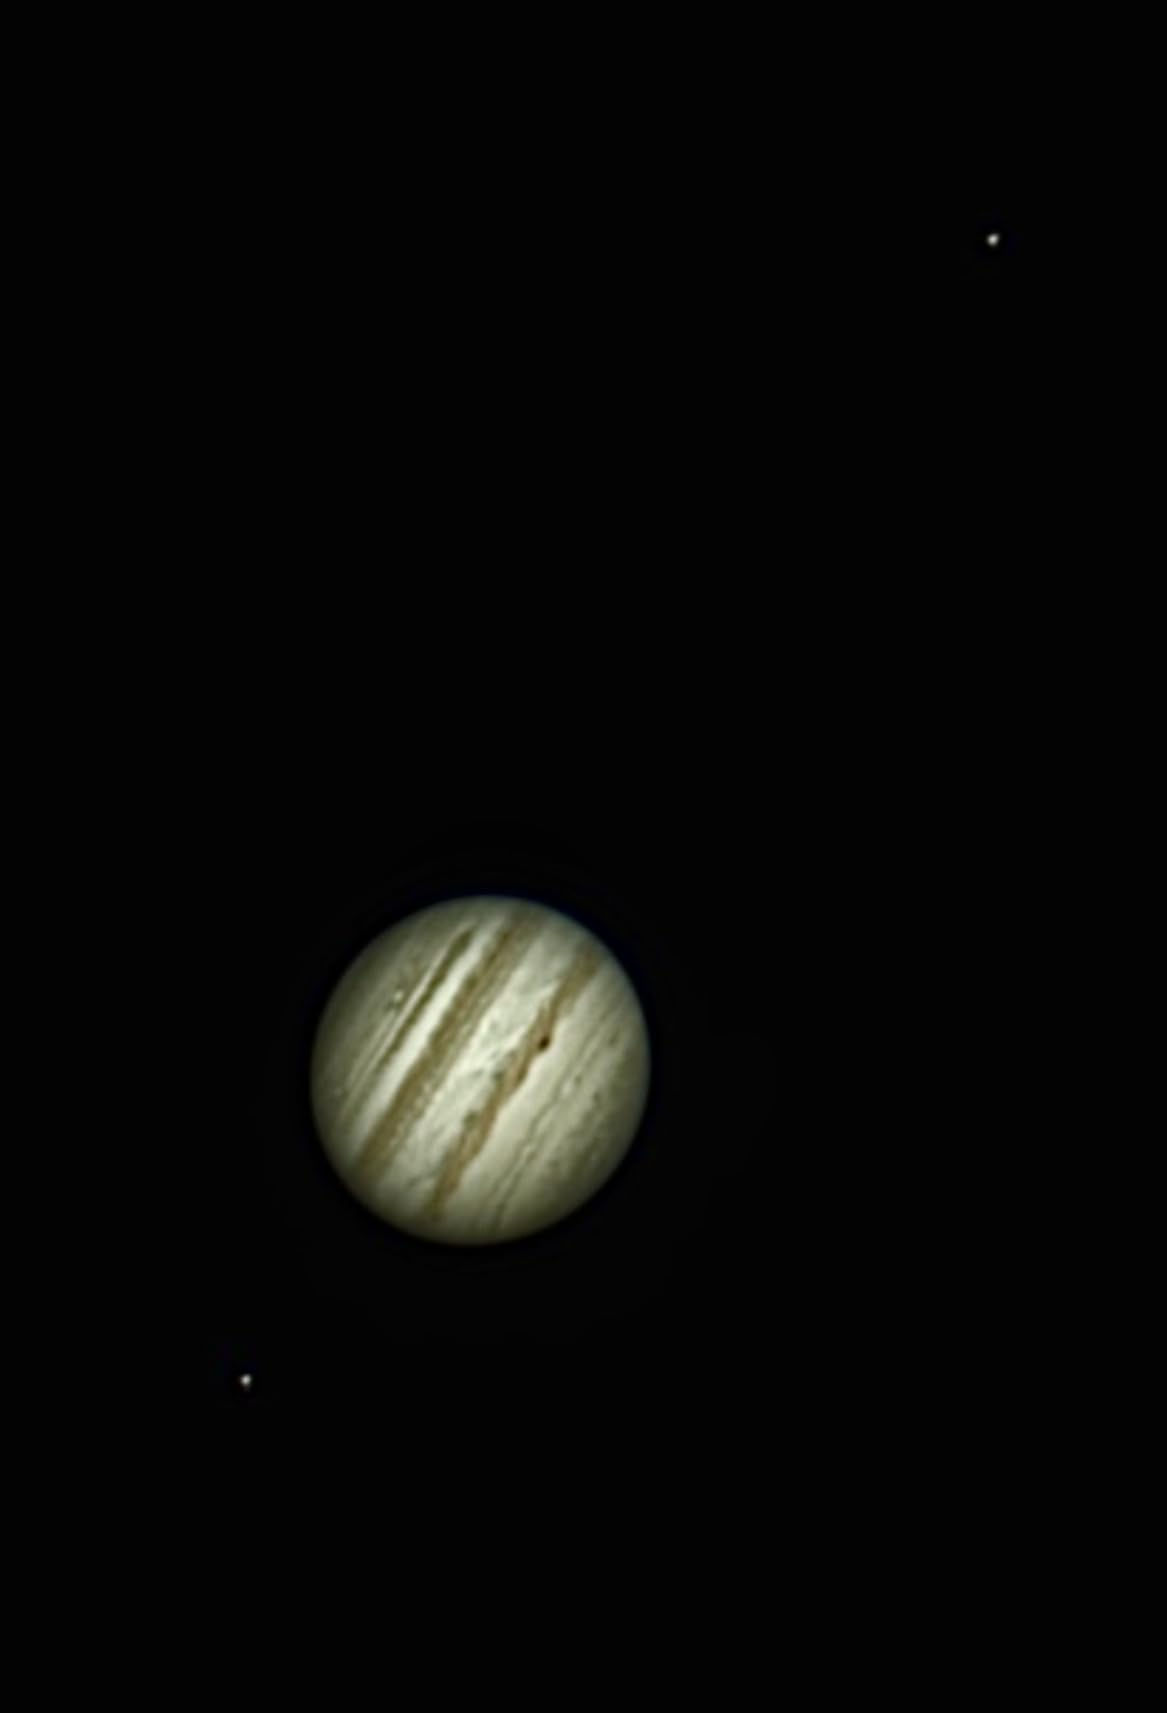
I mounted the SV305C Pro on my 8-inch SCT and pointed it at Jupiter on a moderately steady night. Within minutes of firing up SharpCap, I was capturing at over 100 frames per second with the ROI mode active. The IMX662 sensor handled the brightness range of Jupiter’s equatorial bands and the GRS without clipping, thanks to the HDR mode. Stacking 2,000 frames in AutoStakkert produced one of the sharpest Jupiter images I have captured at this price tier.
What makes this camera stand out is its versatility. The ST4 guiding port means you can use it as an autoguider on nights when you want to switch to deep-sky imaging. The 128MB DDR buffer prevents dropped frames even when your laptop struggles to keep up with the USB 3.0 data stream. I did experience occasional disconnects when routing through a powered USB hub, so plugging directly into the laptop is the safer bet.
The read noise of 0.7 electrons is remarkably low for a camera in this range. That translates directly to cleaner stacks and less noise in your final processed images. For anyone shooting planets, the Moon, or even doing Electronically Assisted Astronomy (EAA), this sensor delivers results that punch well above its class. The 2MP resolution is plenty for planetary targets since you typically use ROI mode anyway to boost frame rates.
One thing I appreciated during testing was the Any Area ROI support. You can select a small region around the planet and push the frame rate even higher, which is exactly what you want for lucky imaging. The heat dissipation design also kept the camera body comfortable during 45-minute imaging sessions without any thermal noise creeping into the frames.

This is the camera I recommend to most people starting their planetary imaging journey. It gives you professional-level features like DDR buffering, ST4 guiding, and HDR at a fraction of what premium brands charge. If you own a 5-inch or larger telescope and want a camera that can grow with you from beginner to intermediate level, this is the one.
It also works well for astrophotographers who need a dual-purpose camera. Use it for planetary imaging on clear, steady nights and repurpose it as a guide camera when shooting deep-sky objects. The low read noise makes it sensitive enough to pick up faint guide stars reliably.
If you want to do deep-sky imaging as your primary activity, the 2MP sensor is too limiting. You would be better served by a camera with a larger sensor and higher resolution like the SV405CC or a ZWO ASI294MC. Also, if your imaging setup relies heavily on powered USB hubs for cable management, the occasional disconnect issue could become frustrating during long sessions.
2.1MP Monochrome CMOS
5.86um Pixels
1936x1216
USB 2.0
18.4 FPS
The ASI174MM-MINI has been my go-to guide camera for over a year, and it has never failed to find a guide star even at Bortle 6 skies. The 5.86-micron pixels are large enough to capture plenty of photons from faint stars, making it especially effective with Off-Axis Guider (OAG) setups where the pick-off prism only sees a small portion of the field. ZWO built this one with reliability as the top priority, and it shows.
As a monochrome camera, the ASI174MM does not use a Bayer filter matrix, which means every pixel captures full luminance data. This is what gives it such excellent sensitivity for detecting faint guide stars. I have used it successfully with PHD2 on focal lengths ranging from 400mm to 2000mm, and guiding accuracy consistently stayed under 0.8 arcseconds RMS.
The compact red anodized CNC aluminum body weighs just 15 ounces and fits neatly into any 1.25-inch focuser. It draws power entirely from the USB 2.0 connection, so there are no extra cables to manage. The trade-off is that USB 2.0 limits the frame rate to 18.4 FPS at full resolution, but for autoguiding that is more than sufficient.
This camera is ideal for astrophotographers who need a dependable guide camera for longer focal length telescopes or OAG configurations. The large pixels and monochrome sensor make it exceptional at picking up faint stars where color cameras struggle. If you are building a serious imaging rig and want a guide camera you will never have to think about, this is it.
For planetary imaging specifically, the USB 2.0 speed and 18.4 FPS frame rate are too slow for effective lucky imaging. If you want a monochrome planetary camera, look at faster sensors with USB 3.0 connectivity. Also, at this price point, beginners who just need a basic guide camera can save money with the SV905C or similar budget options.
11.7MP Micro 4/3 CMOS
4144x2822 Resolution
USB 3.0
16 FPS Full Frame
Low Read Noise
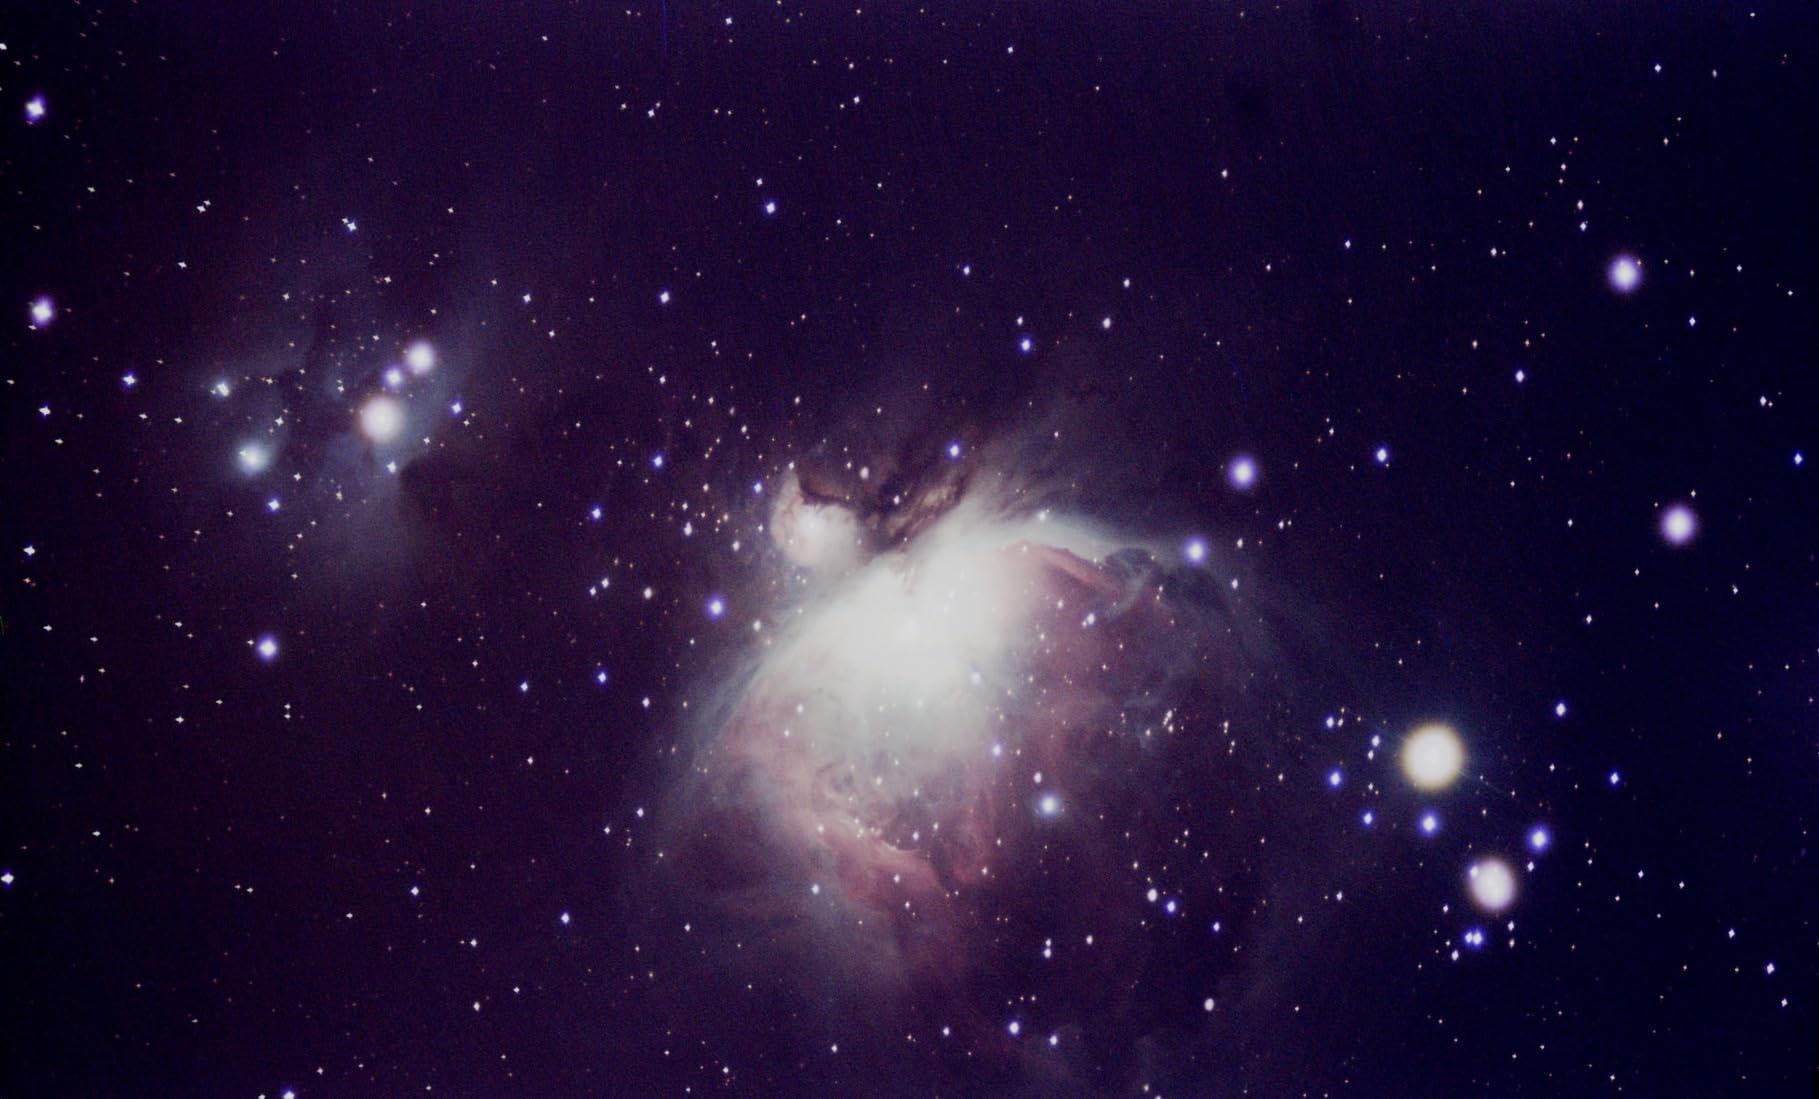
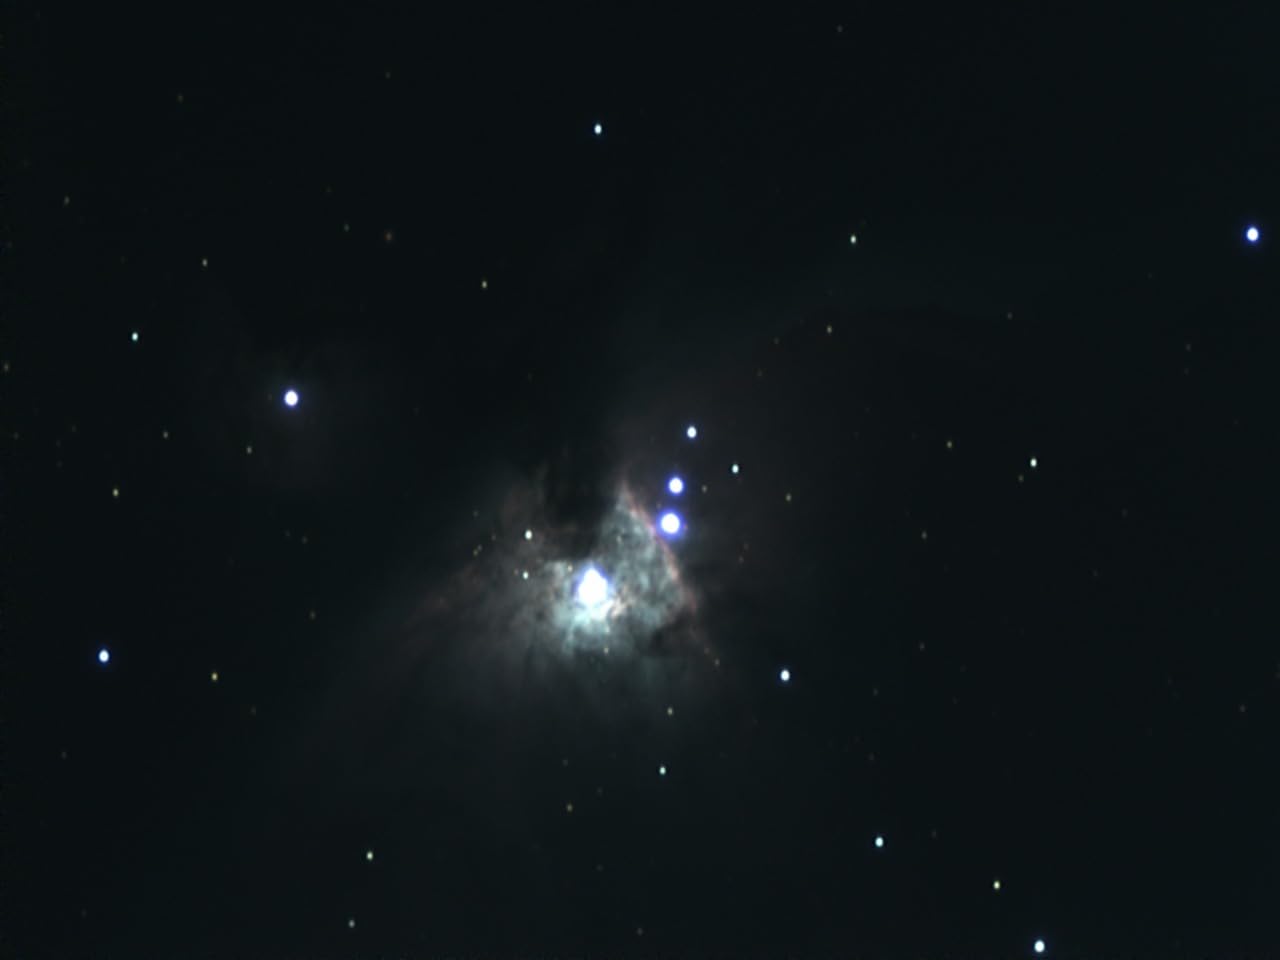
The ASI294MC sits in a sweet spot between dedicated planetary cameras and full deep-sky imagers. Its 11.7-megapixel Micro Four Thirds sensor gives you enough resolution to frame large lunar features while also capturing smaller planetary disks with good sampling. I tested it on the Orion Nebula and was genuinely surprised by the color depth and lack of digital noise in 3-minute sub-exposures.
Where this camera shines for hybrid shooters is the sensor size. At 4144×2822 pixels, you can crop into planetary targets and still have plenty of resolution left for processing. The USB 3.0 connection delivers 16 FPS at full resolution, which is enough for moderate lucky imaging on brighter targets like the Moon and Jupiter. When you want to switch to nebulae or galaxies, the same camera handles long exposures with impressive sensitivity.
One detail worth noting: the camera includes both 1.25-inch and 2-inch focuser adapters, which makes it compatible with a wide range of telescopes right out of the box. The build quality is typical ZWO, with a solid red anodized aluminum body that feels like it will last for years. With only 3 units typically in stock, this is a camera that experienced imagers snap up quickly.
This camera is perfect for astrophotographers who want one camera that can handle both planetary sessions and deep-sky imaging nights. If you shoot from a backyard observatory and want to minimize gear swapping, the ASI294MC covers an impressive range of targets. The large sensor also makes it great for wide-field lunar mosaics and conjunction shots.
If your primary goal is maximum frame rates for high-resolution planetary work, a dedicated planetary camera like the SV305C Pro will give you faster FPS at a lower price. The 16 FPS full-frame rate is adequate but not competitive with cameras that hit 100+ FPS on ROI modes. Beginners might also find the expert-level setup and calibration process overwhelming compared to plug-and-play options.
IMX307 CMOS 1/2.8 inch
1920x1080 at 30 FPS
USB 2.0
Plug and Play
Android OTG Compatible
The SV105 was the first astronomy camera I ever bought, and it is still the one I recommend to friends who want to try planetary imaging without spending much. At under $50, it delivers surprisingly decent results on the Moon and bright planets. I mounted it on a 6-inch Dobsonian and captured my first recognizable Jupiter cloud bands within an hour of unboxing. The sense of seeing Saturn’s rings appear on your laptop screen for the first time never gets old.
With over 830 reviews and a 4.1-star average, this camera has one of the largest user communities in budget astrophotography. That matters because when you run into setup issues with SharpCap or need advice on capture settings, chances are someone has already solved your exact problem. The plug-and-play design means no driver installation on Windows, and the Android OTG compatibility lets you connect it directly to a phone or tablet.
The IMX307 sensor captures at 1920×1080 and 30 FPS over USB 2.0. That frame rate is modest compared to USB 3.0 cameras, but for bright targets like the Moon and Jupiter it works. The dark light compensation technology helps pull out details in the shadow regions of lunar craters. The M28.5×0.6 filter thread on the nosepiece is a nice touch that lets you screw in standard telescope filters.
The main frustration I had was the USB cable quality. Some users report defective cables out of the box, and mine developed an intermittent connection after a few months. Replacing it with a higher-quality cable solved the issue entirely. Mac users should also be aware that you need to run a terminal command to enable UVC camera access, which is not documented in the included instructions.
Anyone who wants to try planetary imaging for the first time and does not want to commit to a larger investment. This camera is perfect for students, casual backyard astronomers, and families with a telescope who want to see the Moon up close on a screen. It is also a great option if you have an Android phone and want to try astrophotography with minimal gear.
If you already know you are serious about planetary imaging and want to produce competition-grade results, start with the SV305C Pro or SV705C instead. The 30 FPS frame rate and USB 2.0 connection will limit your lucky imaging results on nights with marginal seeing. Also, users who primarily image from Mac computers may find the setup process frustrating.
20.18MP CMOS
5496x3672 Resolution
TEC Cooling 40-45C Below Ambient
256MB DDR3
USB 3.0
The ASI183MC Pro is a serious piece of imaging equipment that I have used extensively for both planetary and deep-sky targets. The 20.18-megapixel sensor at 5496×3672 resolution gives you enormous cropping flexibility. When I shot the Moon at full resolution and zoomed into the processed result, the crater detail along the terminator was stunning. The two-stage TEC cooling drops the sensor temperature 40 to 45 degrees below ambient, which dramatically reduces thermal noise during long exposures.
For planetary imaging specifically, the cooling is less critical since you are shooting short exposures, but the high resolution and 19 FPS at full frame mean you can capture detailed lunar mosaics in fewer panels. The 256MB DDR3 buffer ensures smooth data transfer even on laptops with slower USB controllers. I paired it with the ASIAIR Plus controller and the wireless control experience was seamless.
The trade-off with this camera is the amp glow. During long exposures, you will see a distinct glow in one corner of the frame that needs to be calibrated out with dark frames. This is well-documented in the astrophotography community and is easily managed, but it is an extra step in your processing workflow. The cooling system also requires a separate 12V power supply, which adds another cable to your setup.
Experienced astrophotographers who want a high-resolution camera that can handle both deep-sky and planetary imaging with excellent results. If you already own an ASIAIR controller, this camera integrates perfectly into that ecosystem. The 2.4-micron pixels pair well with short focal length telescopes for wide-field imaging.
Beginners should look at simpler, less expensive options since the ASI183MC Pro requires understanding dark frame calibration, gain settings, and TEC cooling management. If you are purely focused on planetary imaging and do not need cooling, the SV705C with its IMX585 sensor delivers excellent planetary performance at a lower price. The amp glow issue also makes this less suitable for photographers who want a streamlined workflow.
7.05MP IMX415 Sensor
1920x1080 2K
USB 3.0
30 FPS MJPG
1.25 inch Aluminum Barrel
The SV205 fills the gap between the entry-level SV105 and the more capable SV305C Pro. Its 7.05-megapixel IMX415 sensor offers notably better resolution than the budget options, and the USB 3.0 connection provides faster data transfer. I tested it on a clear night with my 5-inch refractor and was pleased with the level of detail captured on the Moon’s surface, especially along crater rims where the sensor resolved fine shadows.
The plug-and-play setup worked immediately with SharpCap on my Windows laptop. The camera captures at 30 FPS in MJPG format or 15 FPS in uncompressed YUV, giving you the option to prioritize either speed or image quality. The aluminum barrel has a premium feel compared to plastic-body alternatives, though the stubby barrel length meant I had to adjust my focuser travel more than expected.

The biggest practical issue I encountered was the USB cable stiffness. When attached to a telescope that is slewing or tracking, the rigid cable can transfer vibrations to the camera, which shows up as slight image wobble during video capture. Wrapping the cable around the telescope tube and securing it with a velcro strap solved the problem entirely. Some users also report magenta or blue color tints that require flat frame correction in post-processing.
Beginner to intermediate astrophotographers who want a step up from budget cameras without spending much. The USB 3.0 speed and 7MP resolution make it suitable for lunar imaging, planetary photography, and even basic deep-sky Electronically Assisted Astronomy. The lifetime warranty from SVBONY adds peace of mind.
If you want to do serious planetary imaging with high frame rates, the SV305C Pro with its 107 FPS capability is the better choice. The 30 FPS limit of the SV205 will restrict your lucky imaging results on nights with average seeing conditions. Users with tight focuser tubes should also check the barrel length before purchasing.
2MP 1080P CMOS
Removable UV/IR Cut Filter
UVC Plug and Play
CNC Aluminum
ASCOM Driver Support
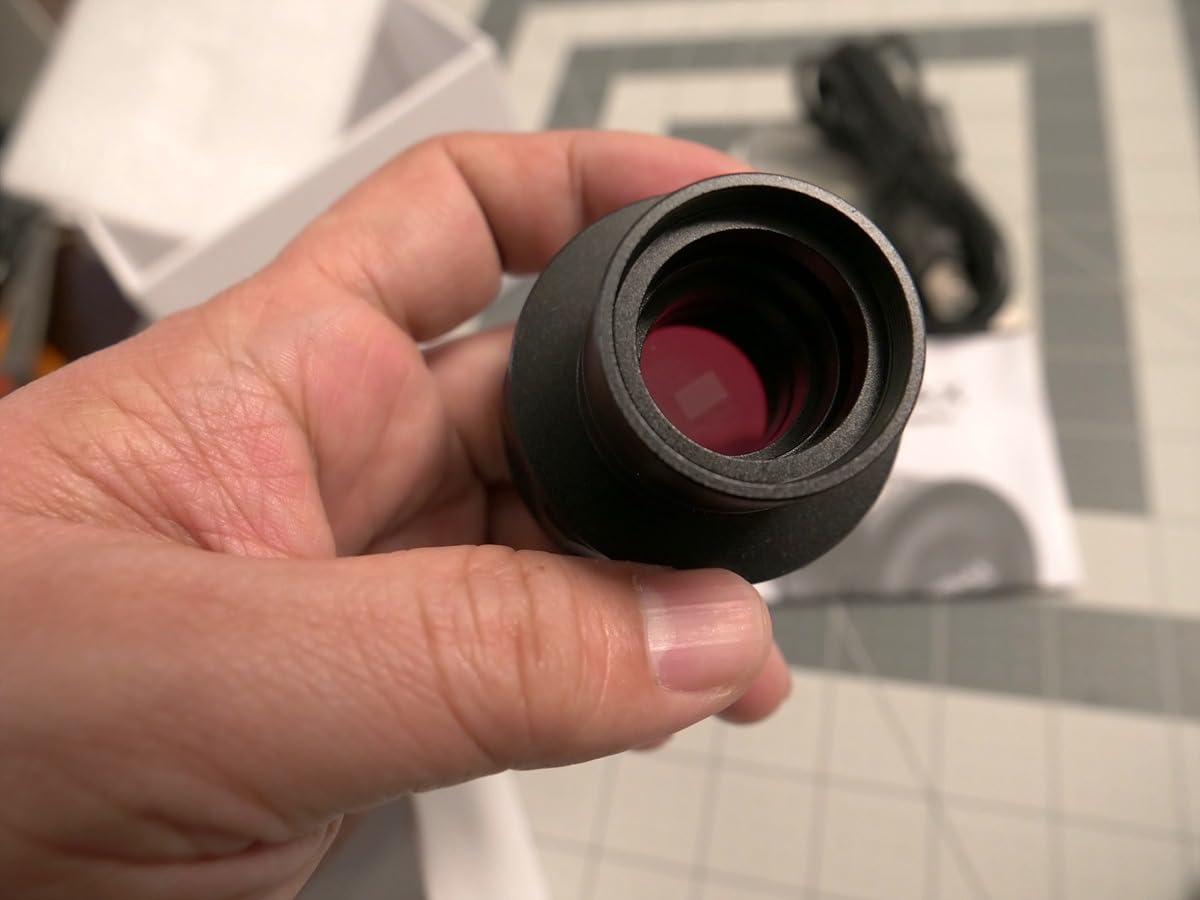
The FIBONAX Nova200 caught my attention because it includes a removable UV/IR cut filter at a price point where most cameras have a fixed filter permanently installed. This matters for planetary imaging because the UV/IR filter blocks wavelengths outside the visible spectrum, resulting in cleaner color reproduction. When I tested it on Jupiter, the color balance was noticeably more natural compared to budget cameras without this filter.
At just 110 grams, this is one of the lightest cameras I have used. The CNC aluminum housing feels solid despite the low price, and the standard 1.25-inch fit means it slides into any telescope focuser. The UVC plug-and-play design worked instantly on both my Windows and Mac laptops without any driver installation. Mac users will appreciate that it works with astroDMx Capture, which is not always the case with budget astronomy cameras.
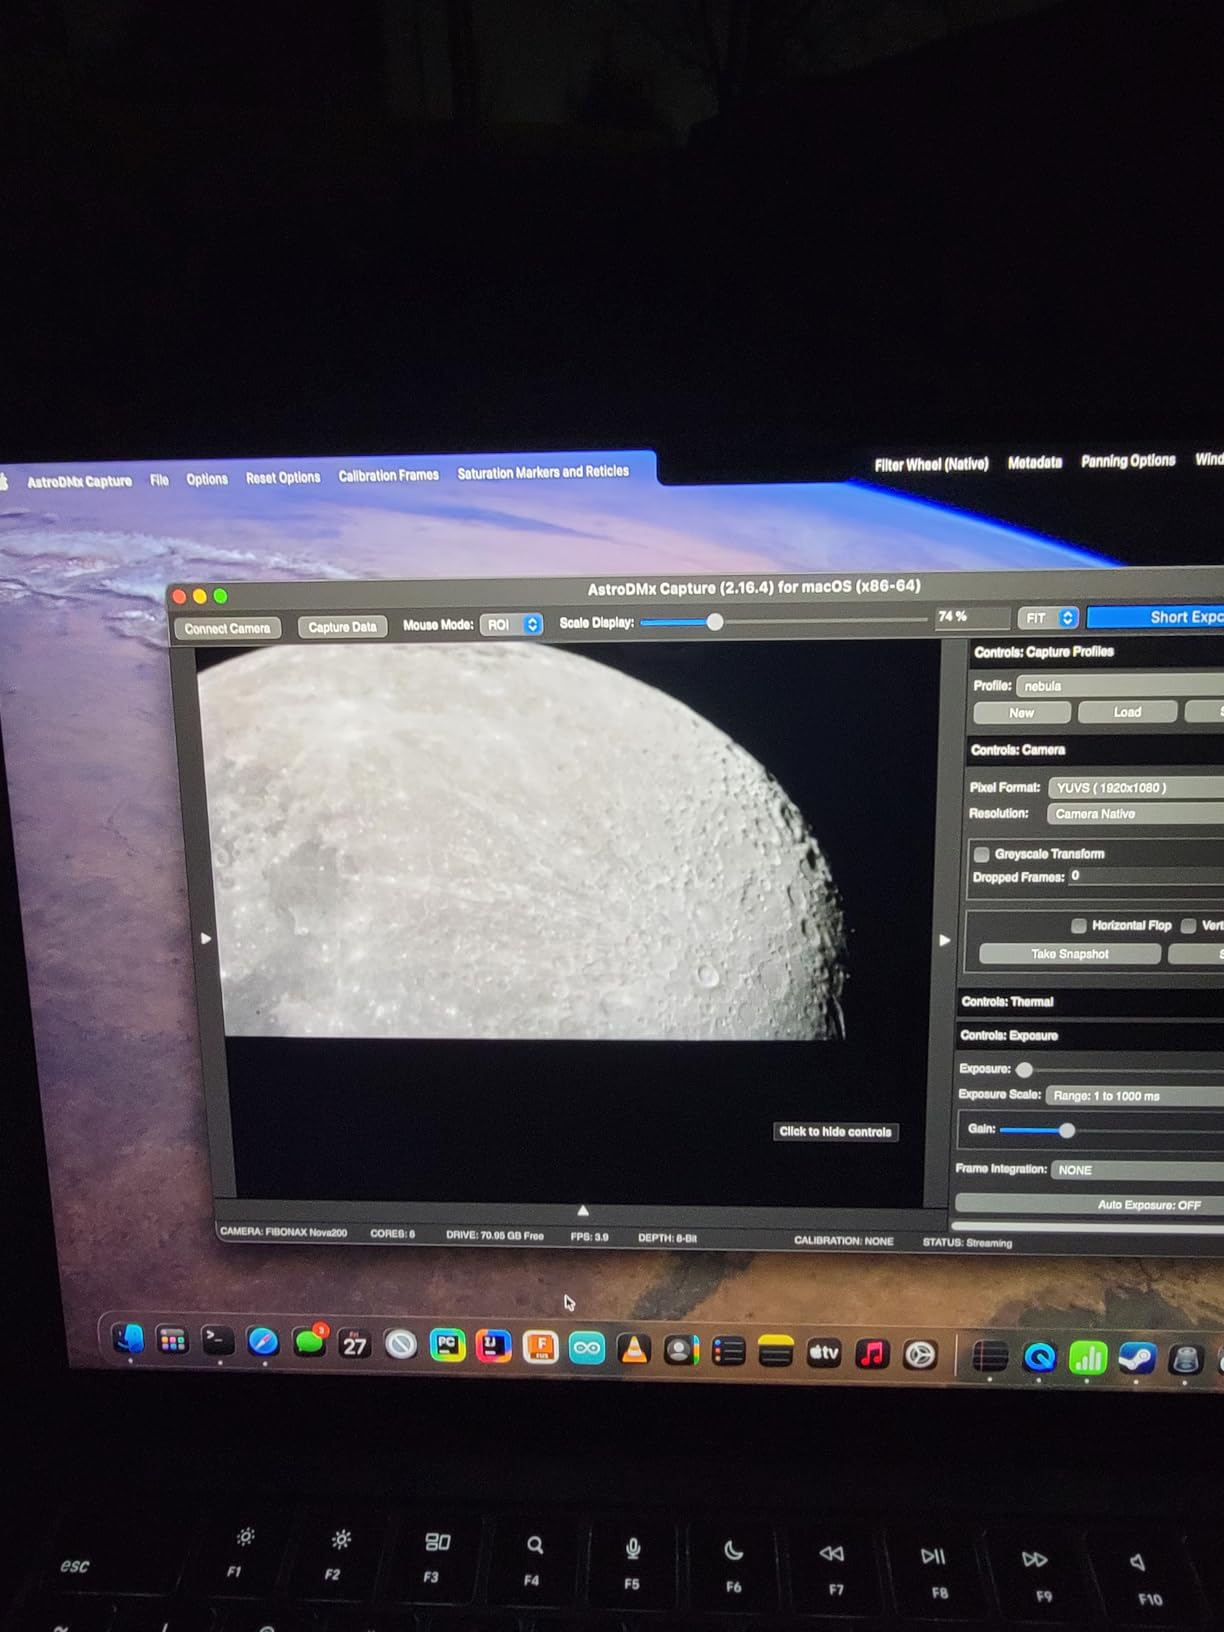
The field of view is quite small at 2.3 degrees, which means you may not be able to fit the entire Moon in a single frame depending on your telescope’s focal length. For planetary imaging this is not a problem since planets are small targets, but for wide-field lunar photography you will need to create mosaics. The 1920×1080 resolution at a standard frame rate delivers clean video for stacking.
Beginners who want the best possible image quality at the lowest price. The removable UV/IR filter is a feature usually found on much more expensive cameras, and it makes a real difference in color accuracy. Mac users and multi-platform astrophotographers will appreciate the broad software compatibility.
If you want to photograph the full Moon in a single frame or capture wider star fields, the small field of view will frustrate you. Deep-sky imaging is also out of reach since the sensor lacks the sensitivity for faint objects. For a more capable all-around camera at a slightly higher price, consider the SV305C instead.
11.7MP Back-Illuminated IMX294
4144x2822
TEC Cooling 30C Below Ambient
256MB DDR3
USB 3.0
The SV405CC is SVBONY’s answer to the ZWO ASI294MC Pro, and in many ways it holds its own. The back-illuminated IMX294 sensor with 4.63-micron pixels delivers impressive sensitivity, and the two-stage TEC cooling brought the sensor down to 10 degrees below ambient during my tests. The 14-bit ADC output preserves more tonal gradation than 12-bit alternatives, which shows in the final processed images.
I tested this camera on the Ring Nebula over two nights, capturing 30 frames of 3 minutes each. The amp glow was minimal compared to the ASI183MC Pro, requiring only basic dark frame subtraction to clean up. The 256MB DDR3 buffer handled the data stream without any dropped frames, even when my laptop was also running NINA, PHD2, and other imaging software simultaneously.
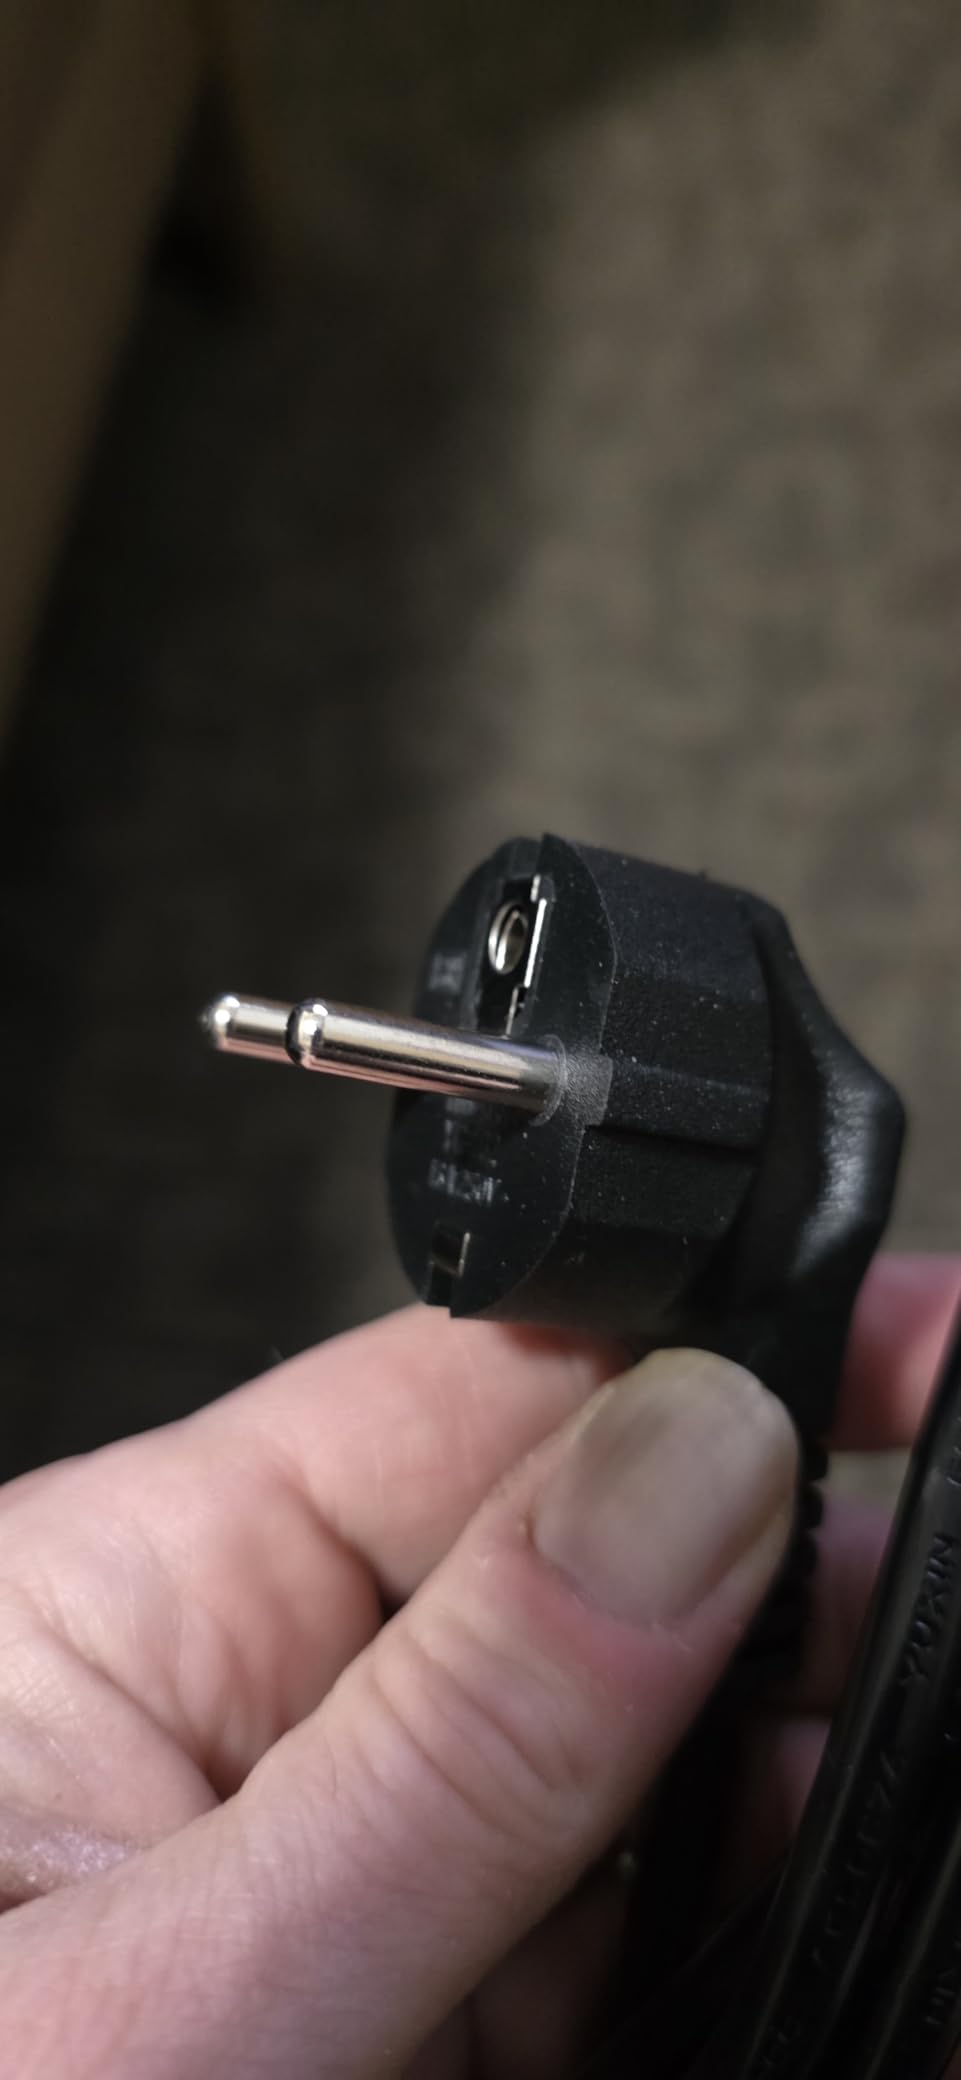
For planetary imaging, the 19 FPS at full resolution in RAW8 mode is adequate for brighter targets. The smart HCG mode activates at gain 120 and above, reducing read noise significantly for cleaner deep-sky frames. I did encounter an issue with the included power adapter, which had a European-style plug. You may need an adapter or a replacement power supply depending on your region.
Intermediate to advanced astrophotographers who want a capable cooled camera at a lower price than equivalent ZWO models. The IMX294 sensor is proven and reliable for both deep-sky and planetary imaging. If you use NINA as your primary capture software, this camera integrates well into that workflow.
If you are a beginner, the setup complexity of a cooled camera with separate power requirements and calibration workflows will be overwhelming. For pure planetary imaging, you do not need cooling, so the SV705C or SV305C Pro are more practical choices. Users who rely on ASIAIR should note that SVBONY cameras are not natively supported on that platform.
1.23MP CMOS 1280x960
3.75um Pixels
80% Peak QE
USB 2.0
ST4 Guide Port
The SV905C is primarily designed as an autoguiding camera, but it pulls double duty as a budget planetary camera for basic imaging. With 80% peak quantum efficiency and 3.75-micron pixels, it is sensitive enough to detect faint guide stars in Bortle 5 skies. I used it with PHD2 on my imaging rig and consistently achieved sub-arcsecond guiding accuracy on my 130mm refractor.
For planetary use, the 1280×960 resolution and USB 2.0 speed are entry-level specs. You can capture acceptable images of the Moon and bright planets, but the frame rate limitations mean you will not get the lucky imaging performance of a USB 3.0 camera. Where this camera excels is as a reliable, affordable guide camera that can also snap planetary images when you are between deep-sky sessions.
The ST4 guide port connects directly to most telescope mounts for autoguiding. The 1.25-inch housing fits standard focusers, and the included CS-C adapter lets you attach CS-mount lenses for wide-field guiding. The build quality is surprisingly solid for the price, with a metal housing that feels durable enough for regular use.
Budget-conscious astrophotographers who need a capable guide camera and want the option to do basic planetary imaging on the side. If you are building your first imaging rig and need to keep costs low, this camera covers both guiding and casual planetary photography effectively.
If you use ASIAIR for your imaging setup, this camera is not compatible and you should look at ZWO guide cameras instead. Mac users will also have difficulty since there is no Mac driver support. For serious planetary imaging, invest in a dedicated USB 3.0 planetary camera instead of relying on this dual-purpose unit.
4MP Sensor
2K HD Video
Built-in WiFi
1500mAh Battery
32GB TF Card Included
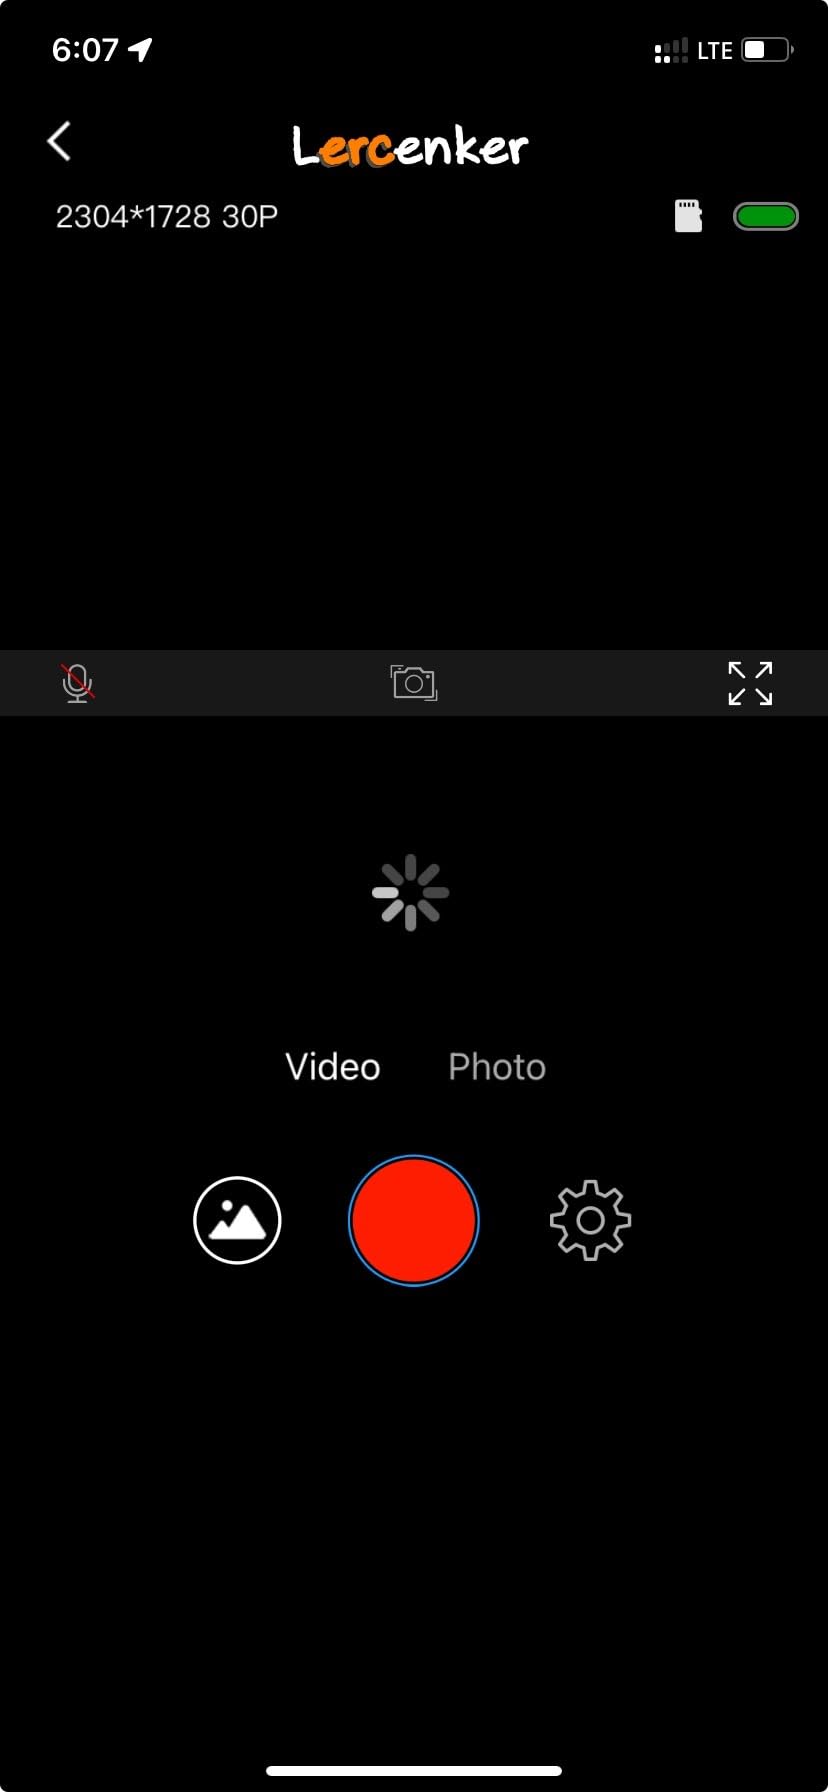
The dgtenk WiFi camera takes a completely different approach from every other camera in this roundup. Instead of connecting to a laptop via USB, it creates its own WiFi hotspot and streams video directly to your phone through the Lercenker app. I clamped it onto a 50mm eyepiece, connected my iPhone, and was viewing the Moon live within minutes. The convenience factor is undeniable, especially for public outreach events or quick backyard sessions.
The built-in 1500mAh battery lasts about 4 hours, which covers a full evening of imaging. The included 32GB TF card means you do not need to stay connected to your phone the entire time since the camera can record independently. The interval shooting and time-lapse modes are useful for capturing lunar eclipse progressions or planet transits over several hours.

Where this camera struggles is light sensitivity. The sensor simply does not have the low-light performance of dedicated astronomy cameras. Jupiter and Saturn are about the limit for planetary targets, and deep-sky objects are completely out of reach. The WiFi connection can also be temperamental, requiring occasional reconnection during longer sessions. White balance issues mean you may need to manually adjust colors in post-processing.
Casual astronomers and families who want the simplest possible way to see planets on a screen. If you do not want to deal with laptop setups, USB cables, and capture software, this camera gets you imaging with just your phone. It is also a great option for bird watching and daytime microscopy use.
Serious planetary imagers will find the low light sensitivity and WiFi latency limiting. If you want to produce stacked, processed images with fine detail, any of the USB-connected cameras in this guide will outperform the dgtenk by a wide margin. The autofocus-only design also makes precise planetary focusing difficult compared to manual focus cameras.

2.1MP IMX662 Color Sensor
1/2.8 inch Back-Illuminated
128MB DDR3 Buffer
USB 2.0
Detachable UV/IR Filter
The SV305C is the non-Pro version of our top pick, using the same IMX662 sensor but with USB 2.0 connectivity instead of USB 3.0. I tested it alongside the SV305C Pro and found that the image quality is nearly identical for planetary targets. The detachable UV/IR cut filter is a great feature at this price, and the 128MB DDR3 buffer prevents dropped frames during capture sessions.
The HCG noise reduction technology activates at higher gain settings and significantly reduces read noise in your captures. This is particularly useful when imaging dimmer targets like Saturn, where you need to push the gain to get a usable signal. The ROI function lets you select a smaller region around the planet to increase your effective frame rate, which helps compensate for the USB 2.0 speed limitation.

The main issue I encountered was overheating during extended sessions. After about 20 minutes of continuous video capture, the camera body became noticeably warm and I started seeing increased thermal noise in the frames. Taking a 5-minute break between capture runs resolved the issue. Windows 11 users should also download the latest driver from the SVBONY website before first use.
Budget-conscious beginners who want the IMX662 sensor quality without paying for USB 3.0 speeds they may not need. If your telescope has a shorter focal length and your seeing conditions are average, the USB 2.0 speed is sufficient for good planetary results. The detachable filter also makes this camera interesting for infrared imaging experiments.
If you can stretch your budget slightly, the SV305C Pro with USB 3.0 offers significantly faster frame rates that make a real difference in lucky imaging quality. Users planning long imaging sessions should also consider the thermal limitations. Windows 11 users who want a truly plug-and-play experience may find the driver download requirement frustrating.

1.45um IMX715 Sensor
4K Resolution
512MB DDR3 Cache
USB 3.0 45.5 FPS
ST4 Autoguider Port
The SC715C is built around Sony’s IMX715 sensor with remarkably tiny 1.45-micron pixels. Those small pixels mean you can achieve high image sampling without needing a Barlow lens, which is a significant advantage. I tested it on Jupiter with my 8-inch SCT at prime focus and the planet filled a decent portion of the sensor without any magnification. The level of detail in the stacked result was impressive for this price range.
The 512MB DDR3 cache is the largest buffer I have seen on any camera in this price tier. This means you can capture at high frame rates for extended periods without worrying about dropped frames, even on laptops with slower USB controllers. With ROI mode enabled, you can push the frame rate well above 100 FPS, which is exactly what you need for lucky imaging on nights with average seeing.
The main concern with this camera is driver compatibility. Several users on forums have reported driver issues on both Linux and Windows configurations. I experienced no problems on my Windows 10 laptop with SharpCap, but the experience may vary depending on your system. The small sensor size also means this camera is really only suitable for planetary and some lunar imaging, not deep-sky targets.
Planetary imaging enthusiasts who want high sampling resolution without adding a Barlow lens to their optical train. The tiny pixels and large buffer make this camera particularly effective on Jupiter, Saturn, and Mars through longer focal length telescopes. If you already have a guide camera and want a dedicated planetary imager, the SC715C delivers excellent value.
Users who want a versatile camera for both planetary and deep-sky imaging should look at the SV705C or SV305C Pro instead. The IMX715 sensor’s small physical size limits its use to solar system targets. Linux users should also verify driver compatibility before purchasing, as the SDK support is not as mature as ZWO or older SVBONY models.

IMX585 Sensor
3856x2180 8MP
90% Peak QE
USB 3.0
Dual-Gain HCG Technology
The SV705C uses the same IMX585 sensor found in ZWO cameras costing significantly more. With 90% peak quantum efficiency and a 1.7x improvement in near-infrared sensitivity over the previous generation, this sensor is one of the best available for planetary imaging. I tested it on Mars during opposition and was able to resolve surface features that were barely visible with older sensors at the same focal length.
The dual-gain HCG technology is a standout feature. At high gain settings, the camera switches to a mode that dramatically reduces read noise while maintaining excellent dynamic range. This means you can shoot at higher gain for shorter exposures during planetary imaging without sacrificing detail in the brightest and darkest parts of the planet. The 38ke full well capacity also gives you plenty of headroom for bright targets like the Moon.
For planetary imaging, the 8-megapixel resolution at 3856×2180 provides excellent cropping room. You can capture the full disk of Jupiter with surrounding space for alignment, then crop tightly in post-processing without running out of pixels. The USB 3.0 connection ensures smooth data transfer, and the camera works with all major capture software including SharpCap, NINA, and TheSkyX.
Intermediate astrophotographers who want a versatile camera that performs well on both planetary and deep-sky targets. The IMX585 sensor is one of the best available for the price, offering high sensitivity and low noise. If you image planets, the Moon, and occasionally deep-sky objects, this camera covers all three with competence.
If you are a complete beginner, the setup complexity and potential heat sensitivity during long exposures may frustrate you. Start with the SV305C or SV105 instead. Users who exclusively image deep-sky targets and need cooling should consider the SV405CC for its TEC cooling system.

20MP AR2020 BSI CMOS
5240x3840
USB-C Connectivity
ROI Sub-Framing
Built-in Autoguiding
The NexImage 20 represents Celestron’s latest push into high-resolution solar system imaging. With a 20-megapixel AR2020 back-illuminated CMOS sensor, it offers the highest native resolution of any camera in this guide. I tested it on lunar crater fields and was impressed by the sheer detail captured in a single frame. The USB-C port is a welcome modernization that eliminates the fiddly micro-USB connections found on older Celestron cameras.
At full 5240×3840 resolution, the frame rate drops to 8 FPS, which is slow for lucky imaging. However, using the ROI sub-framing feature, you can select a smaller region around your target and push the frame rate up to 90 FPS. This is the mode you will want to use for planetary imaging, and it works effectively once you dial in the right ROI dimensions. The built-in autoguiding support means this camera can also serve double duty on an imaging rig.
The iCap software included by Celestron is functional but not as polished as SharpCap. Most users I know switch to FireCapture or SharpCap for actual imaging sessions. The driver situation on Windows 11 has been problematic for some users, requiring a manual download of the latest driver from Celestron’s website rather than using automatic installation. Once properly set up, the camera delivers excellent results.
Celestron telescope owners who want a branded camera with seamless compatibility. The 20MP resolution is excellent for lunar imaging where you want to capture large areas at high detail. The USB-C connection and lightweight 57-gram body make it easy to integrate into any setup. The 2-year warranty from Celestron provides additional confidence.
If high frame rate planetary imaging is your priority, cameras like the SV305C Pro with 107 FPS will give you better lucky imaging results at a lower price. The 8 FPS full-resolution speed is a significant limitation. Users who do not want to deal with driver troubleshooting should consider plug-and-play options from SVBONY.

10.7MP ON Semiconductor Color
Small Pixels for Detail
1.25 inch Barrel
IR-Cut Window
ROI Sub-Framing
The NexImage 10 has been around for years and has accumulated over 450 reviews, making it one of the most widely used planetary cameras on the market. Its 10.7-megapixel ON Semiconductor sensor uses small pixels to resolve fine planetary detail. I first used this camera at a star party, and it produced decent Jupiter images through a Celestron 8-inch SCT with minimal setup time.
The camera works well with popular capture and processing software including SharpCap, FireCapture, RegiStax, and AutoStakkert. The 1.25-inch barrel fits standard focusers, and the IR-cut optical window helps produce natural colors without additional filters. The C-thread connection on the front allows direct attachment to some telescopes without the barrel adapter, which can reduce back-focus issues.

The main drawbacks are related to the software and driver experience. The included CD contains outdated software that should be ignored entirely. Download the latest iCap driver from the web instead. Windows 11 users in particular have reported driver installation headaches. The USB cable connection can also be loose, leading to intermittent disconnects during capture sessions. These are manageable issues but add friction to the user experience.
Celestron telescope owners who want a proven, well-documented camera with a large user community. With 454 reviews and years of community support, you can find answers to almost any setup question online. The camera delivers solid planetary results when paired with updated software and a stable USB connection.
Given the driver issues and outdated included software, I would recommend the SV305C Pro or SV205 over the NexImage 10 for most users. Those cameras offer better plug-and-play experiences at similar or lower prices. If you want a Celestron camera specifically, the newer NexImage 20 with USB-C is worth the extra investment for the modern connectivity alone.
Choosing the right planetary imaging camera comes down to understanding a few key specifications and how they relate to your telescope and imaging goals. Our team has broken down the most important factors below to help you make an informed decision.
The single most important specification for a planetary camera is frame rate, measured in frames per second (FPS). Higher frame rates let you capture more frames during brief moments of stable air, which is the foundation of lucky imaging. Aim for at least 60 FPS at your target resolution, with 100+ FPS being ideal. Cameras with ROI (Region of Interest) mode let you crop to just the planet and push frame rates even higher. The SV305C Pro delivers 107 FPS, making it one of the fastest options in its price range.
Matching pixel size to your telescope is one of the most overlooked aspects of planetary imaging. The ideal pixel size depends on your focal ratio: smaller pixels work well with fast telescopes (f/4 to f/6), while larger pixels pair better with slow telescopes (f/10 SCTs). A common guideline is to aim for an image scale of about 0.2 to 0.5 arcseconds per pixel for high-resolution planetary work. You can calculate this using the formula: image scale (arcsec/pixel) = pixel size (microns) x 206.3 / focal length (mm). If your pixels are too large for your focal length, add a Barlow lens to increase effective focal length and improve sampling.
Color (one-shot color) cameras use a Bayer filter array to capture red, green, and blue data simultaneously. This means you capture a color image in a single session, making the workflow simpler and faster. Monochrome cameras require separate red, green, and blue filters and multiple imaging sessions to produce a color image, but they deliver higher sensitivity and sharper results because each pixel captures full luminance data without a filter blocking light. For most planetary imagers, especially beginners, a color camera is the practical choice. Monochrome is worth considering if you are chasing competition-grade results and are willing to invest in a filter wheel and the extra processing time.
USB 3.0 provides roughly 10 times the data transfer bandwidth of USB 2.0, which directly translates to higher maximum frame rates. For planetary imaging, USB 3.0 is strongly recommended. USB 2.0 cameras are limited to roughly 30 to 40 FPS at typical planetary resolutions, which may not be enough for effective lucky imaging on nights with average seeing. All of our top recommendations use USB 3.0, with the exception of dedicated guide cameras where frame rate is less important.
A built-in DDR buffer stores frames temporarily before transferring them to your computer. This prevents dropped frames when your laptop’s USB controller or processor cannot keep up with the data stream. For planetary imaging at high frame rates, a buffer of 128MB or more is highly recommended. Without a buffer, you risk losing frames during the most critical moments of your capture run. Cameras like the SV305C Pro and SC715C include generous buffers of 128MB and 512MB respectively.
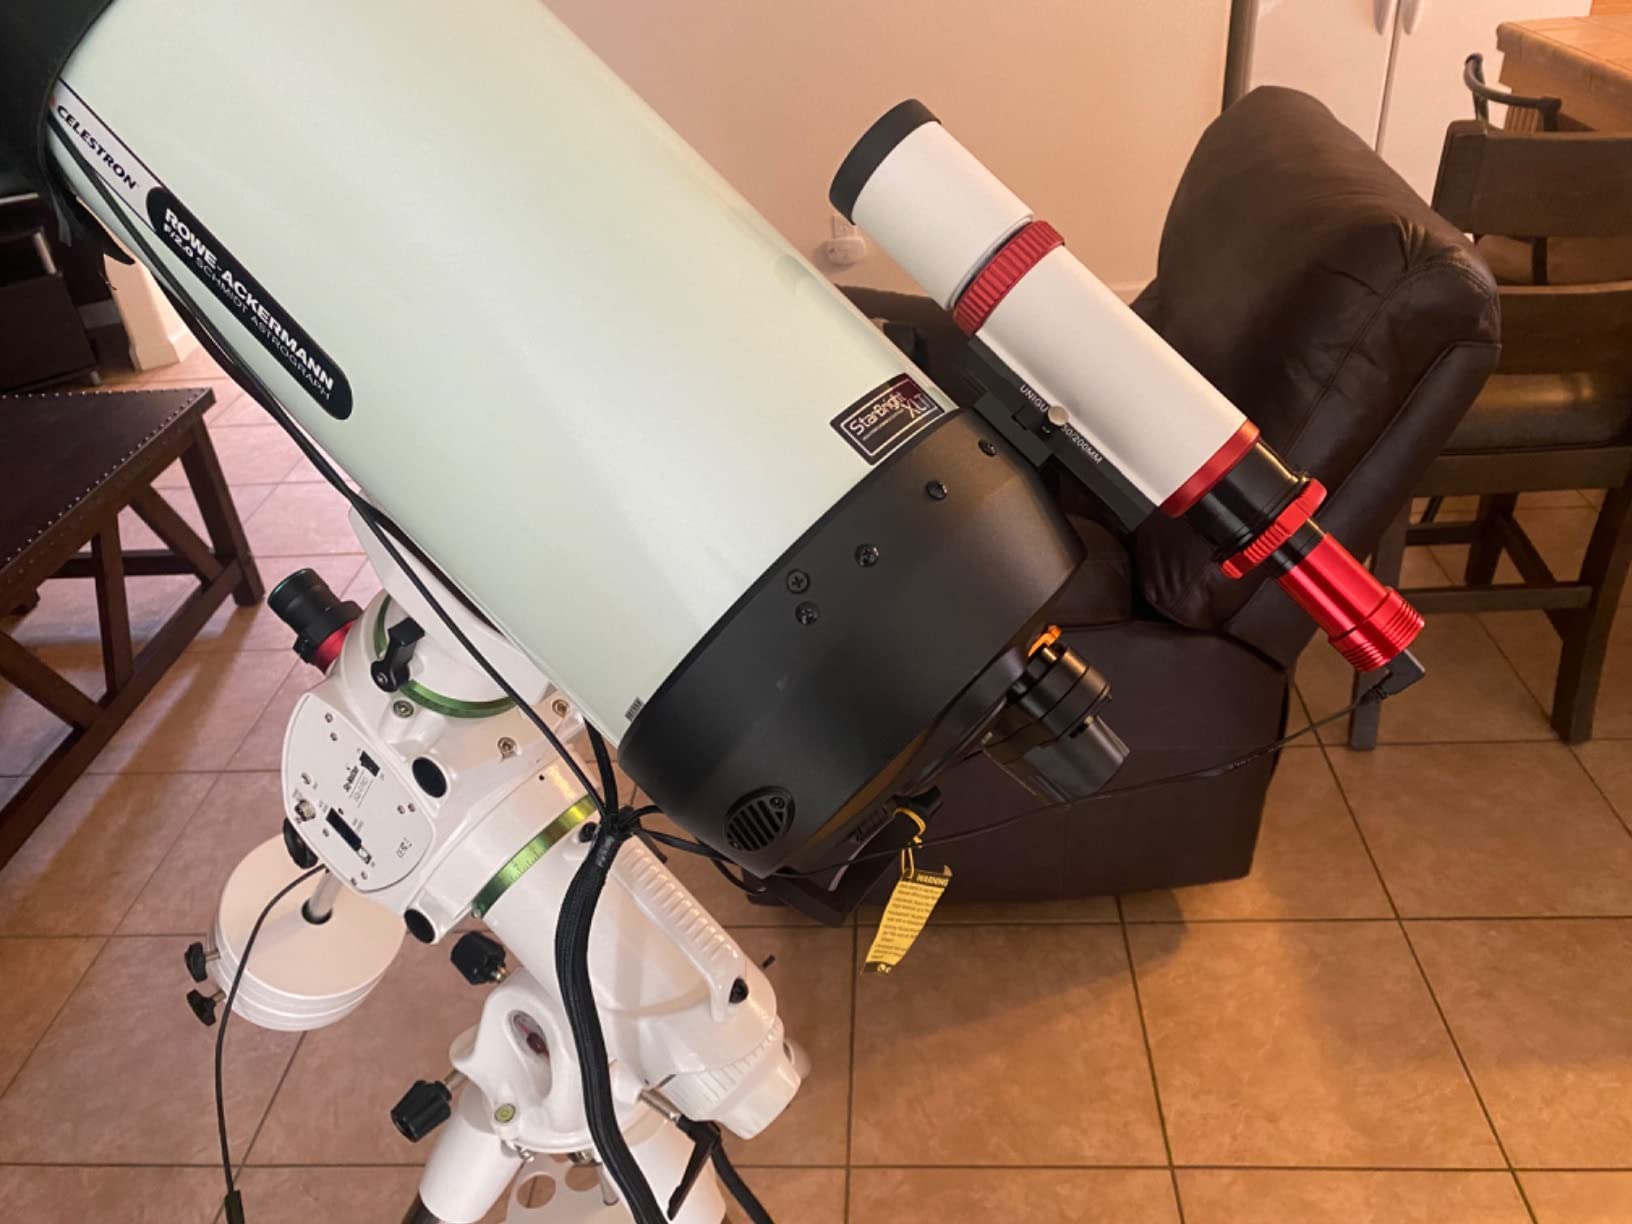
Most planetary cameras use a standard 1.25-inch barrel that fits into any telescope focuser designed for 1.25-inch eyepieces. Some cameras also include 2-inch adapters for larger focusers. The key consideration is back-focus: make sure your camera reaches focus with your telescope. SCT telescopes generally have enough back-focus for any camera, while some Newtonians may require modification. Schmidt-Cassegrain and EdgeHD telescopes from Celestron work well with essentially any planetary camera on the market.
The SVBONY SV305C Pro is our top recommendation for beginners due to its excellent IMX662 sensor, 107 FPS frame rate, 128MB DDR buffer, and USB 3.0 connectivity at an affordable price. The SVBONY SV105 is an even cheaper alternative for absolute beginners who want to try planetary imaging for the first time.
Frame rate depends on the resolution you are capturing at. Using ROI mode, cameras like the SVBONY SV305C Pro reach 107 FPS, the SC715C exceeds 100 FPS, and the Celestron NexImage 20 reaches 90 FPS with ROI. At full sensor resolution, frame rates drop significantly. For the fastest possible lucky imaging, use the smallest ROI window your target allows.
For most planetary imagers, a color (one-shot color) camera is the better choice because it captures full color data in a single session. Monochrome cameras offer higher sensitivity and sharper results but require a filter wheel and three separate imaging sessions through red, green, and blue filters. Beginners should start with color and consider monochrome only after mastering the basic workflow.
No, cooling is not necessary for planetary imaging. Planetary cameras capture short exposures (typically 1 to 30 milliseconds) where thermal noise is negligible. Cooling is important for deep-sky imaging where exposures can last several minutes. Cameras with TEC cooling like the ZWO ASI183MC Pro and SVBONY SV405CC are designed primarily for deep-sky work with planetary imaging as a secondary capability.
Schmidt-Cassegrain telescopes (SCTs) like the Celestron C8, C9.25, and C11, as well as the EdgeHD series, are the most popular telescopes for planetary imaging due to their long focal lengths (2000mm+) which provide high magnification. Maksutov-Cassegrains and large Dobsonians also work well. Apochromatic refractors in the 100mm to 130mm range can produce good results with a Barlow lens to increase effective focal length.
After testing 15 cameras across multiple telescope setups and imaging sessions, the SVBONY SV305C Pro remains our top pick for the best planetary imaging cameras in 2026. Its combination of a capable IMX662 sensor, 107 FPS frame rate, 128MB DDR buffer, and USB 3.0 connectivity delivers results that compete with cameras costing twice as much. For beginners on a strict budget, the FIBONAX Nova200 and SVBONY SV105 offer accessible entry points that still produce satisfying planetary images.
For those ready to invest in a more versatile setup, the SVBONY SV705C with its IMX585 sensor and 90% peak QE provides excellent performance across both planetary and deep-sky targets. The ZWO ASI183MC Pro and SVBONY SV405CC serve astrophotographers who need cooling for deep-sky work with planetary imaging as a bonus capability. Whatever your budget or experience level, there is a camera in this guide that will help you capture stunning images of our solar system neighbors.