12 Best UPS Battery Backup for Home Office (June 2026) Complete Guide
A power outage at the worst possible moment can wipe out hours of work, corrupt files on your computer, and…
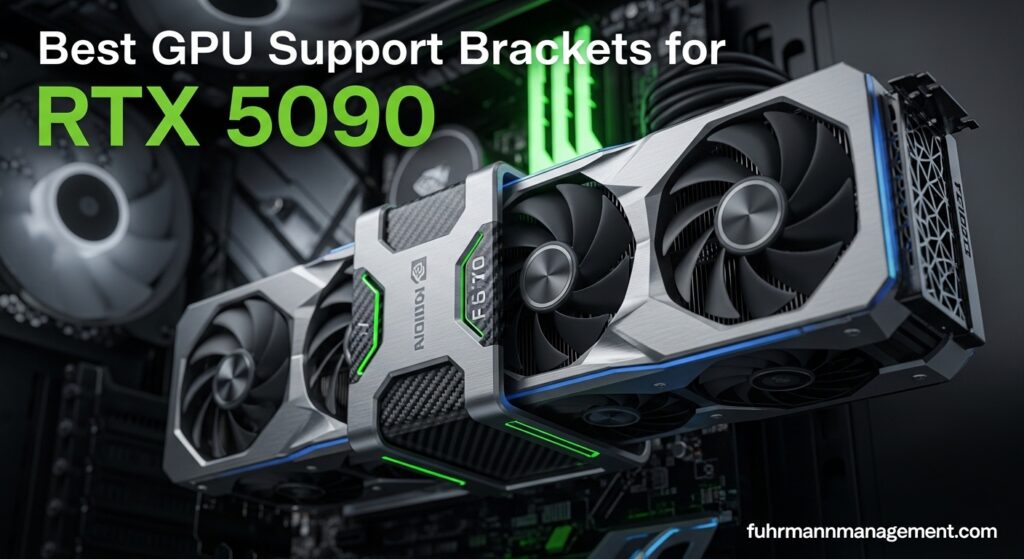
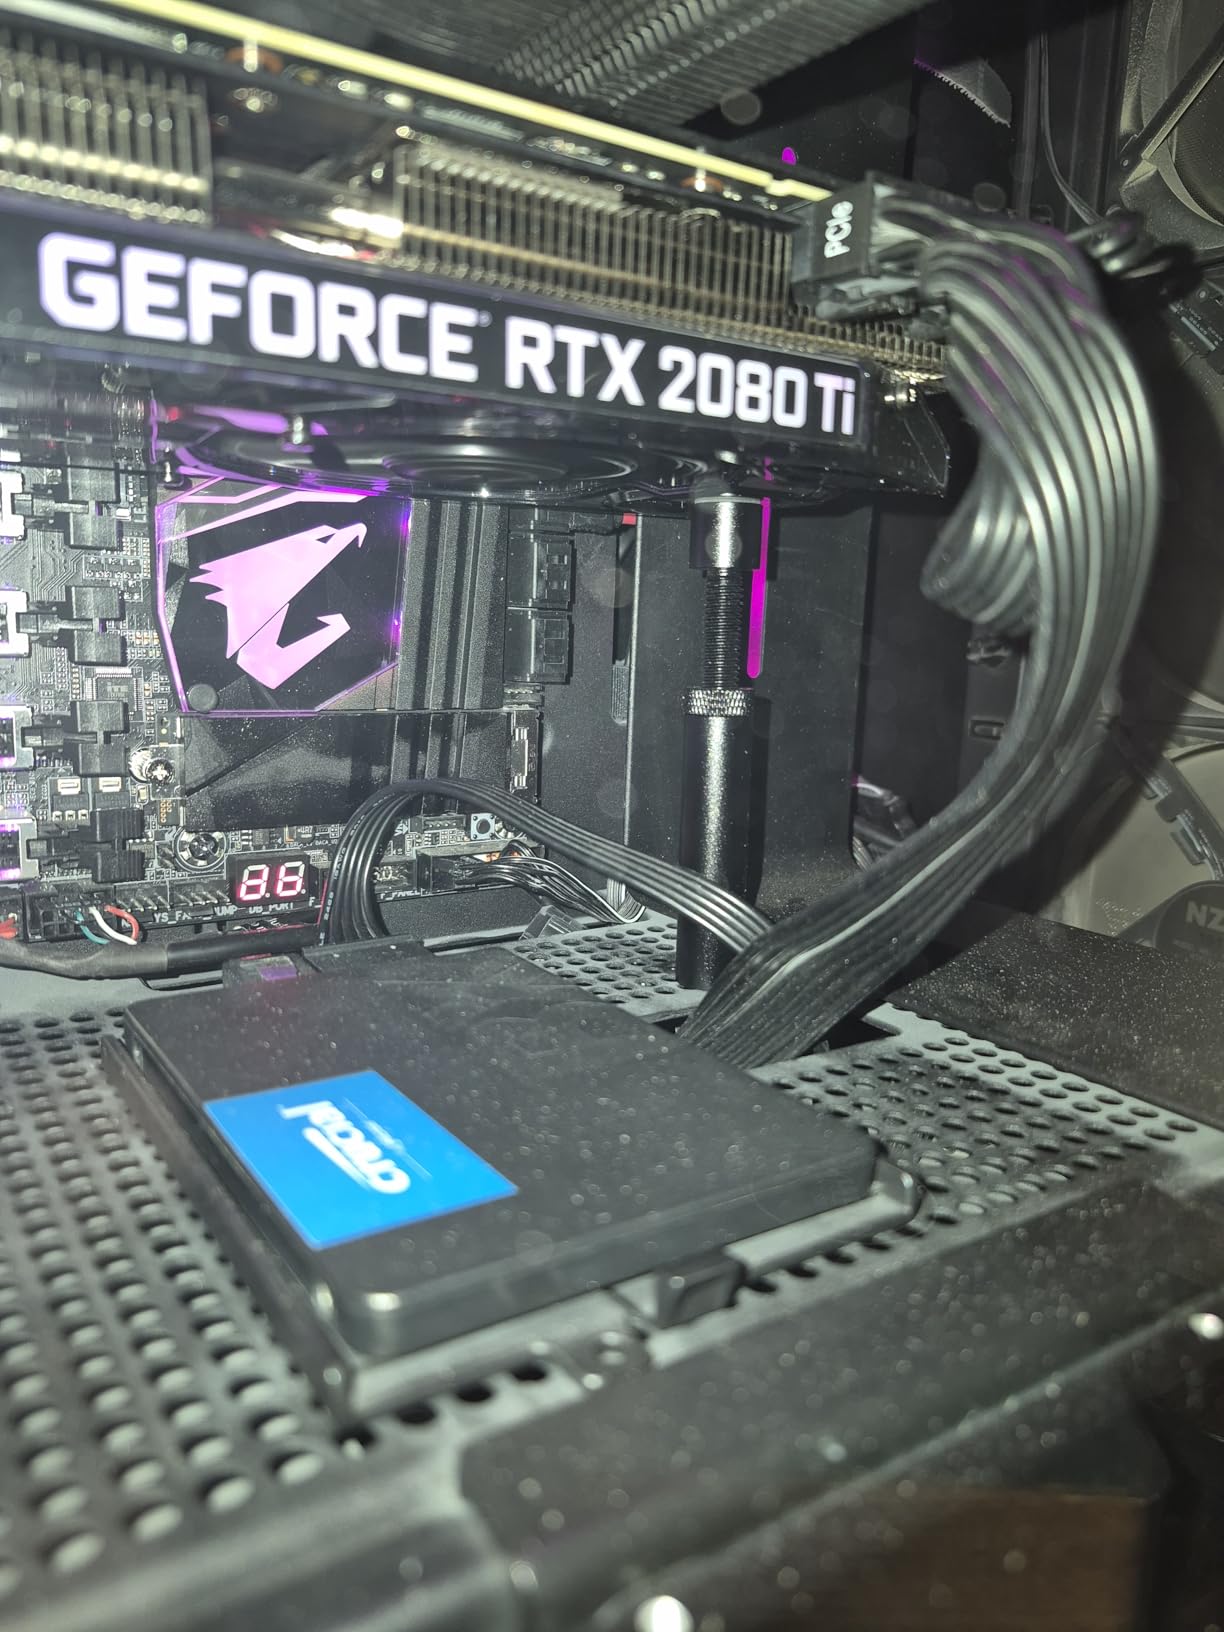
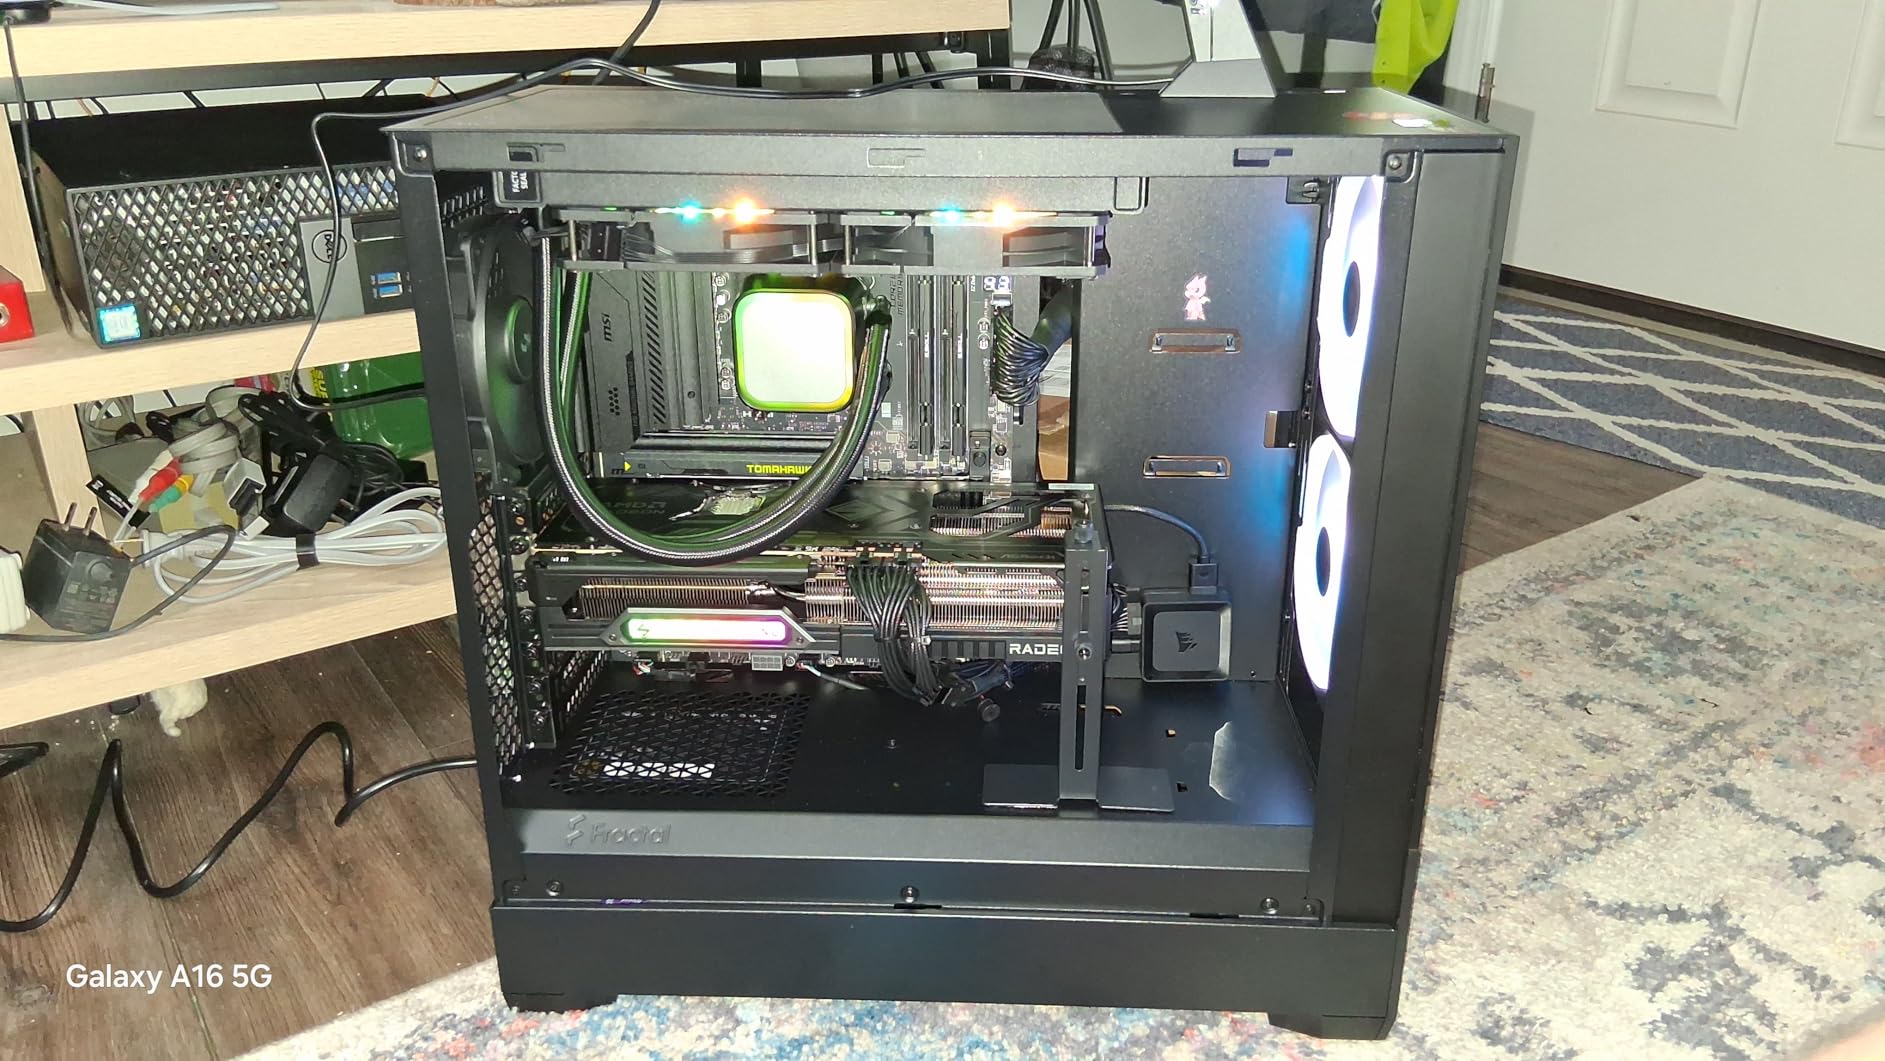
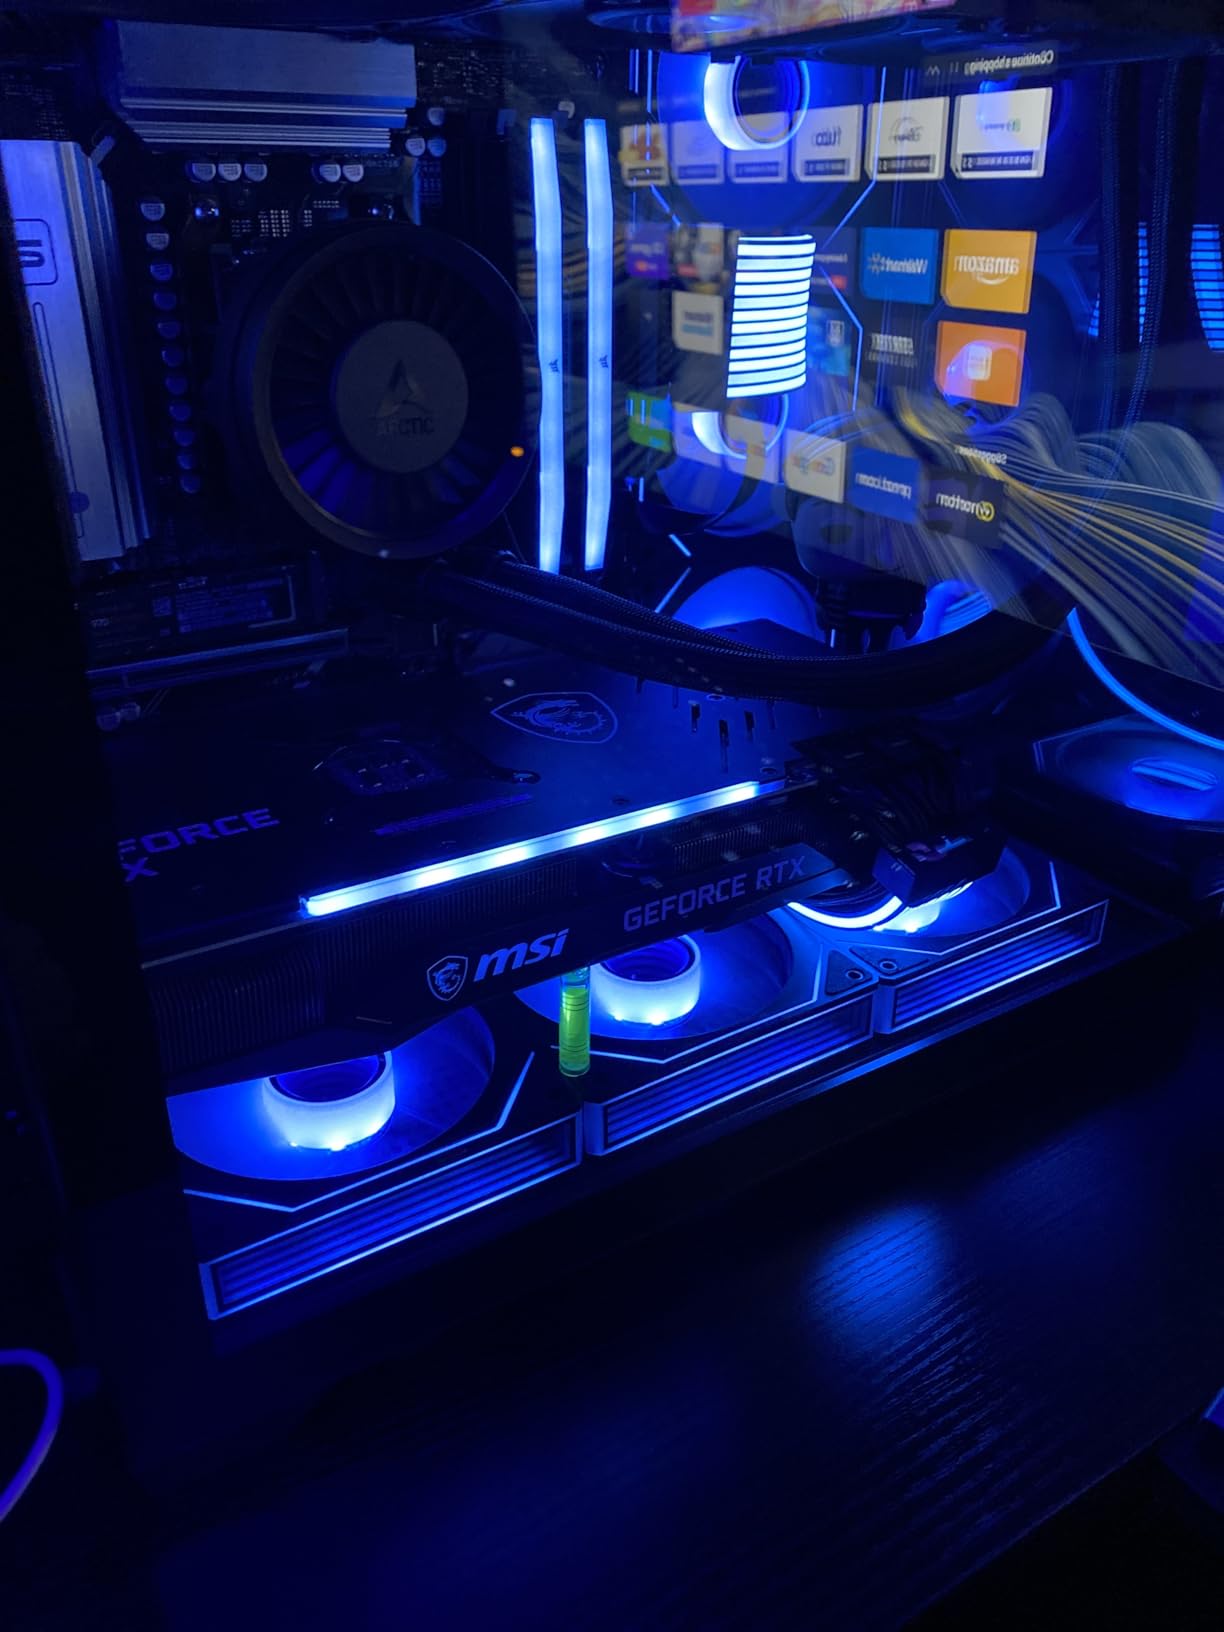
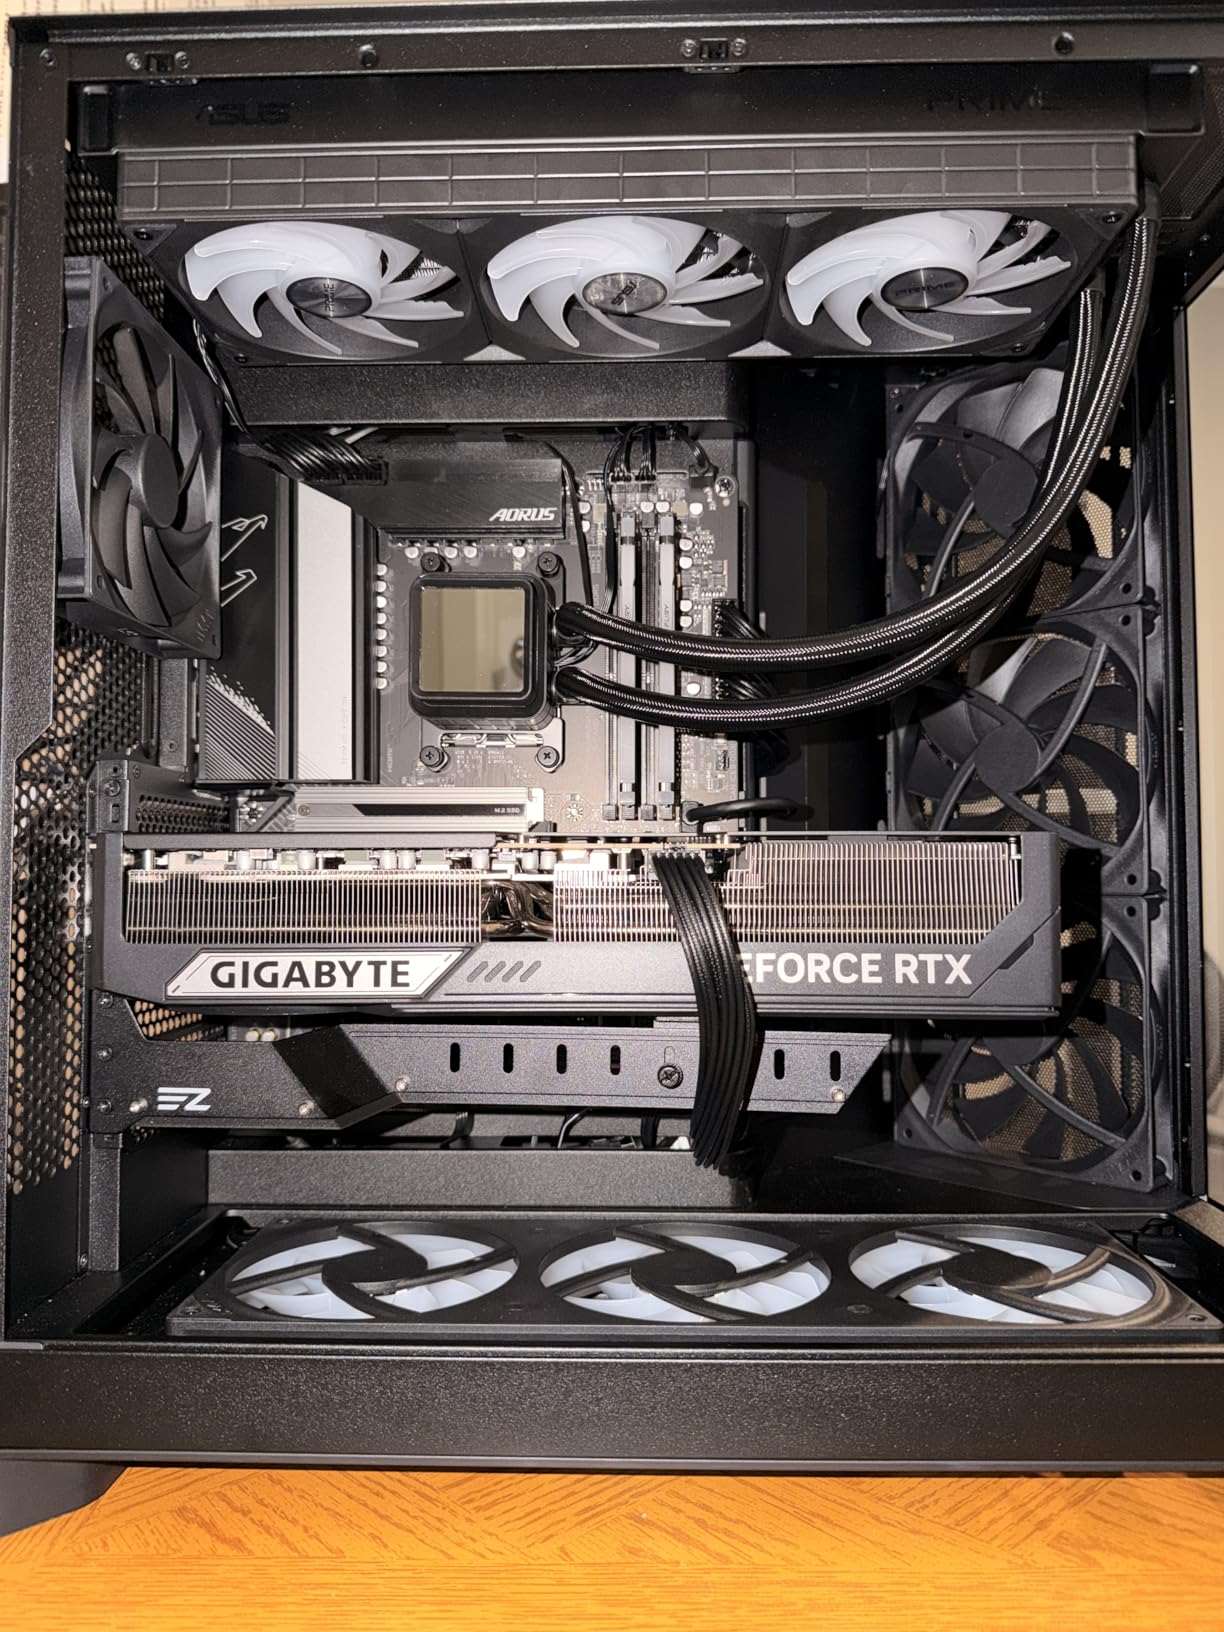
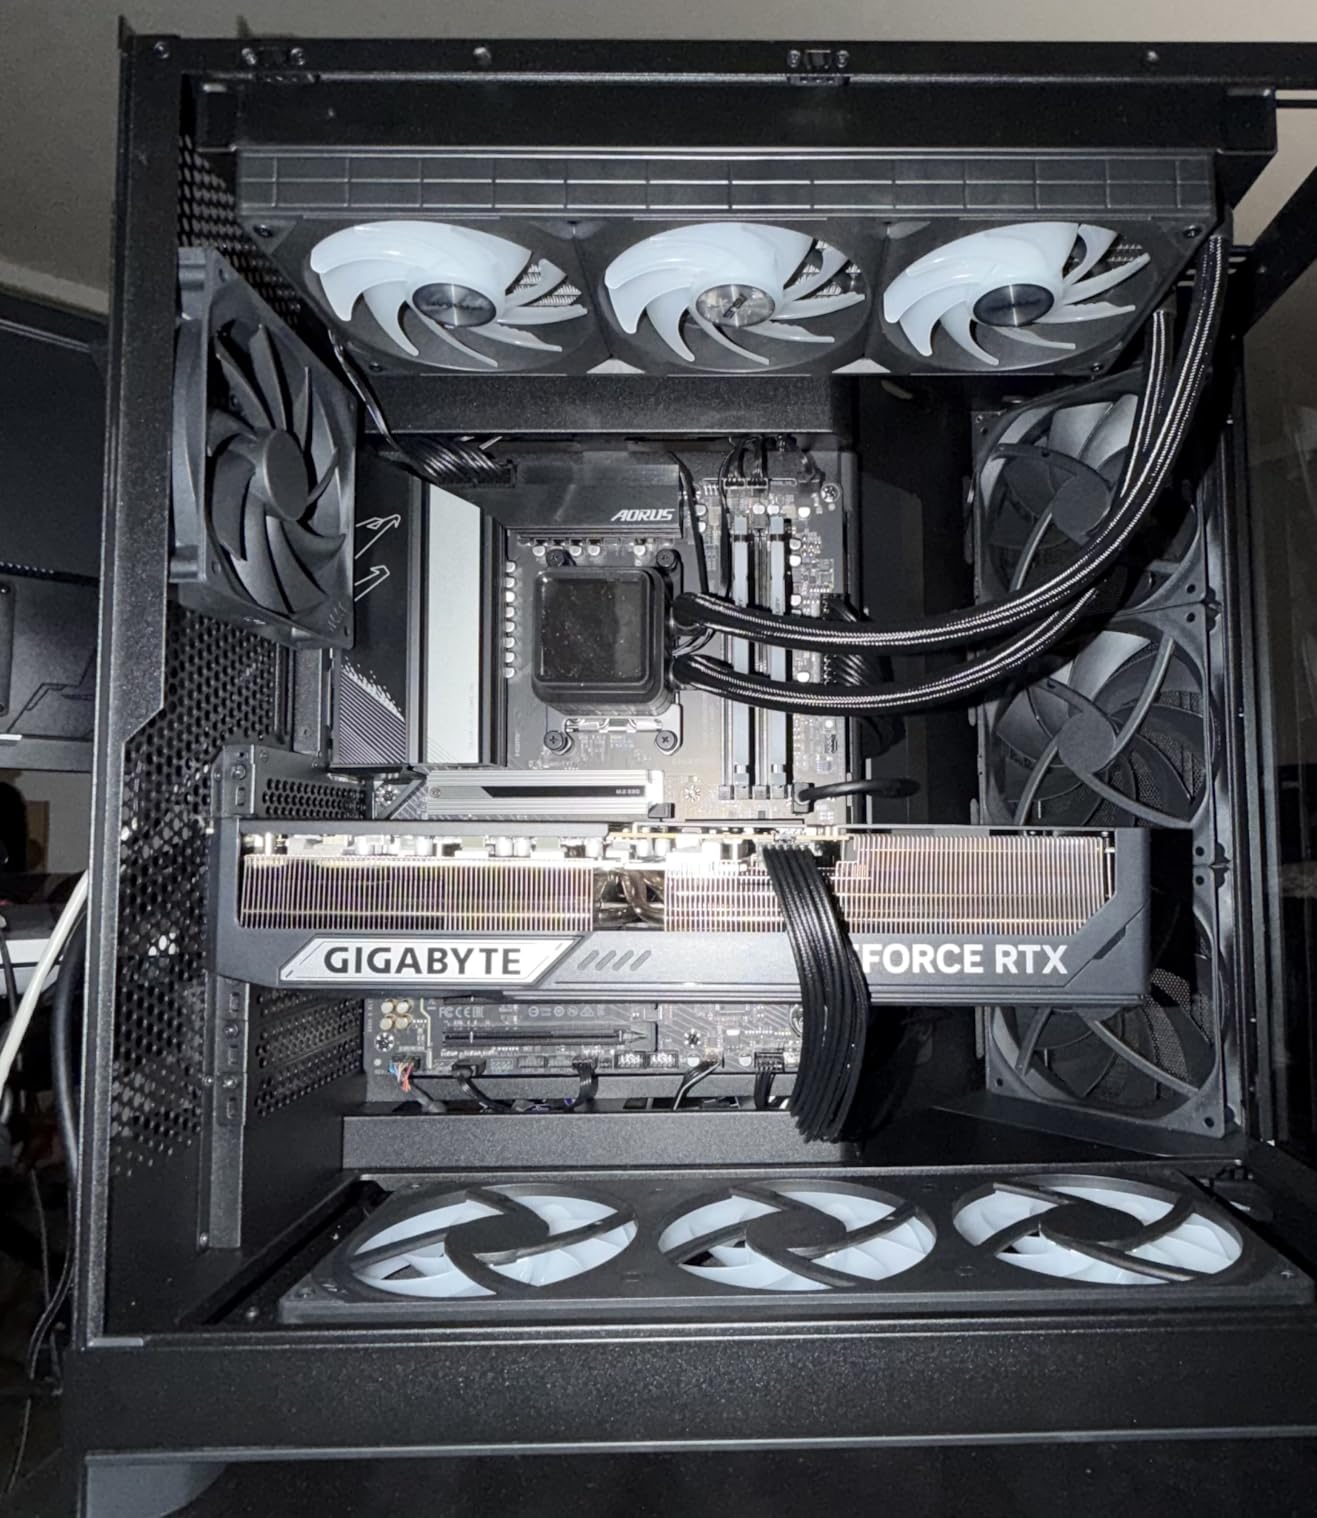
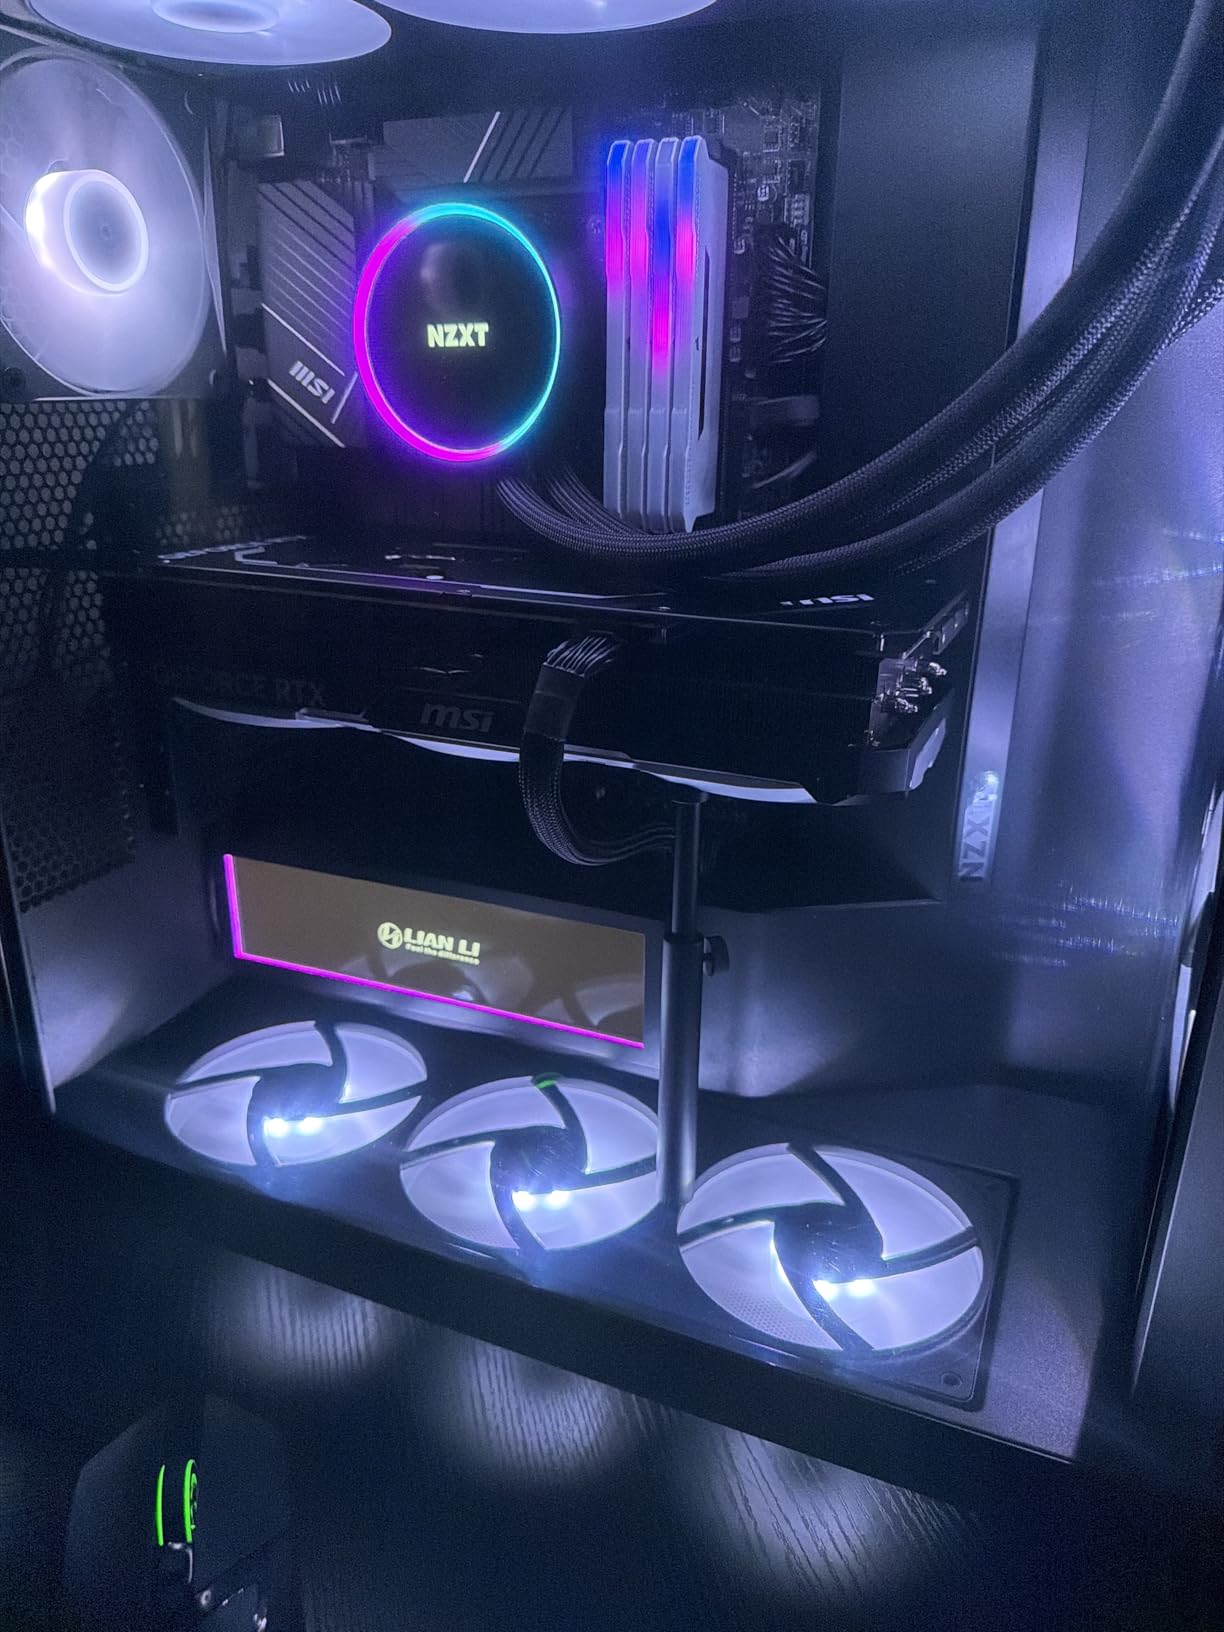
When you drop nearly two grand on an RTX 5090, the last thing you want is for that beautiful graphics card to slowly bend your motherboard over time. I learned this the hard way with my RTX 4090, watching it sag more each month until I finally got serious about GPU support. The RTX 5090 is even heavier, especially those massive 3.8-slot cards like the Asus Astral, making a quality support bracket not just nice to have but essential for protecting your investment.
GPU sag happens when heavy graphics cards pull downward on the PCIe slot, stressing both the slot and the motherboard PCB. Over time, this can cause permanent damage to your motherboard, create intermittent connection issues, and even worsen strain on the 12V-2×6 power connector. The best GPU support brackets for the RTX 5090 solve this by providing upward physical support, distributing the weight and keeping your card level.
In this guide, I have tested and reviewed 10 of the top GPU support brackets on the market. Whether you are looking for a budget-friendly stand, a premium RGB-enabled option, or something specifically designed for unusual case configurations, I have got you covered. Let me help you find the perfect bracket to keep your RTX 5090 safe and your build looking great.


| Product | Key Specs | Pricing |
|---|---|---|
|
ASUS ROG Herculx
|
|
Check Latest Price |
|
nkomax GPU Brace Support (L)
|
|
Check Latest Price |
 Acer GPU Support Bracket
|
|
Check Latest Price |
 JOYJOM GPU Support Bracket
|
|
Check Latest Price |
|
Uyubao GPU Support Bracket
|
|
Check Latest Price |
 nkomax Aerospace Aluminum
|
|
Check Latest Price |
 nkomax GPU Support Medium
|
|
Check Latest Price |
 EZDIY-FAB GPU Holder Brace
|
|
Check Latest Price |
 JOYJOM Fan Mount Support
|
|
Check Latest Price |
 TEAMOLA Tall GPU Support
|
|
Check Latest Price |
Solid Zinc Alloy
72-128mm Height
Aura Sync RGB
Spirit Level Included
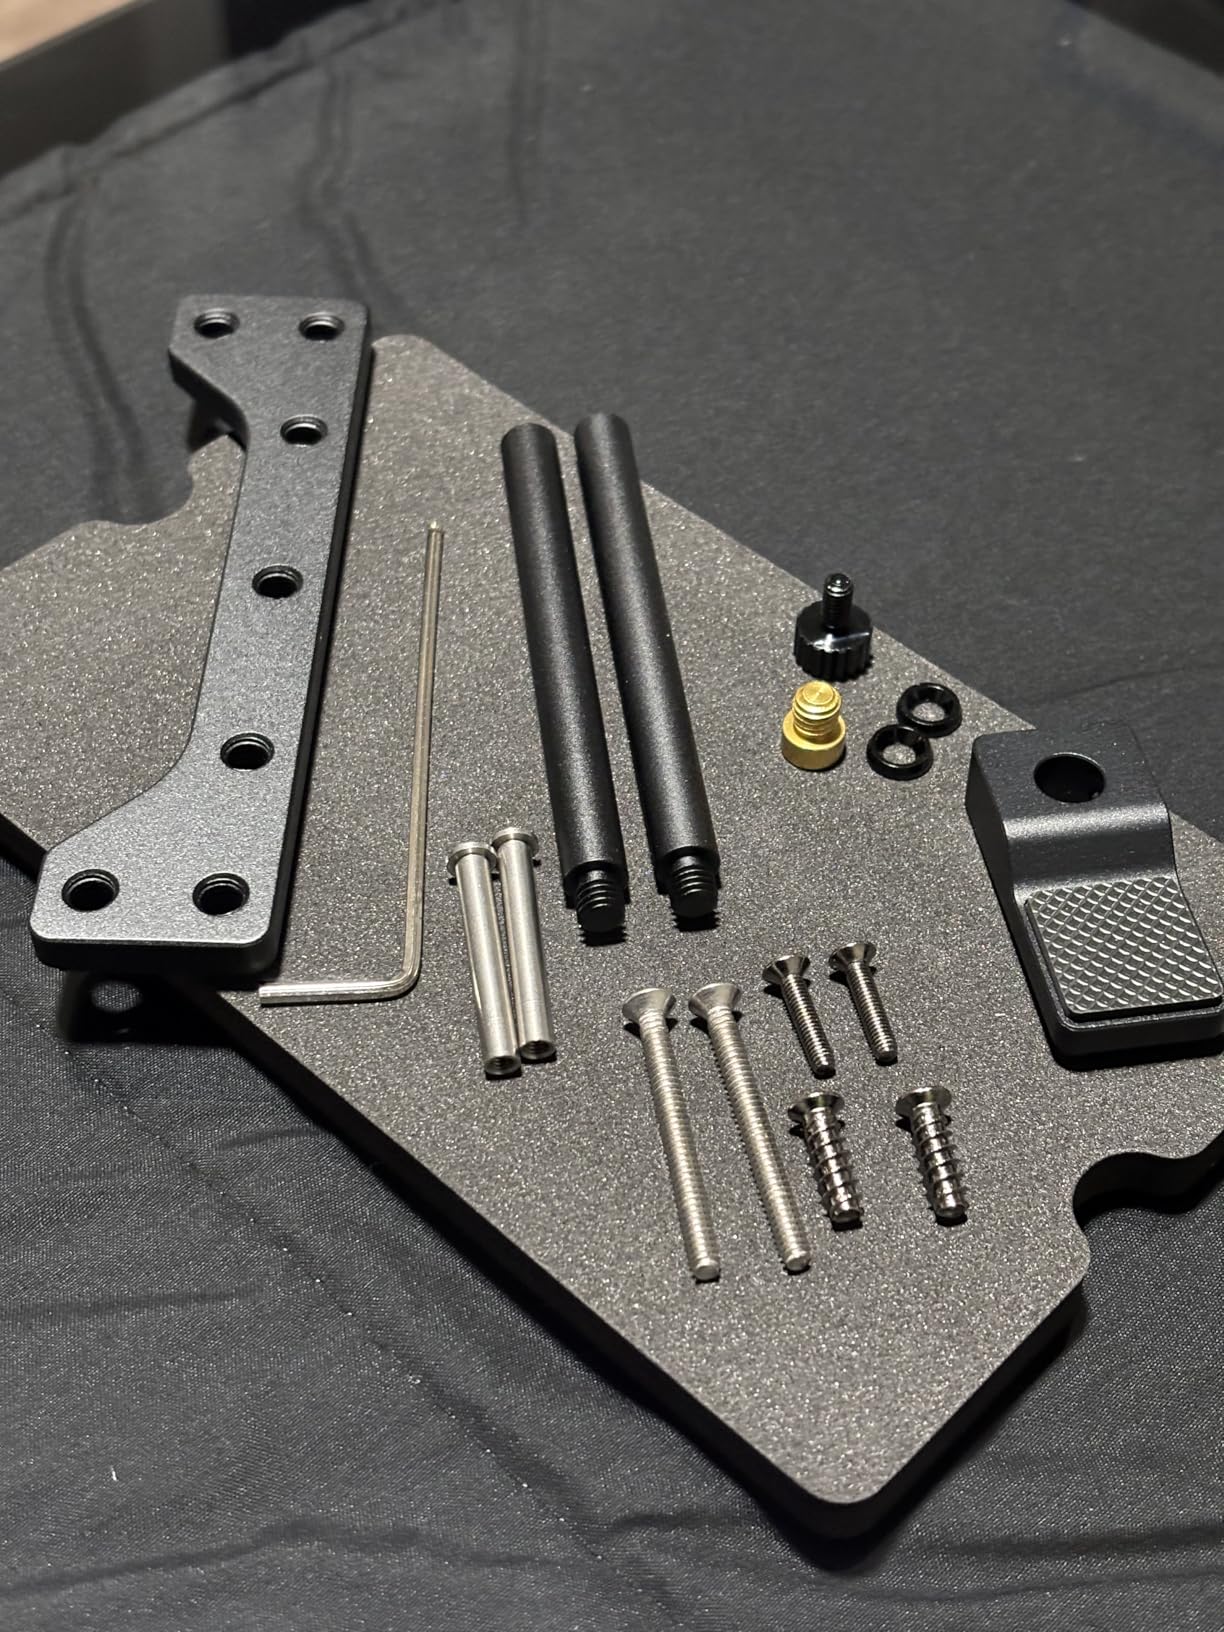
I installed the ASUS ROG Herculx in my main gaming rig about six months ago, and it has been rock solid ever since. The first thing I noticed was the weight of this thing. That solid zinc alloy construction gives it a premium feel that cheaper plastic or thin aluminum brackets simply cannot match. When you are supporting a card as heavy as the RTX 5090, that substantial build quality matters.
Setting it up took me about two minutes. The adjustable wheel and release button make toolless height adjustment incredibly easy, and the included spirit level is a nice touch that helped me get my GPU perfectly horizontal. I appreciate that ASUS thought to include this because eyeballing it can lead to uneven support.
The Aura Sync RGB is what really sets this bracket apart from the competition. The embedded 3D ARGB element creates a holographic-style lighting effect that syncs perfectly with my other ROG components. If you have invested in an RGB ecosystem, this bracket becomes part of the show rather than just a functional support piece. The lighting is subtle enough not to be distracting but adds that premium aesthetic touch.
In terms of support capability, the 72-128mm height range covers just about any case configuration you might have. My RTX 5090 sits at around 95mm from the PSU shroud, and the Herculx handles it with no wobble or shifting. The stand design does not occupy any PCIe slots, which is important if you are using multiple expansion cards.
This bracket is ideal for enthusiasts who want premium build quality and RGB integration. If you already have ASUS ROG components or use Aura Sync in your build, the Herculx fits perfectly into that ecosystem. It is also great for showcase builds where aesthetics matter as much as function.
If you do not have an ARGB header on your motherboard or do not care about RGB lighting, the premium price might be hard to justify. Budget-conscious builders can get similar support functionality for a fraction of the cost with non-RGB options.
All-Aluminum Metal
74-120mm Height
Magnetic Base
Tool-Free Install
After testing dozens of GPU brackets, the nkomax GPU Brace Support remains my go-to recommendation for most builders. I have installed these in three different systems now, and every time I am impressed by how such a simple design can be so effective. The all-aluminum construction feels sturdy without adding unnecessary weight, and the adjustable screw mechanism lets you dial in the exact height you need.
Installation genuinely takes about 30 seconds. You unscrew the top to extend the bracket to your desired height, place it under your GPU, and the magnetic base holds it in position on your PSU shroud. The cushioning pad on top prevents any scratching of your expensive graphics card. I have used this with RTX 4090s and RTX 5090s, and it handles the weight without any issues.

The 74-120mm height range covers most standard ATX and mid-tower configurations. The CNC-machined edges and anodized finish give it a clean, professional look that does not distract from your build. At under ten dollars, the value proposition here is incredible. You are getting the same support functionality as brackets costing three or four times as much.
One thing I appreciate is the low profile design. The bracket does not stick out or draw attention to itself. It just sits there quietly doing its job of keeping your GPU level. The three finishing processes, polished anode, sandblasted anode, and CNC edge-washing, result in a smooth surface that will not catch on cables or other components.
This is the bracket I recommend to most people building with an RTX 5090. It offers excellent support at an unbeatable price, works with standard case configurations, and installs in seconds. If you have a PSU shroud and a typical ATX case, this is probably all you need.
If your case lacks a metal PSU shroud, the magnetic base will not have anything to stick to. Cases with bottom intake fans directly under the GPU may also have clearance issues. In those situations, look at adhesive-based options or fan-mount designs instead.
Aluminum Alloy
70-120mm Height
0.5mm Adjustment
Magnetic with Silicone Pads
Acer is relatively new to the GPU support bracket market, but they have made an impressive entrance with this offering. I picked one up recently to test alongside the more established options, and the attention to detail is immediately apparent. The esports-grade aluminum alloy construction has a premium feel, and the anodized finish should resist corrosion for years.
What really sets this bracket apart is the precise 0.5mm height adjustment increments. Most brackets use a coarser thread that makes fine-tuning difficult, but the Acer lets you dial in the exact height with impressive precision. The large 14.7mm diameter provides excellent load capacity, which is crucial for heavy cards like the RTX 5090.
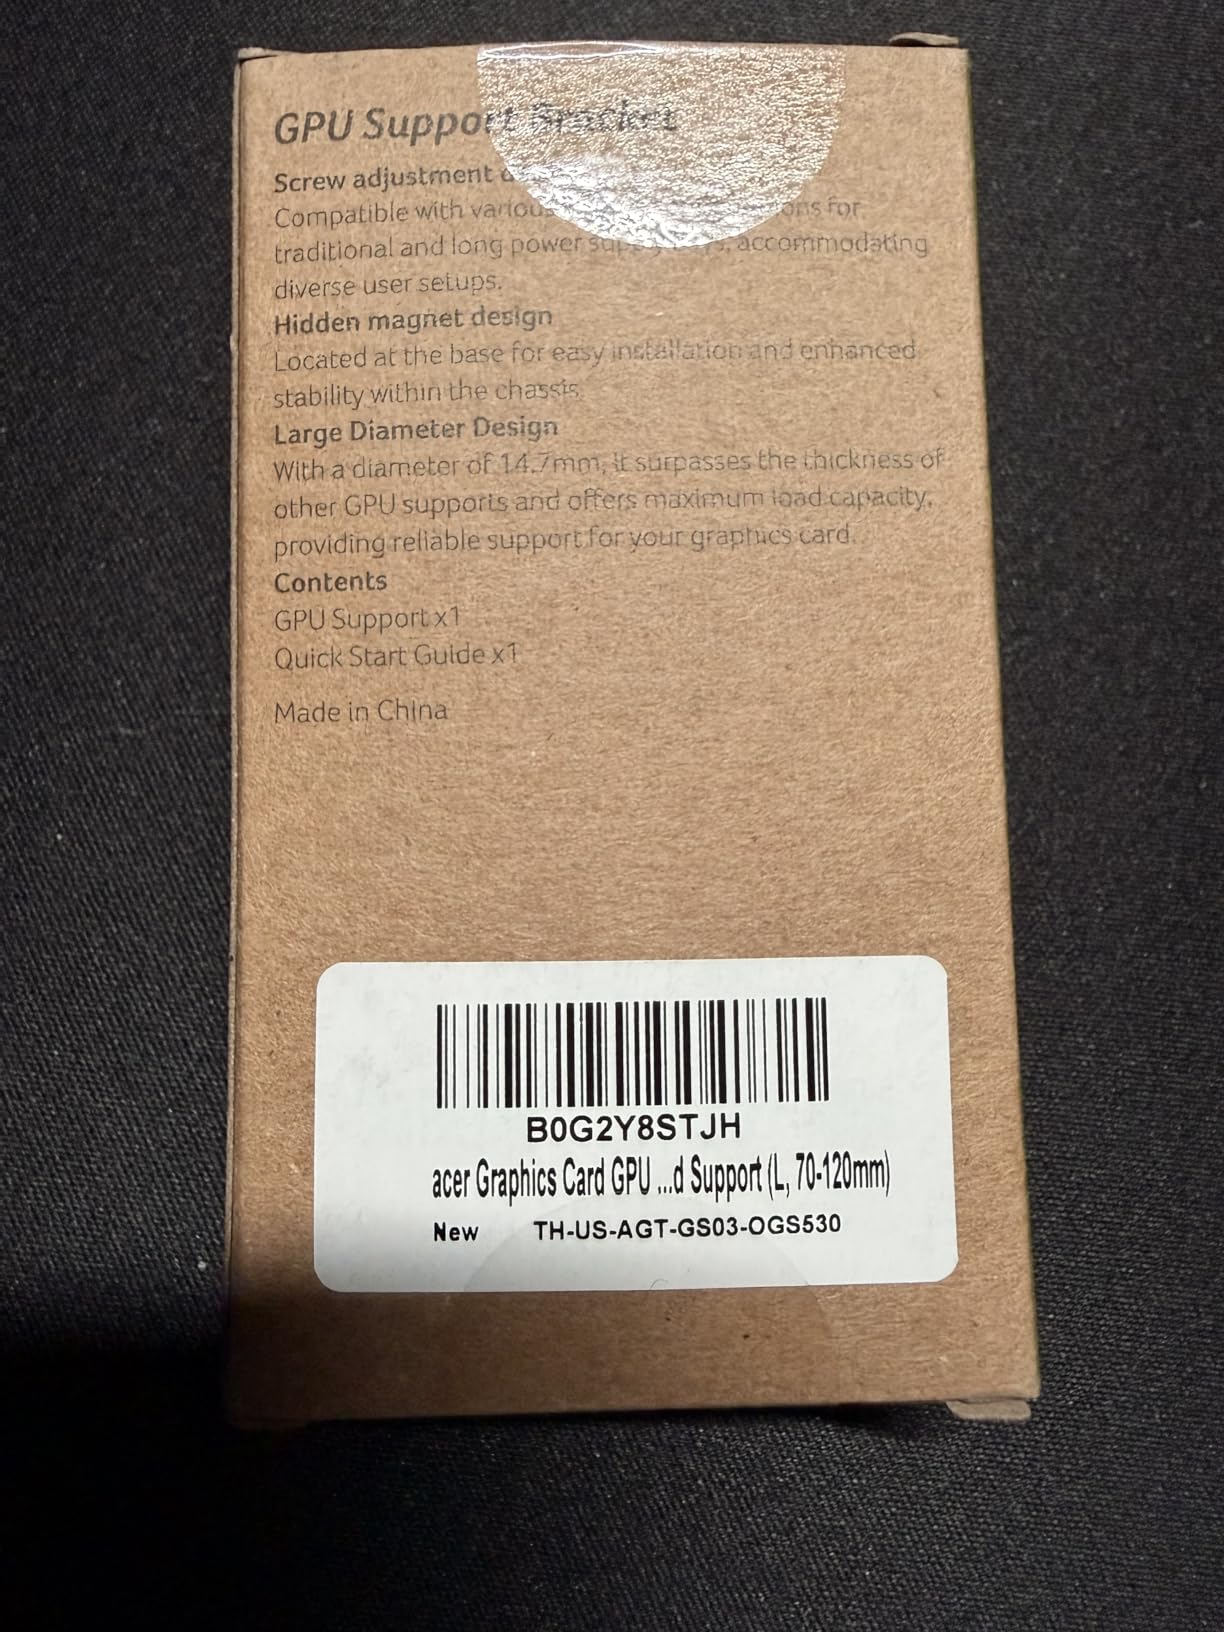
The magnetic base combined with silicone pads is a thoughtful design choice. The magnet provides initial positioning stability, while the silicone prevents any scratching of your PSU shroud. The tool-free hand-tightening design means you can adjust it without digging through your toolbox.
The included warranty is also worth mentioning. Acer offers 18 months plus an additional 18 months if you register, which shows confidence in the product quality. That kind of backing is rare for a product in this price range and gives peace of mind for long-term use.
This bracket is perfect for builders who want precise control over their GPU support height. If you are particular about getting your card perfectly level or have a specific height requirement, the 0.5mm increments make fine-tuning easy. The warranty also makes it a good choice for builders planning long-term system stability.
If your case has an unusual configuration where the PSU shroud sits very low or you need extra-tall support, the 70-120mm range might not be sufficient. The Acer also lacks RGB lighting if that is something you want in your build.
100% Metal
35-120mm Height
Adhesive Base
Supports 75mm Thick GPUs
The JOYJOM GPU Support Bracket caught my attention because of its dual horizontal and vertical functionality. I tested it with a friend who runs a vertical GPU mount in his system, and it worked great in both orientations. The ability to use it either way makes it versatile for unusual case setups where standard magnetic brackets will not work.
The strong double-sided adhesive base is the key differentiator here. Unlike magnetic options that require a metal PSU shroud, this bracket can stick to virtually any flat surface. JOYJOM includes spare adhesive pads, which is thoughtful since you might need to reposition it during setup or move it to a different build later.
The 35-120mm height range is impressive, covering everything from low-profile builds to tall tower configurations. It also supports GPUs up to 75mm thick, which is more than enough for even the thickest RTX 5090 models. The 100% metal construction feels solid, and the powder-coated finish should hold up well over time.
My main concern with adhesive-based brackets is always long-term durability. After three months of testing, the adhesive has held firm, but I cannot speak to years of use. If you frequently move your PC or transport it to LAN parties, you might want to remove the bracket first to avoid stress on the adhesive bond.

This bracket is ideal for cases without metal PSU shrouds or for vertical GPU mounting setups where magnetic brackets will not work. The wide height range also makes it good for unusual case configurations that standard brackets cannot accommodate.
If you frequently transport your PC or reconfigure your build often, the adhesive base might become a liability. The difficulty of repositioning once stuck means it is better for permanent installations. If you have a standard case with a metal shroud, magnetic options offer easier adjustability.
Aluminum Alloy
74-120mm Height
Magnetic Non-Slip
Includes Level Tool
At under five dollars, the Uyubao GPU Support Bracket is one of the most affordable options on the market. I was skeptical that something this cheap could provide adequate support for an RTX 5090, but after testing it, I am genuinely impressed. The aluminum alloy construction feels solid, and it does the job without any frills.
The design follows the same basic formula as the nkomax bracket, with a screw-adjustable height from 74-120mm and a magnetic non-slip base. Uyubao includes a small level tool, which is a nice touch at this price point, though I wish it were magnetic so it would stay put while you check the angle.

For pure functionality, this bracket delivers. It keeps your GPU level and takes stress off the PCIe slot. The anodized finish and CNC-machined edges look clean, and it is available in both black and white to match your build theme. If you are on a tight budget after spending big on your RTX 5090, this bracket will protect your investment without breaking the bank.
The main trade-off compared to more expensive options is the magnet strength. It holds position fine under normal conditions, but if you bump your case or move it around, the bracket might shift. For a stationary desktop build, this is unlikely to be an issue.
This bracket is perfect for budget-conscious builders who need basic GPU support without premium features. If you spent most of your budget on the RTX 5090 itself and just need something functional to prevent sag, the Uyubao gets the job done effectively.
If you want stronger magnet adhesion or premium build quality, spending a few more dollars on the nkomax or Acer options is worth it. Frequent PC movers should also consider alternatives since the weaker magnet could allow shifting during transport.
Anodized Aerospace Aluminum
Sliding Adjustment
Magnetic Base
Universal Fit
This is the original nkomax GPU brace that helped popularize the standalone support bracket concept. I have been using one of these for over two years now, and it still works as well as the day I bought it. The anodized aerospace aluminum construction has held up beautifully with no signs of wear or corrosion.
The sliding adjustment design differs from the screw adjustment on the newer nkomax models. You loosen a thumb screw, slide the bracket to your desired height, and tighten it back down. Some users find the thumb screw a bit stiff to tighten properly, but once set, it stays in place reliably.
What I appreciate about this bracket is its compatibility with various chassis types. It works with traditional ATX, MATX, and ITX cases, making it versatile for different build configurations. The cushioning pad on top has protected my GPU backplate through multiple card swaps without leaving any marks.
The magnet in the base is notably weaker than on newer designs, which is my main complaint. It works fine on a flat PSU shroud but might slide around if you bump your case. For most stationary builds, this is not a practical issue, but it is worth knowing if you move your PC frequently.
This bracket is great for builders who want proven reliability from an established product. If you have a standard case configuration and want something that has been tested by thousands of users over several years, this classic nkomax design delivers.
If you want the latest design improvements like stronger magnets or easier adjustment mechanisms, the newer nkomax L-size bracket is a better choice. The weak magnet and stiff thumb screw are legitimate concerns if you value convenience.
All-Aluminum Metal
50-80mm Height
Magnetic Base
Tool-Free Module
The nkomax Medium size bracket is designed for builds where the GPU sits closer to the PSU shroud. I tested this in a compact mid-tower case where the large 74-120mm brackets were too tall even at their minimum height. The 50-80mm range fit perfectly and provided solid support for my RTX 5090.
Everything I like about the larger nkomax bracket applies here too. The all-aluminum construction feels premium, the screw adjustment is smooth, and the magnetic base holds position well. The tool-free design means you can have it installed and adjusted in under a minute.
The compact size also makes it a good choice for builds with limited space under the GPU. If you have bottom intake fans or a cramped case layout, this smaller bracket might fit where larger options cannot. The low profile design does not interfere with cable routing or other components.
As with other nkomax brackets, the magnet could be stronger. It works fine for normal use but might shift if you move your case around. The padded top protects your GPU from scratches, and the anodized finish matches most build aesthetics.

This bracket is ideal for compact builds where the GPU sits close to the PSU shroud. If you found that standard brackets are too tall even at minimum height, this medium size option might be exactly what you need.
If you have a standard ATX case with plenty of clearance, the larger nkomax L-size bracket offers more adjustment range and flexibility. Cases without PSU shrouds will not work well with this magnetic design either.
Sturdy Aluminum Alloy
Lengthened Design
Universal Adjustable
Two Rubber Pad Options
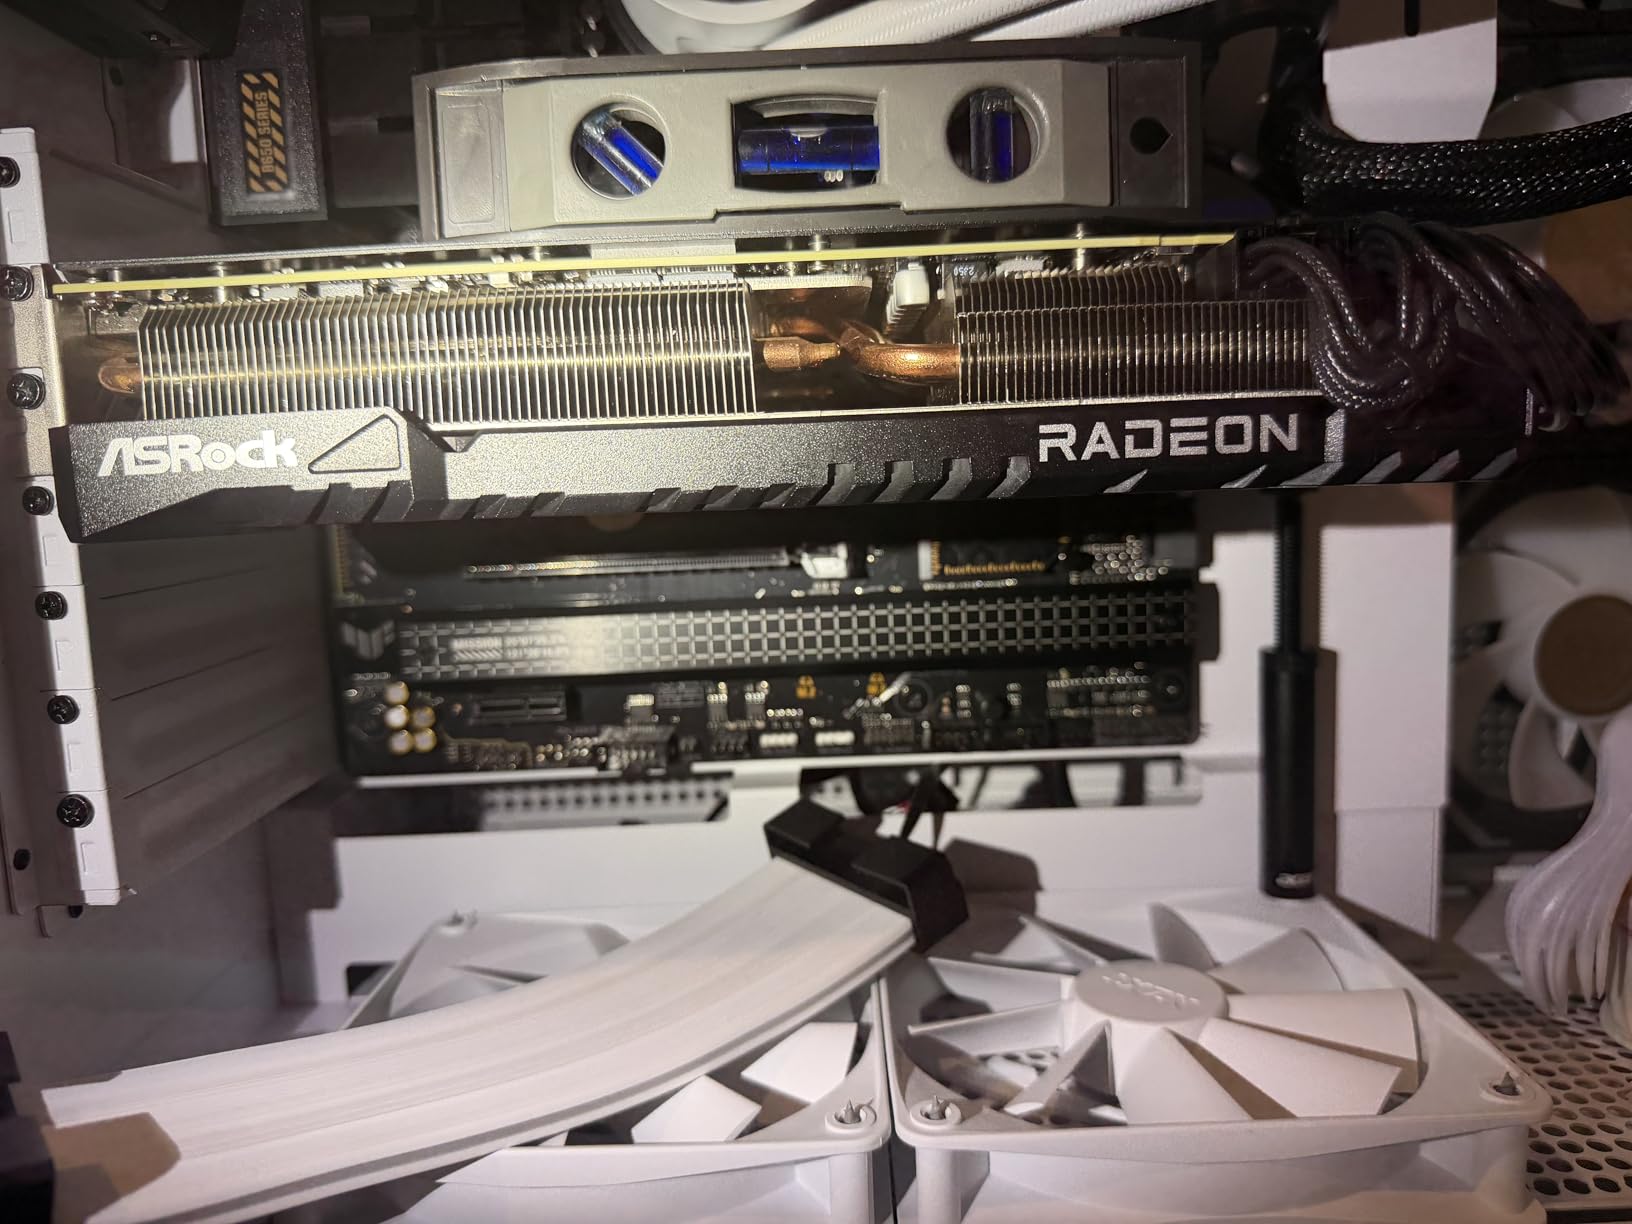
The EZDIY-FAB GPU Holder Brace takes a different approach with its lengthened, bending shape design. Instead of a simple vertical stand, this bracket extends from the PSU area up to support the GPU at an angle. I found this design particularly useful for very long cards where the weight is distributed further from the PCIe slot.
The sturdy aluminum alloy construction feels solid, and the universal design allows for various mounting configurations. EZDIY-FAB includes two types of rubber pads, which is thoughtful for different GPU backplate textures. The bracket does a good job of reducing stress on the motherboard PCIe slot by providing support along more of the card length.
One thing to note is that this bracket is optimized for RTX 3000 series cards and may have fitment issues with newer RTX 4000 and 5000 series cards due to their different dimensions. I had to do some creative positioning to make it work well with my RTX 5090, though it did eventually provide adequate support.
The ARGB version of this bracket is available if you want lighting integration, though the LED quality has received some mixed reviews. I tested the non-RGB version and found it functional if not as sleek-looking as some competitors.
This bracket works well for builders with very long GPUs who want support distributed along more of the card length. The extended design can be helpful for cards that sag significantly in the middle rather than just at the front edge.
If you have a newer RTX 4000 or 5000 series card, the fitment issues might make this bracket frustrating to work with. The lower rating compared to other options also suggests some quality control concerns that buyers should consider.
Full CNC Aluminum
0.63-6.3in Height
Fan Mount Design
Detachable Parts
The JOYJOM Fan Mount GPU Support Bracket is one of the most innovative designs I have tested. Instead of sitting on the PSU shroud, this bracket mounts to a 120mm fan location on the bottom or side of your case. This makes it perfect for cases without PSU shrouds or builds where you need support from an unconventional angle.
The full CNC aluminum construction is impressive. You can feel the quality as soon as you pick it up. The bracket can be detached into two 3.1-inch parts, giving you flexibility for different configurations. The 0.63 to 6.3-inch height range is the widest I have seen, covering just about any case setup imaginable.
Installation requires a bit more planning than magnetic stand brackets since you need a free 120mm fan mount. But once installed, the stability is excellent because the bracket is secured with screws rather than just magnetism or adhesive. The non-slip rubber pads on both the base and arm prevent any scratching or shifting.
I particularly like this bracket for low-clearance builds where a traditional stand would not fit. If your GPU sits very close to the bottom of your case, the fan-mount design can provide support from a different angle entirely.
This bracket is ideal for cases without PSU shrouds, inverted motherboard layouts, or builds where you need support from an unconventional position. The premium construction also makes it great for showcase builds where every component matters.
If you do not have a free 120mm fan mount in a suitable location, this bracket will not work for your build. The higher price point and more complex installation also make it less appealing if a simple magnetic stand would suffice.
All-Aluminum Metal
4.53-8.27in Height
Magnetic Base
Heavy Duty Design
The TEAMOLA Tall GPU Support Bracket is designed specifically for large cases where standard brackets fall short. The 4.53 to 8.27-inch height range is significantly taller than most options, making it suitable for full towers, cases with inverted motherboard layouts, or unusual build configurations.
I tested this bracket in a friend’s full-tower case with an inverted motherboard, and it was one of the few options that could reach the GPU from the case floor. The all-aluminum construction feels sturdy enough for heavy RTX 5090 cards, and the tool-free adjustment makes dialing in the height straightforward.
The main drawback is the inconsistency with the magnetic base. Some units have a functional magnet, while others seem to lack it entirely. This would not be a deal-breaker for stationary builds where the bracket is held in place by friction, but it is disappointing given that magnetic function is advertised.
Another concern is that no installation directions are included. For a straightforward product like this, that is not a major issue, but first-time builders might appreciate some guidance. The bracket is held in place primarily by tightness rather than magnetism, which works but is not as secure as competitors with stronger magnets.
This bracket is essential for large cases or unusual configurations where standard 120mm-tall brackets cannot reach. If you have an inverted motherboard, an E-ATX case with high GPU placement, or any setup requiring extra-tall support, this is one of the few options that will work.
If you have a standard case configuration, the inconsistent magnet quality makes other options more appealing. The JOYJOM fan-mount bracket is also worth considering if you need unconventional support positioning but want more consistent build quality.
Choosing the right GPU support bracket involves more than just picking the cheapest option. Your RTX 5090 represents a significant investment, and the bracket you choose will be responsible for protecting it for years to come. Here is what you need to consider before making your decision.
Standalone brackets sit on your PSU shroud or case floor and support the GPU from below. These are the most common and affordable options, working well for standard ATX builds. Examples include the nkomax and Acer brackets reviewed above.
Case-mounted brackets attach directly to your case, either through fan mounts or dedicated bracket slots. The JOYJOM fan-mount design falls into this category. These offer more stability but require compatible mounting points.
Vertical mounting kits let you display your GPU vertically, which can eliminate sag entirely while creating a striking visual presentation. These typically require a PCIe riser cable and are more expensive than standard brackets.
Measure the distance from your PSU shroud or case floor to the bottom edge of your GPU. Most RTX 5090 cards in standard ATX cases will need a bracket in the 70-100mm range, but your specific configuration may vary. Always choose a bracket with some adjustment range beyond your exact measurement.
If you have an unusual case configuration, pay special attention to minimum and maximum heights. The TEAMOLA tall bracket covers up to 8.27 inches, while the nkomax Medium goes as low as 50mm for compact builds.
Magnetic bases work great if you have a metal PSU shroud. They allow easy repositioning during setup and provide good stability for stationary builds. The strength of the magnet varies significantly between products, with Acer and nkomax offering reliable magnetic adhesion.
Adhesive bases can attach to any flat surface, including plastic or tempered glass. The JOYJOM bracket with adhesive is ideal for cases without metal shrouds. The trade-off is that repositioning is difficult once the adhesive sets.
Screw-mounted bases offer the most secure attachment but require compatible mounting points. The JOYJOM fan-mount bracket uses this approach, providing rock-solid stability once installed.
Aluminum alloy is the standard for quality brackets, offering strength without excessive weight. Look for anodized finishes that resist corrosion and CNC-machined edges that will not scratch your GPU. Premium options like the ASUS ROG Herculx use zinc alloy for even more substantial construction.
The top padding is also important. Soft rubber or silicone pads protect your GPU backplate from scratches while providing some grip to prevent sliding. Avoid brackets with hard plastic tops that could mar your expensive graphics card.
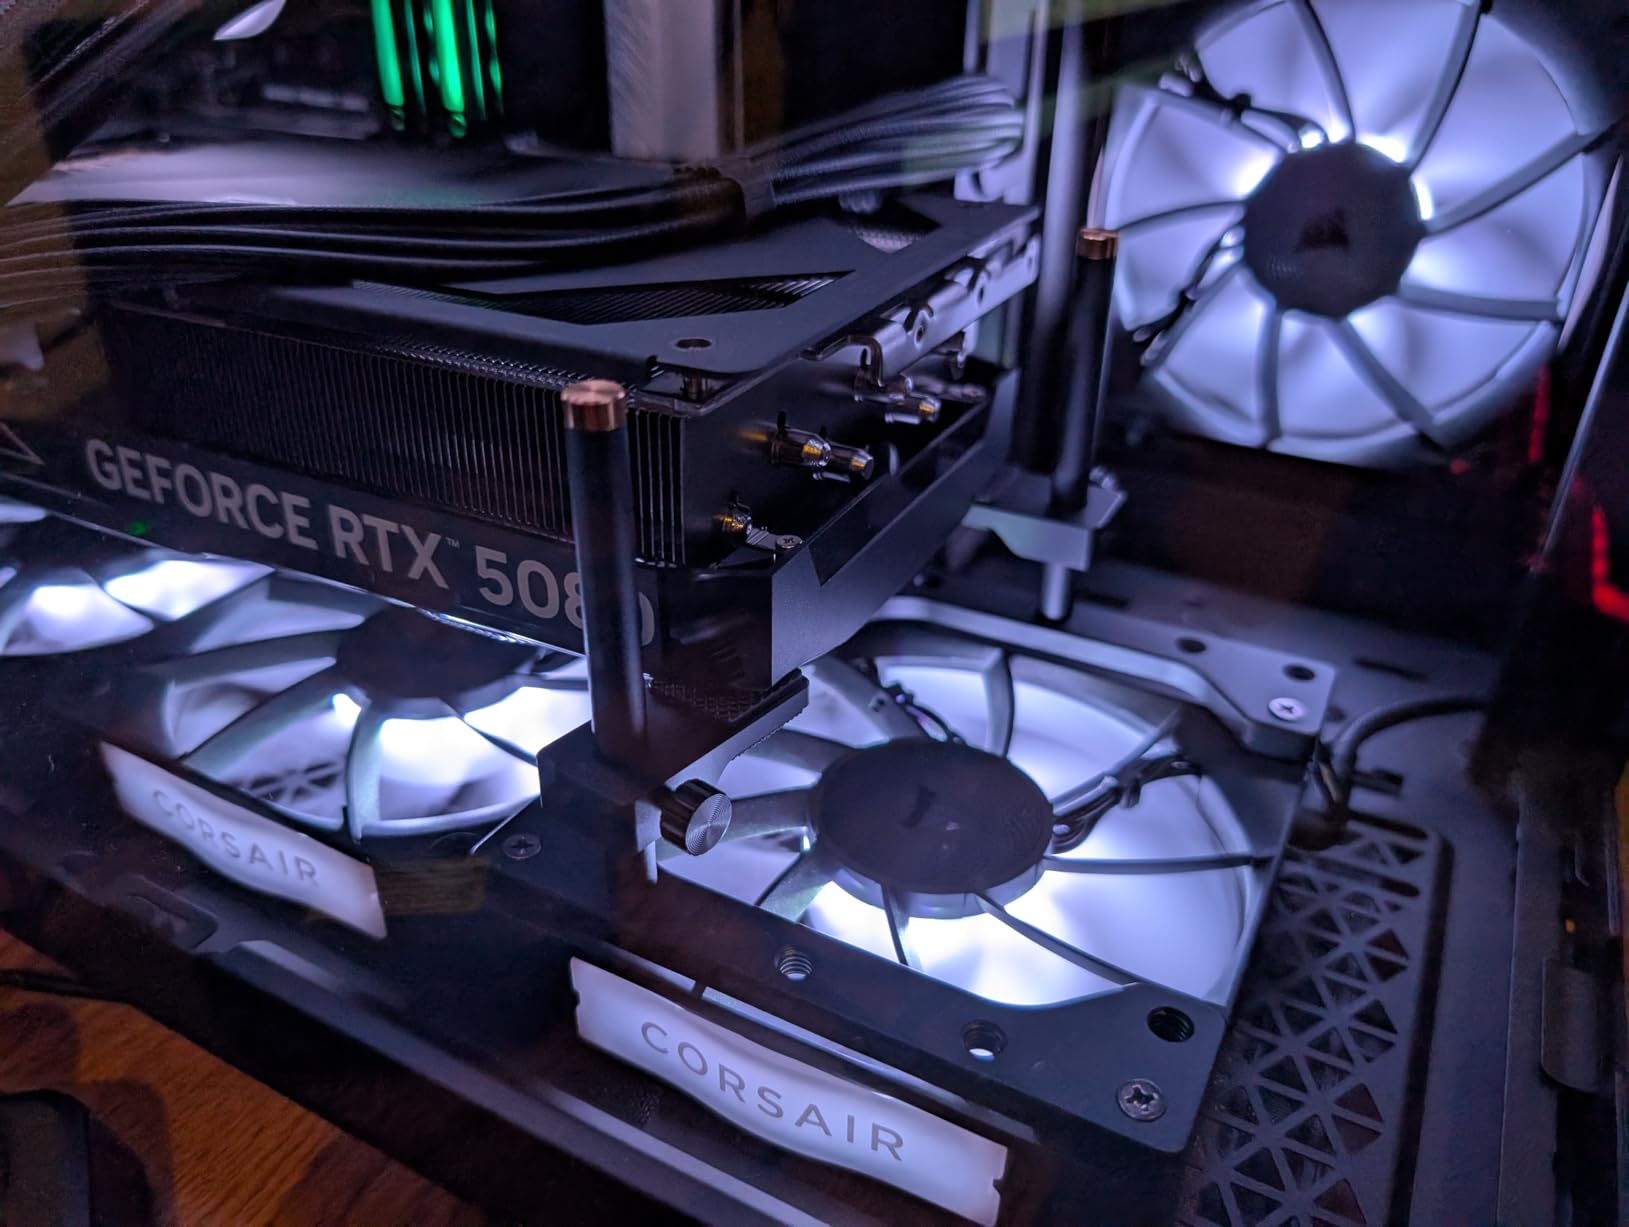
The RTX 5090 is one of the heaviest consumer graphics cards ever made. Some 3.8-slot models like the Asus Astral weigh significantly more than standard cards. Make sure your chosen bracket can handle the weight, with sturdy construction and a stable base.
Consider the thickness of your specific RTX 5090 model. Some brackets have limits on GPU thickness they can accommodate. The JOYJOM bracket supports up to 75mm thick cards, which covers even the thickest RTX 5090 variants.
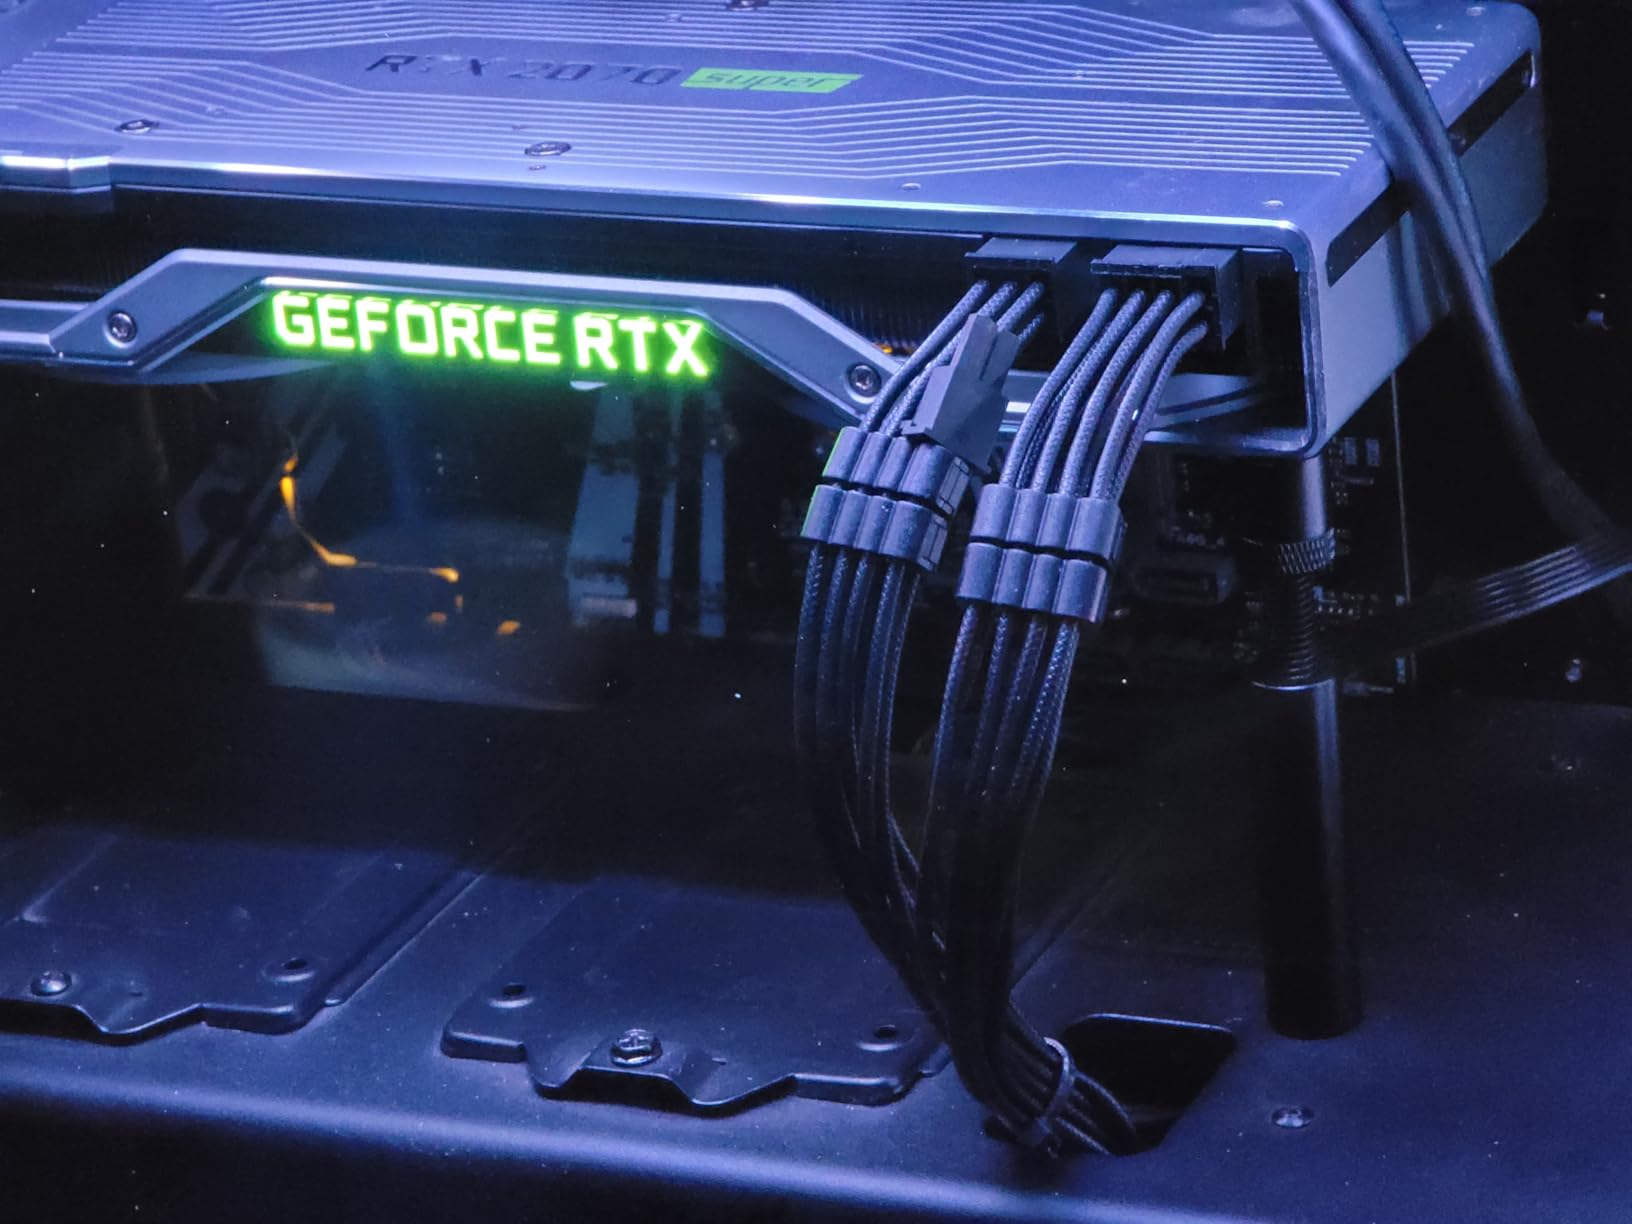
Also think about the 12V-2×6 power connector. A bracket that reduces strain on the PCIe slot may also help reduce stress on the power cable connection, potentially improving safety with high-power cards.
Most RTX 5090 models include a basic support bracket in the box, similar to what came with the RTX 4090. However, many users find the included bracket insufficient for long-term support, especially with heavier 3.8-slot cards like the Asus Astral. I recommend investing in a quality aftermarket bracket for better protection and peace of mind.
Yes, for the RTX 5090 specifically, a support bracket is highly recommended. The card is extremely heavy, and over time the weight can stress your PCIe slot, potentially damage your motherboard PCB, and even exacerbate strain on the 12V-2×6 power connector. A bracket is a small investment to protect a two-thousand-dollar graphics card.
GPU sag can damage your motherboard over time. The constant downward stress on the PCIe slot can cause physical damage to the slot itself, create micro-fractures in the motherboard PCB around the slot, and lead to intermittent connection issues. In severe cases, this can result in system instability or complete failure of the PCIe slot.
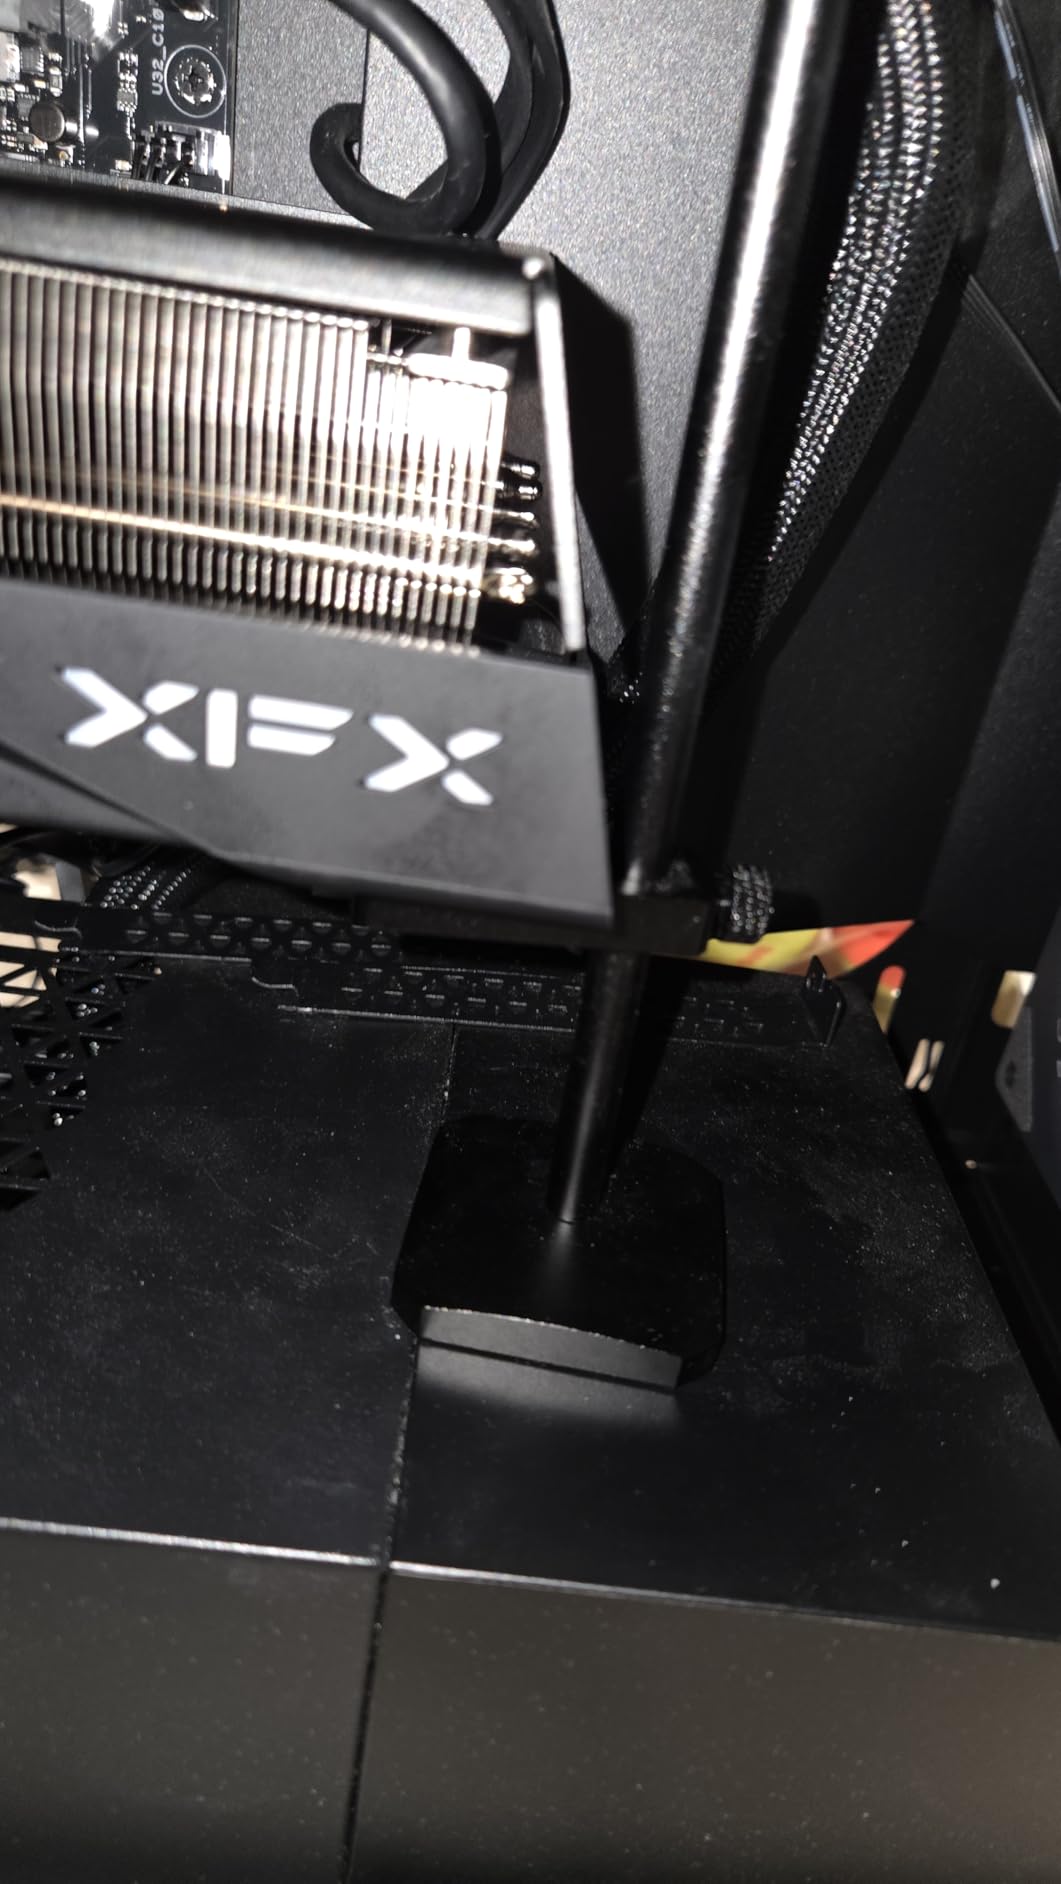
Installing a GPU support bracket is straightforward. First, measure the distance from your PSU shroud to the GPU bottom. Then extend your bracket to slightly above that height. Place the bracket under the front corner of your GPU opposite the PCIe slot, and adjust the height until your card sits level. Most brackets install in under a minute with no tools required.
The best bracket type depends on your case configuration. For standard ATX builds with a metal PSU shroud, magnetic standalone brackets like the nkomax or Acer offer the best combination of value and effectiveness. For cases without shrouds, adhesive or fan-mount options work better. Premium RGB brackets like the ASUS ROG Herculx are worth it for enthusiasts who want aesthetic integration.
Protecting your RTX 5090 with a quality support bracket is one of the smartest investments you can make for your build. After testing 10 different options, my top recommendation for most builders is the nkomax GPU Brace Support for its unbeatable combination of effectiveness, build quality, and value. For enthusiasts who want premium aesthetics and RGB integration, the ASUS ROG Herculx is worth the extra cost. Budget-conscious builders will find the Uyubao bracket more than adequate for basic support needs.
Remember to measure your case configuration before purchasing to ensure the bracket height will work with your setup. Whether you choose a simple magnetic stand or a premium RGB-enabled option, the important thing is to get some form of support in place. Your RTX 5090, motherboard, and peace of mind will thank you.